Since the most attracting new flagship of Samsung, the Galaxy Note 7 has been released not long ago, many Samsung fans are eager to see how difficult it is to replace the battery, curved screen or charging port, here we’re going to give it shot -- disassembling the whole Note 7 to see what’s the differences when compared to the Galaxy Note 5 in repair procedure.
Repair Tools Needed:
Heat gun or hair dryer
Guitar pick or sharp cards
Step 1 Remove back glass cover
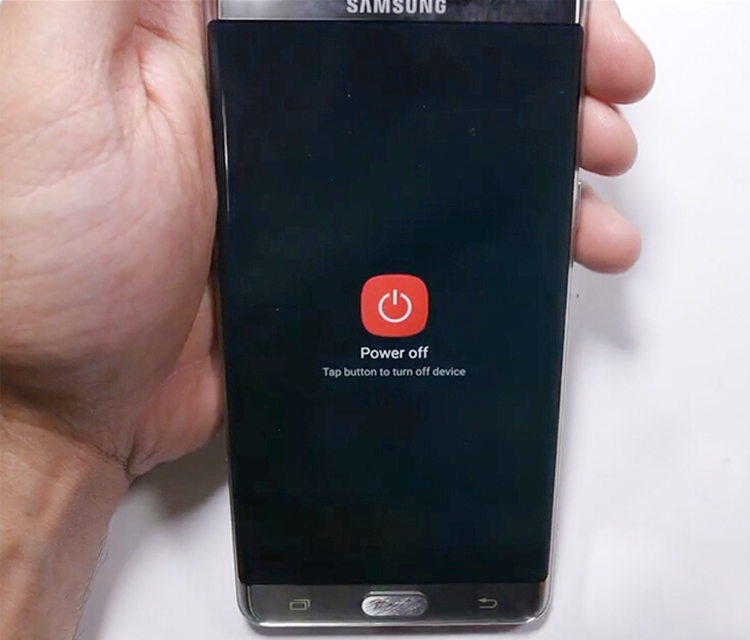
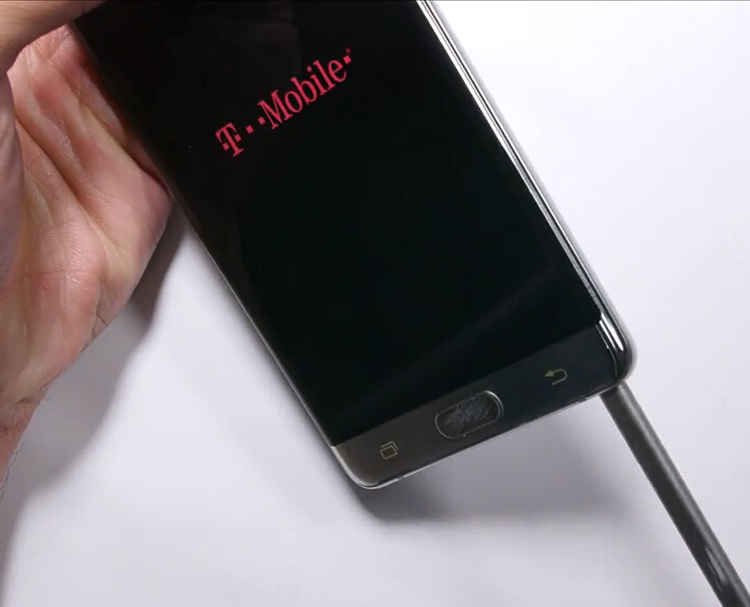
Power off the phone and take out the S pen first.
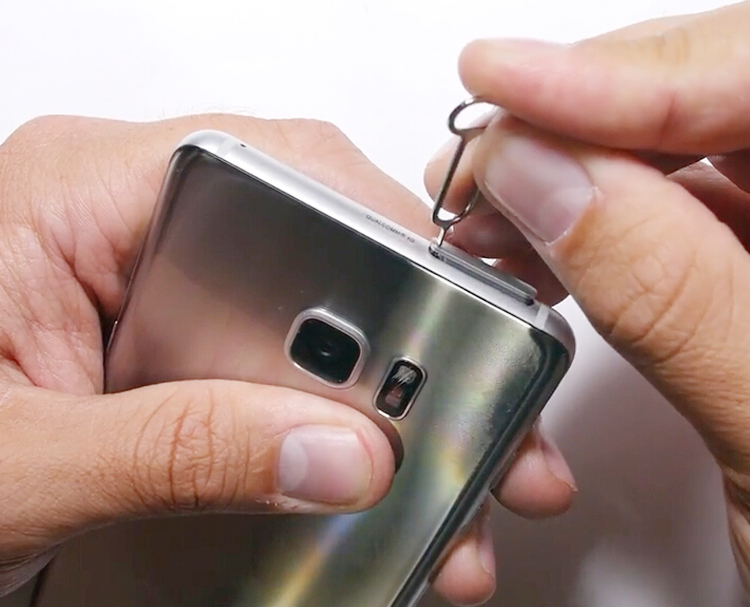
Then remove the SIM card tray.
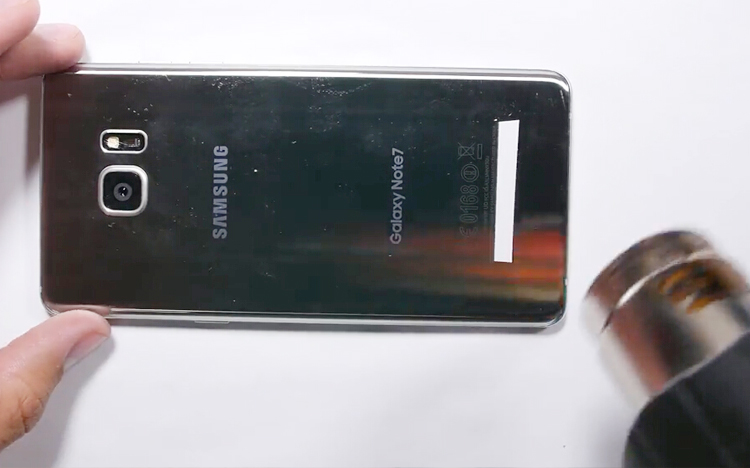
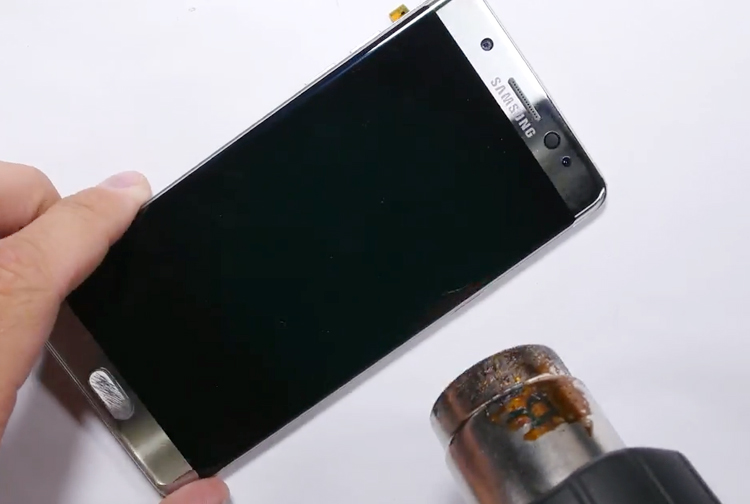
Heat up the back glass cover for a while like always.
Then insert the metal opening tool to pry up the back glass cover.
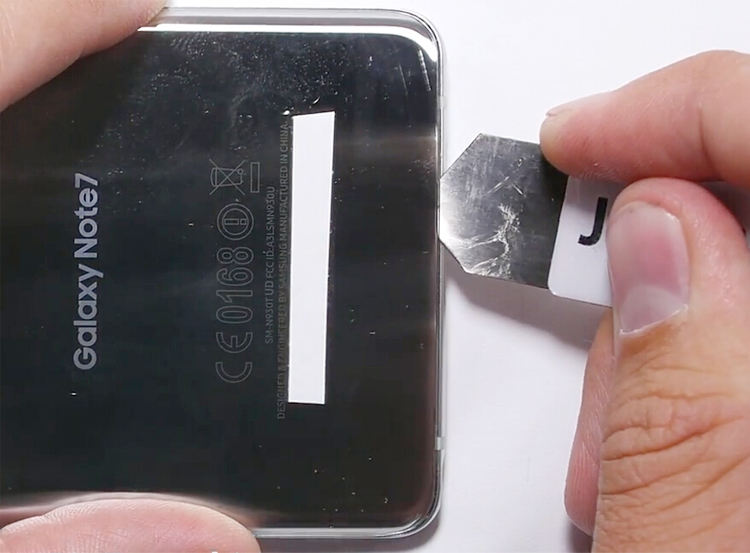
Use a sharp paper card or guitar pick to cut the waterproof back cover adhesive stickers. (You may need to heat up the back cover several times when cutting the adhesives, just take your time)
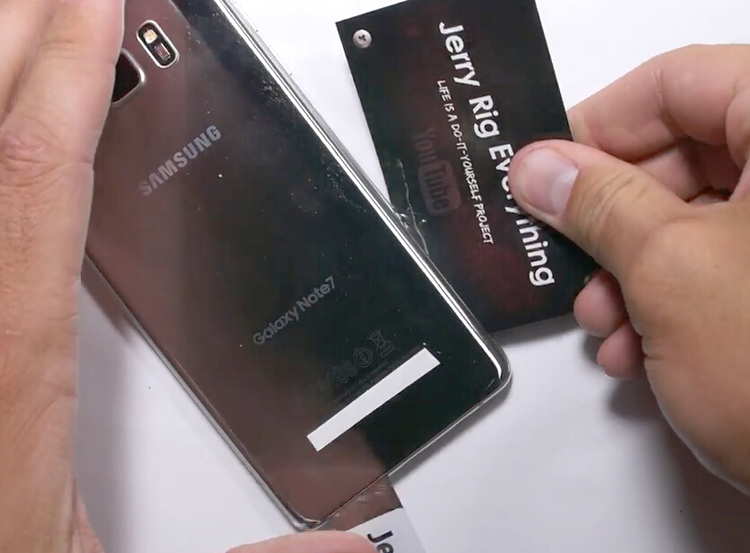
After loosen all the adhesive stickers around the edges, you can remove the back cover now.

Step 2 Remove battery
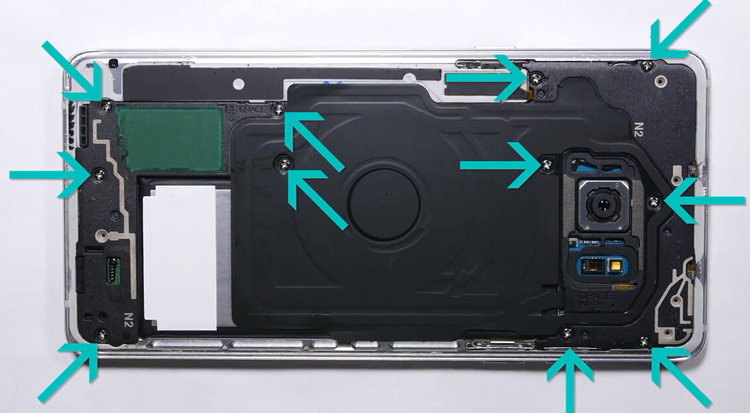
Undo 11 screws on the plastic back frame by Phillips screwdriver.
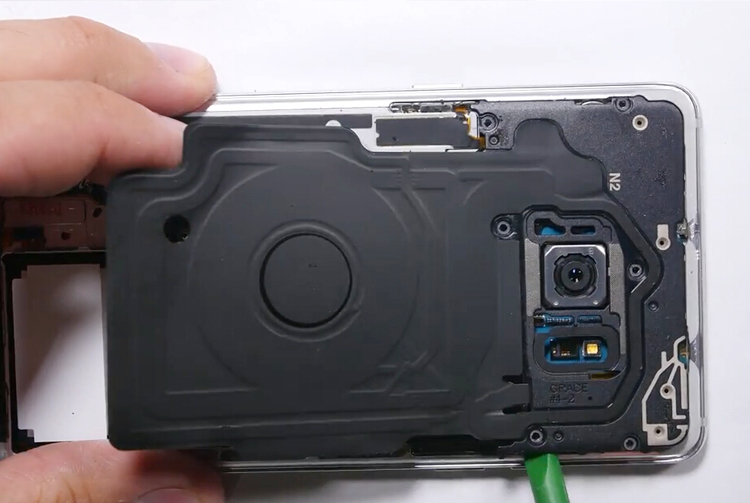
Then the loudspeaker module comes out easily.
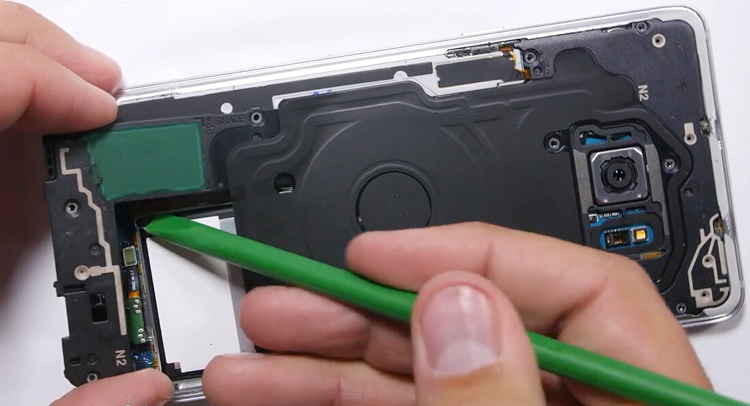
Next move, take the wireless charging & NFC pad away.
Then release the battery connector and the S pen connector.
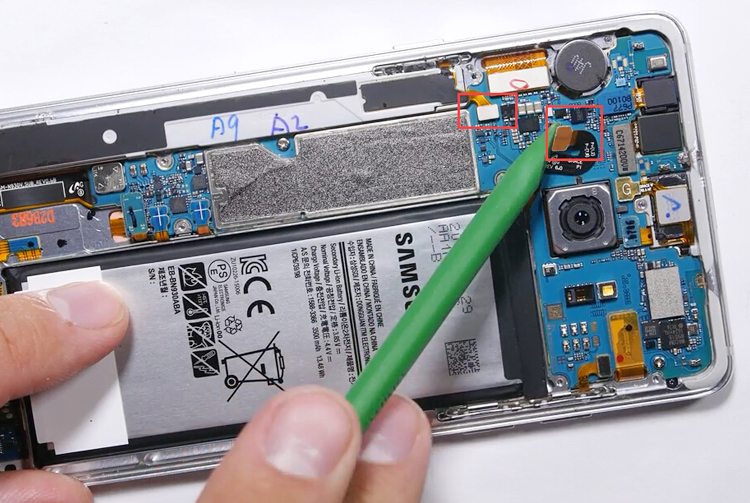
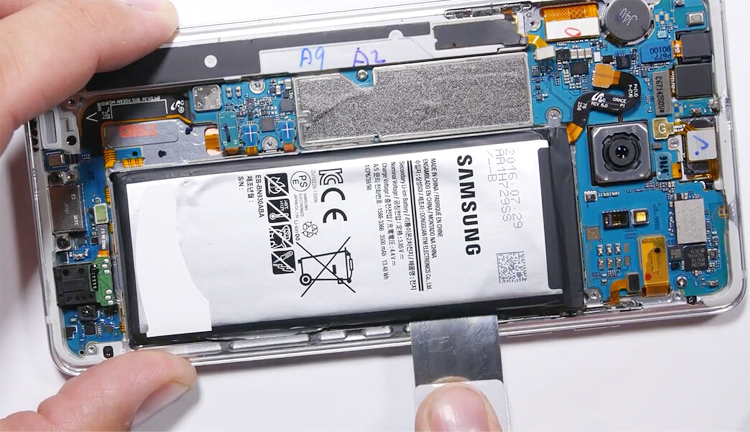
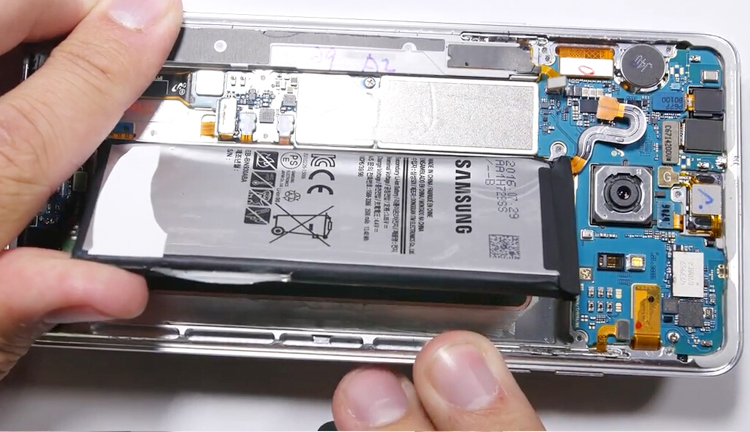
Now the battery can be taken out, use a metal opening tool to pry it up, be careful not to hurt the battery, the tough adhesive is underneath.
Step 3 Remove small parts
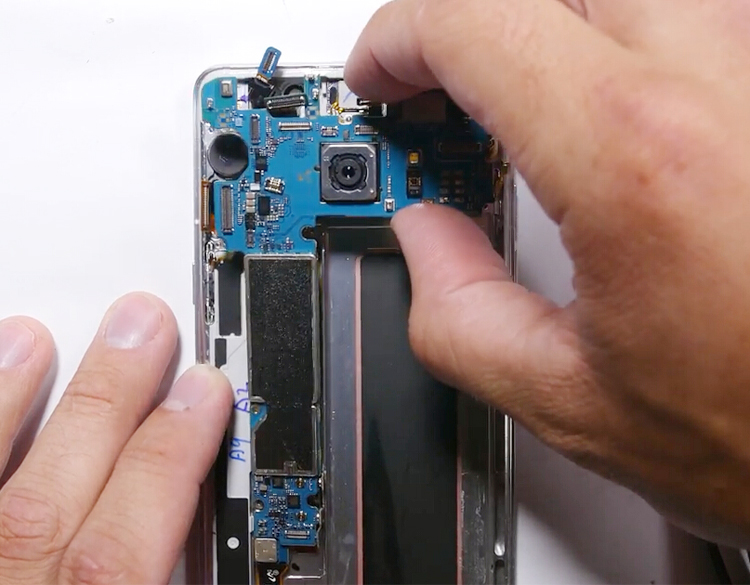
After remove battery, then we can release all the connectors here, the screen ribbon connector, camera connector, earpiece connector, sensor connector, another screen ribbon connector and power flex ribbon connector.
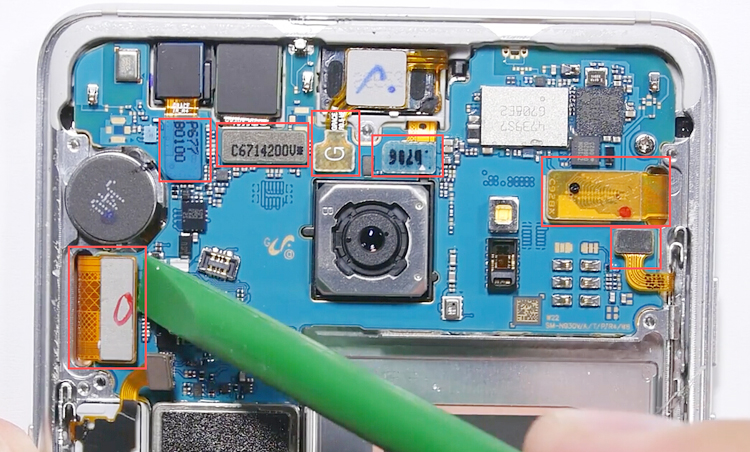
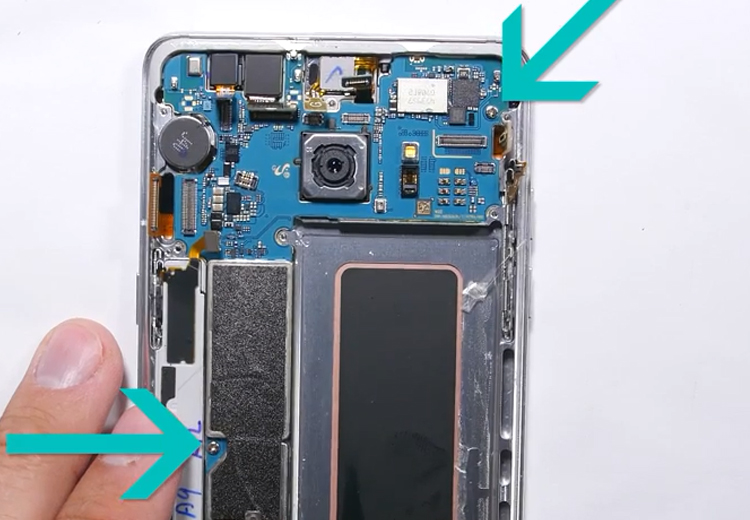
After that you need to undo 2 screws before removing the motherboard.
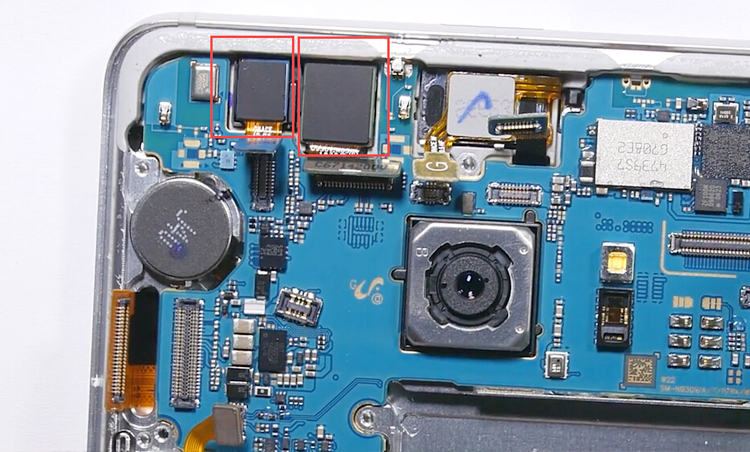
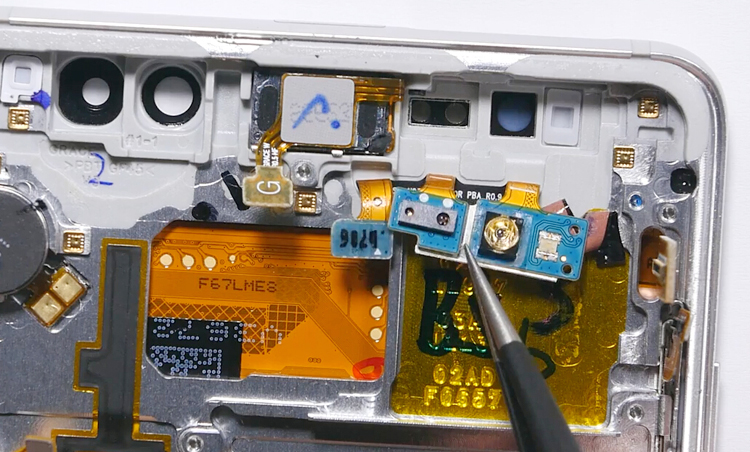
By the way, remove the front facing camera and iris scanner.
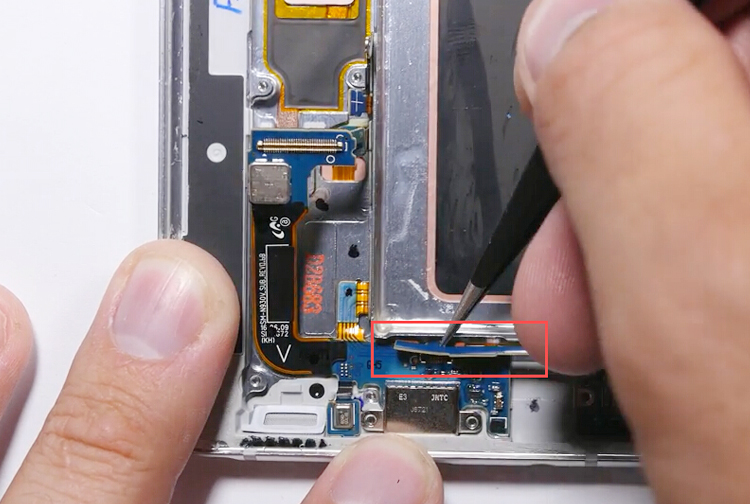
Moving down, there are 3 new connectors, 2 signal cable connectors and the home button cable connector.
Lift up the motherboard, don’t be so urgent to tear apart the motherboard cause there is still a connector to the charging port on the bottom.
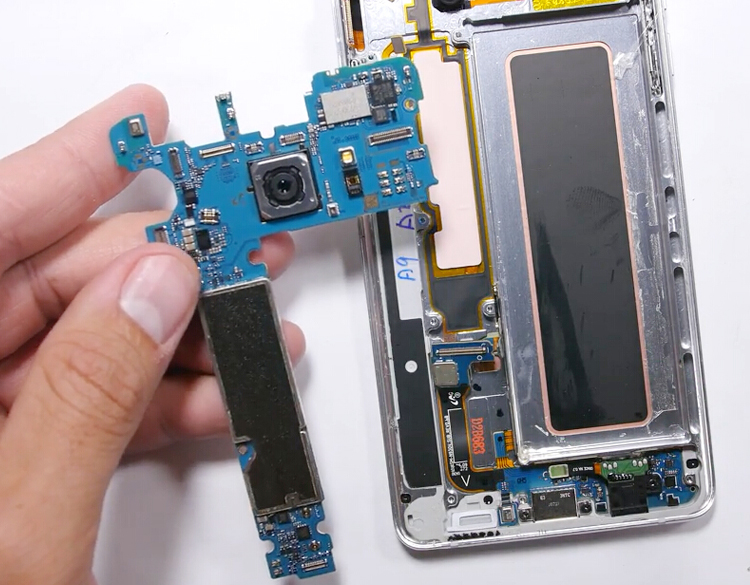
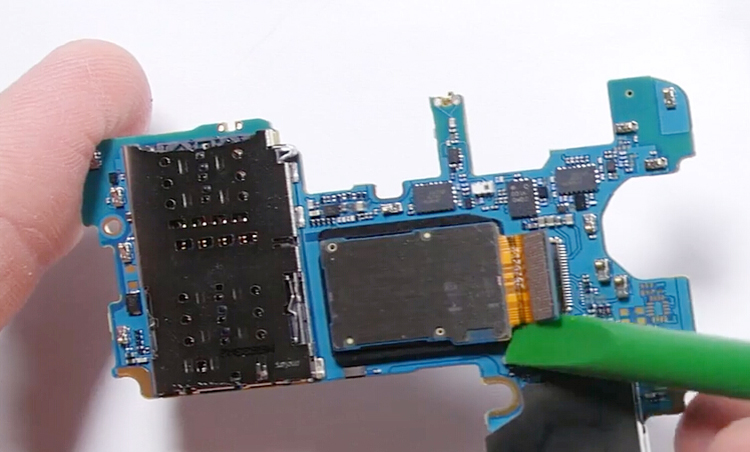
Next step you can remove the rear facing camera from the motherboard now.
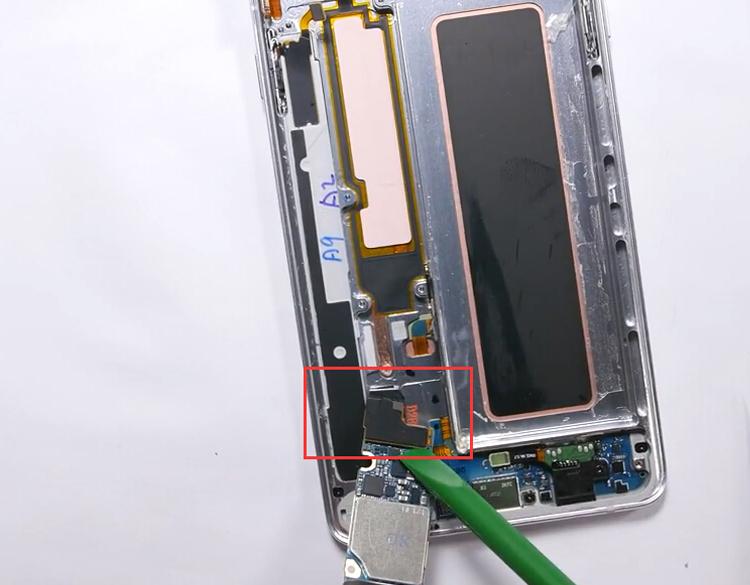
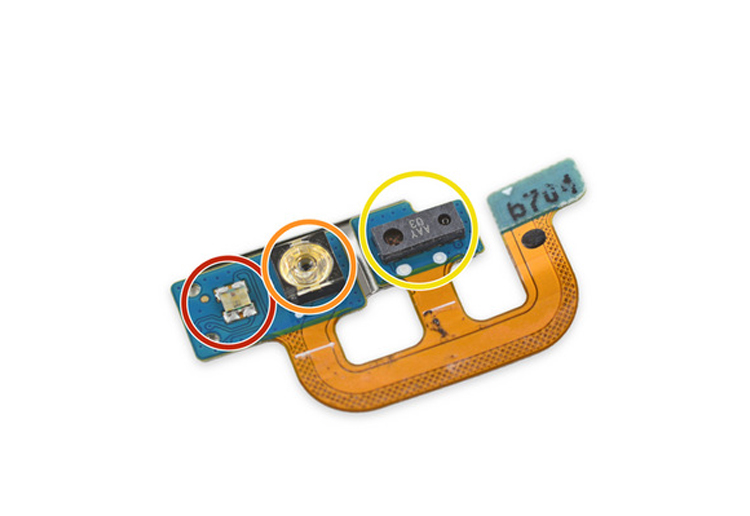
Back to the middle frame assembly, we can start with the front array, which comes with an infrared LED helping with the iris scanner in low light situation.
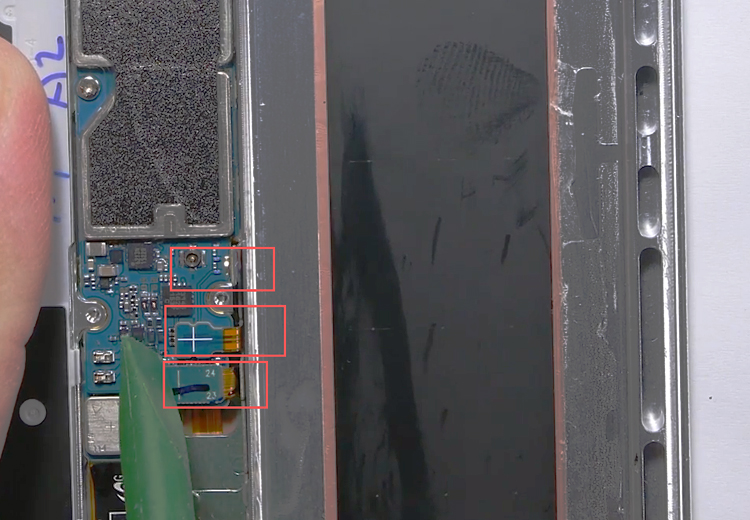
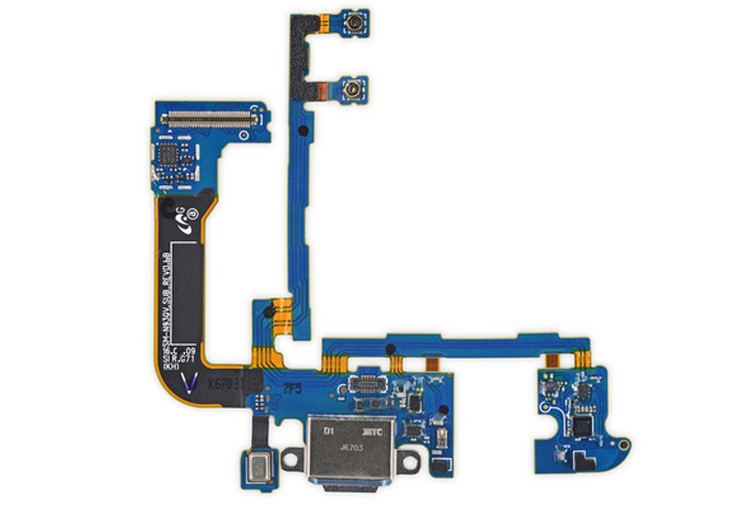
Then undo 3 screws to remove the headphone jack cable and charging port flex cable.

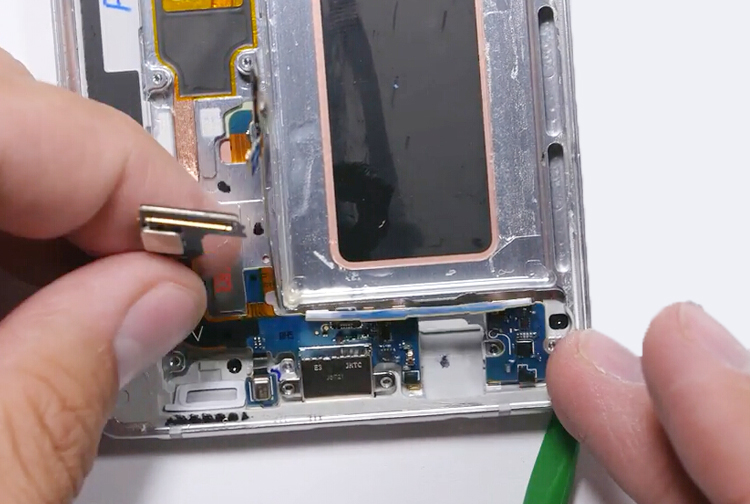
Release the headphone jack flex cable connector and remove it.
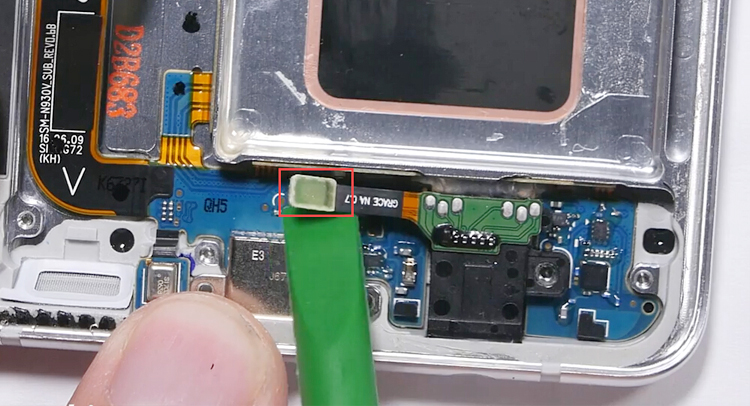
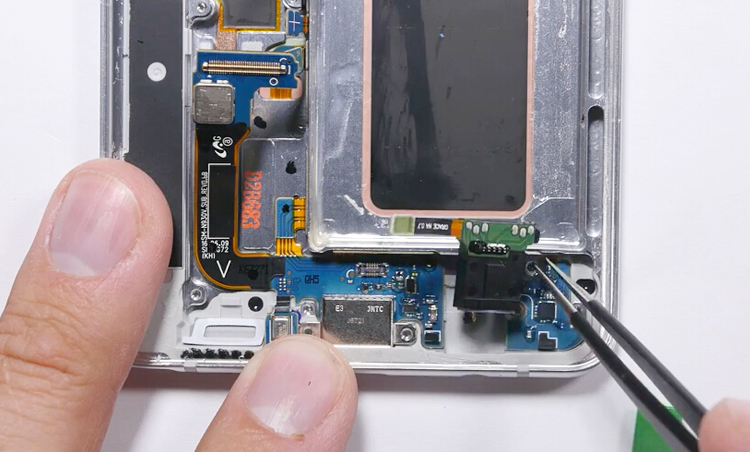
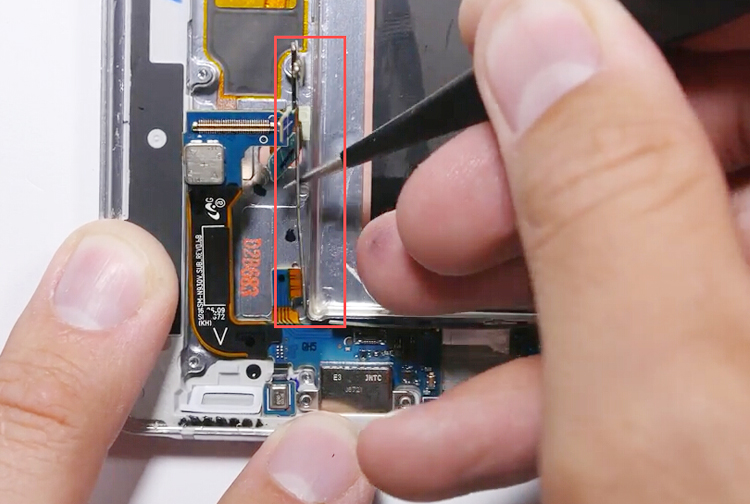
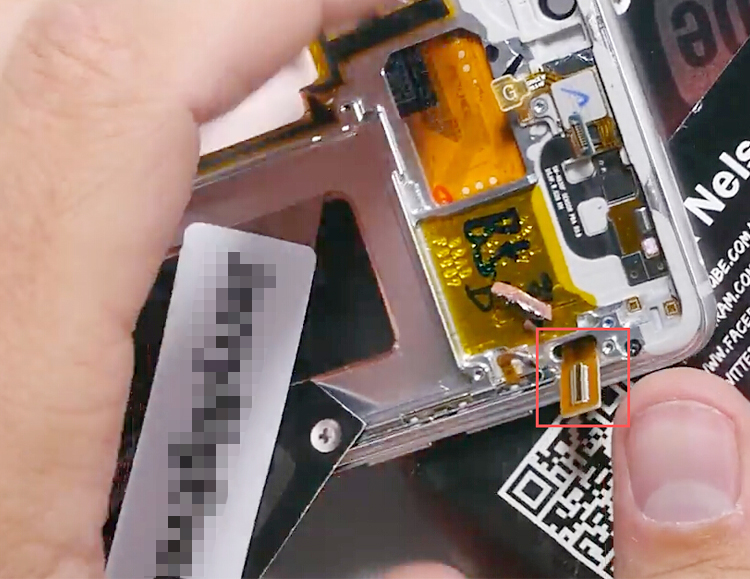
Next we’re going to take out the type-C charging port flex cable. Pry it out from that gap and then lift the signal cable which connected to the charging port flex.
Now remove the USB type-C charging port, which is another new try for Samsung.
Step 4 remove AMOLED screen assembly
Heat up the screen for a while.
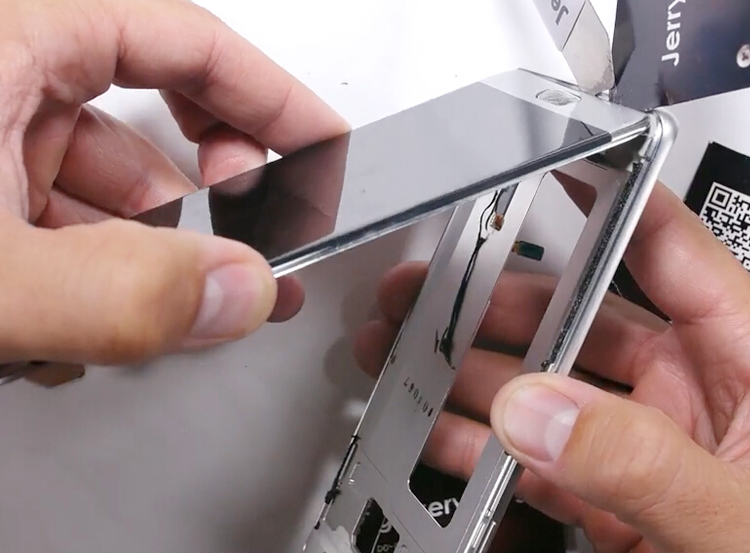
Then use a sharp card to insert into the gap between the screen and the middle frame from the inside.
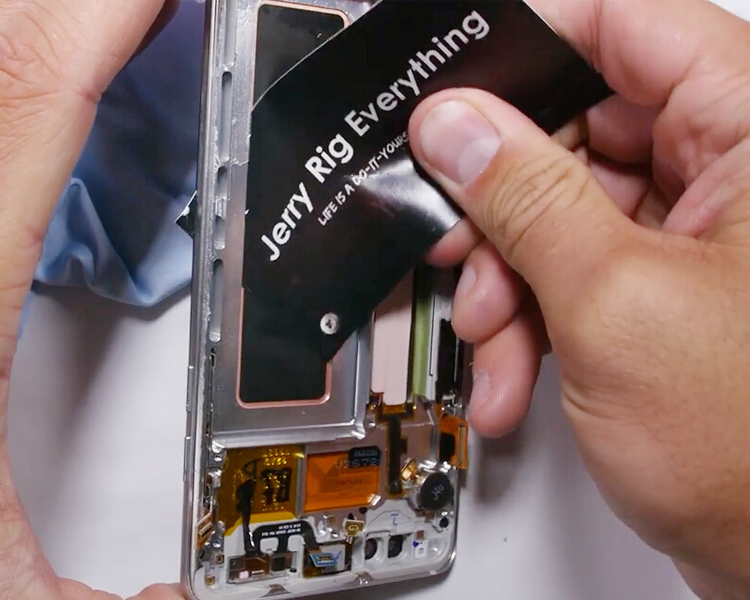
Use another card to insert to the little gap to loosen the supporting frame adhesives.
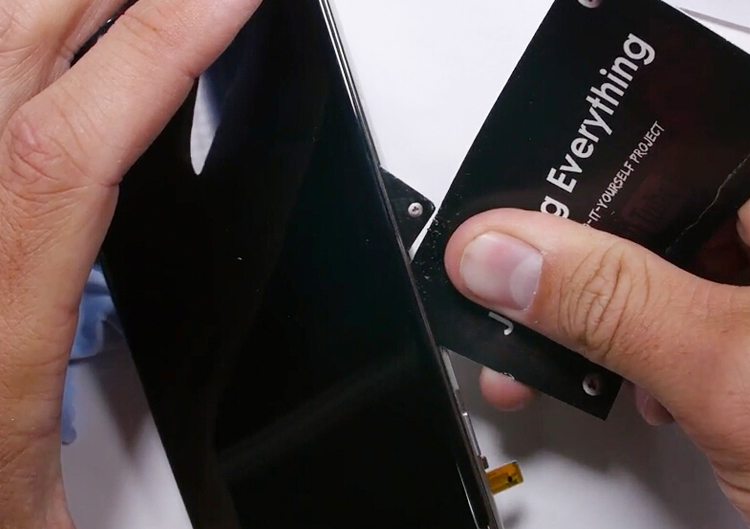
Have to say that this is a real hard job to loosen all the screen adhesives around the whole edges, there is a big risk damaging the screen, you need to be very careful.
Note: when cutting the screen adhesives, be careful not insert the card too deep in case you broken the screen flex cable ribbon.
If you feel harder releasing the adhesives, try to apply more heat to the screen.
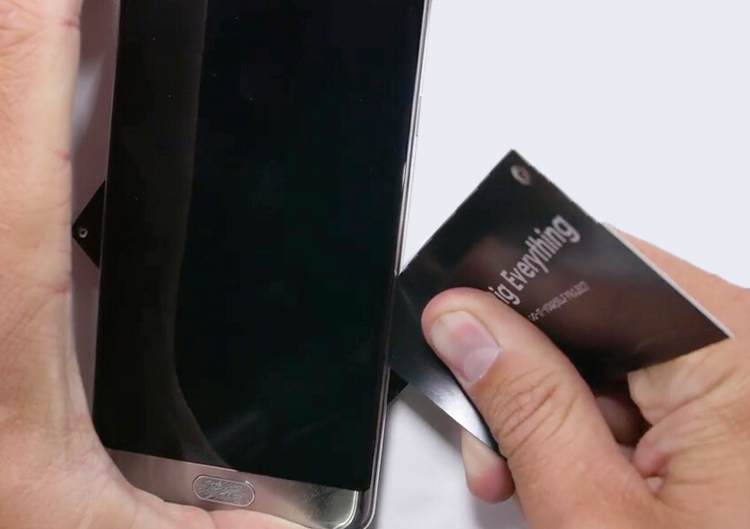
Also there you need to be careful with the touch key pad when removing the screen off the middle frame.
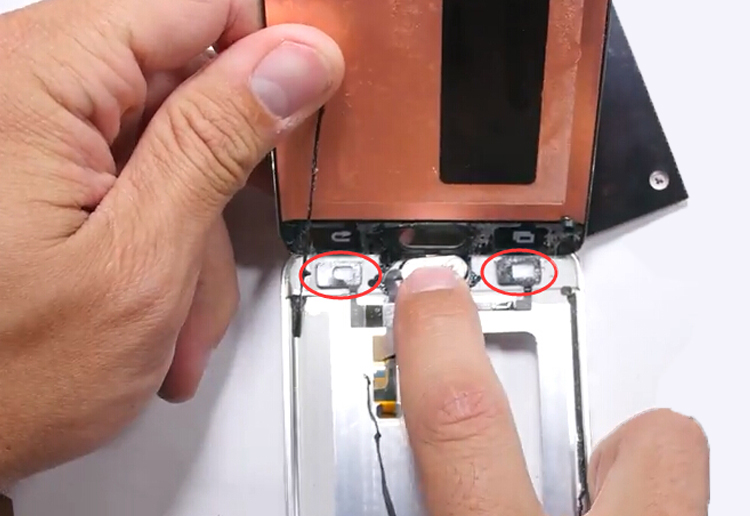
Now we can remove the home button flex cable.
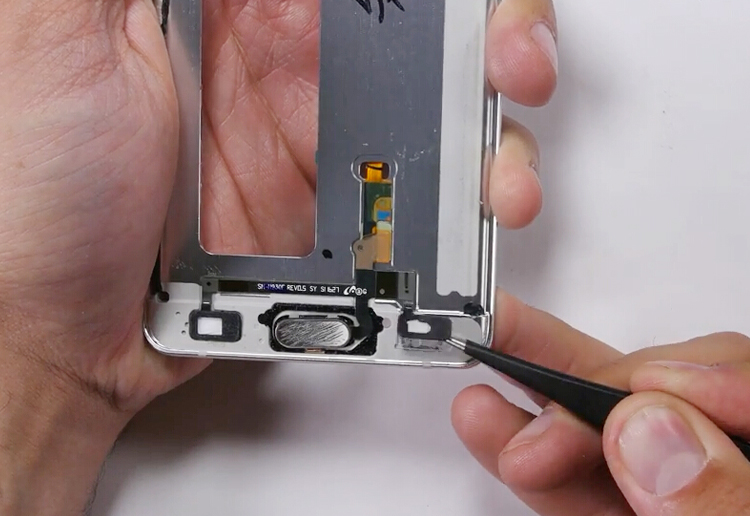
One more thing, the Galaxy Note 7 home button material is still made from metal and paint coating covered, there is the risk of getting scratched easily. Be aware of protecting your home button well.
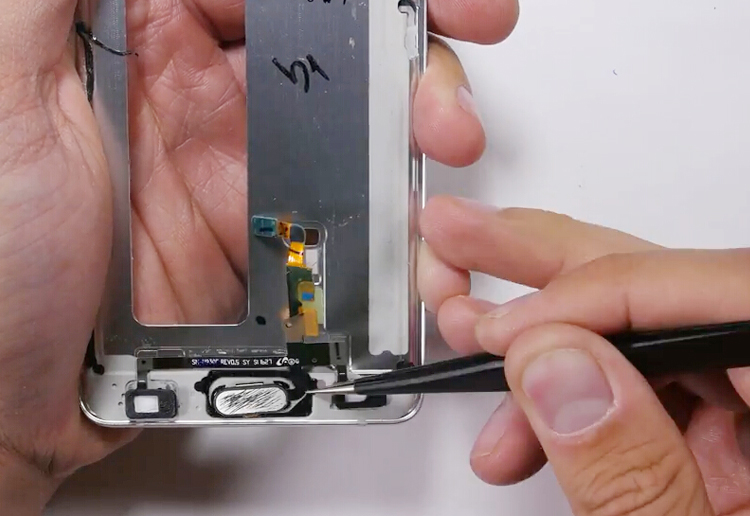
Removing the home button flex cable, then the whole teardown work has been completed by now.
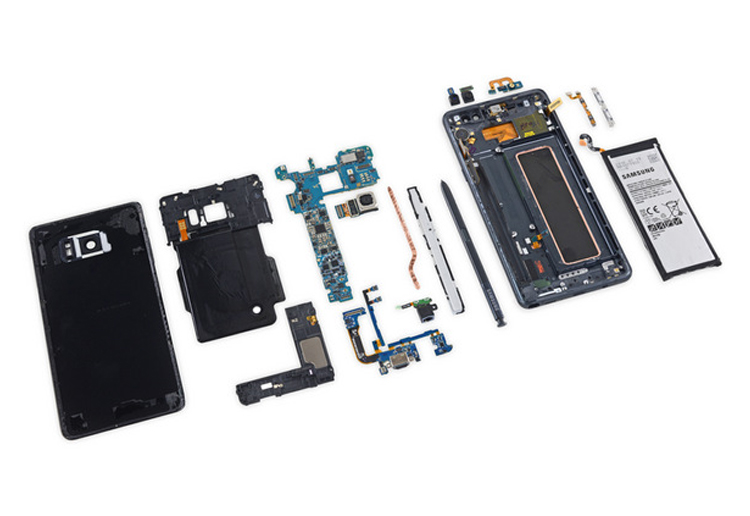
From this disassembly work we can see that the Galaxy Note 7 is easier to be fixed in some way compared to the predecessor Note 5, the USB type-C charging port flex can be replaced without disassembling the screen, the battery can be taken out without removing the motherboard. However replacing the screen is still difficult because of the curved display. Better providing some protections to your beloved Galaxy Note 7!