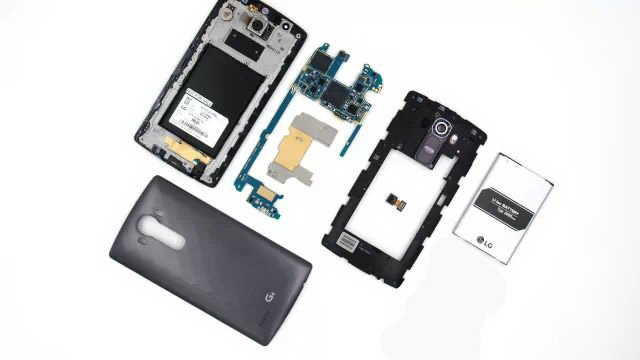
Quick Guide To Disassemble/Tear Down The LG G4
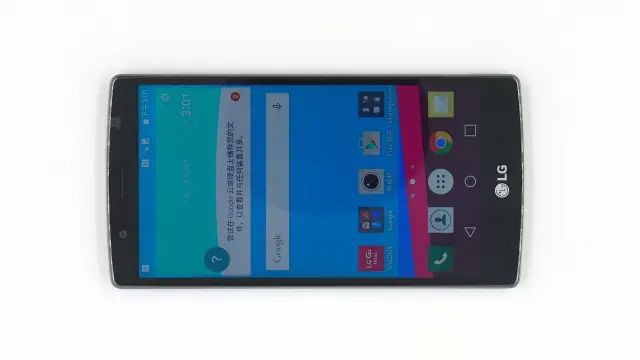
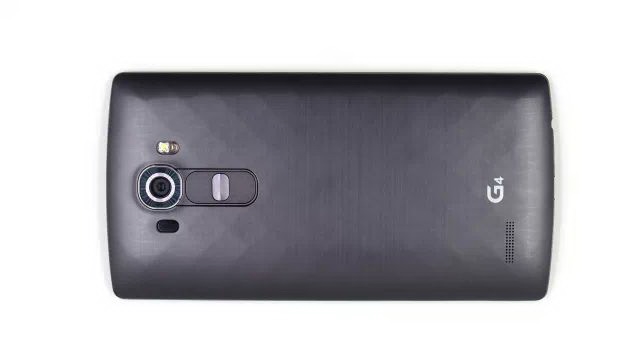
LG’s new flagship the G4 features a 5.5-inch IPS LCD capacitive touchscreen that is protected by Corning Gorilla Glass 3, not the latest generation Corning Gorilla Glass. However, great news for individuals is that even though the LG G4 is a flagship device, it’s very easy to tear down and fix. Doubt it? Let’s have a look.
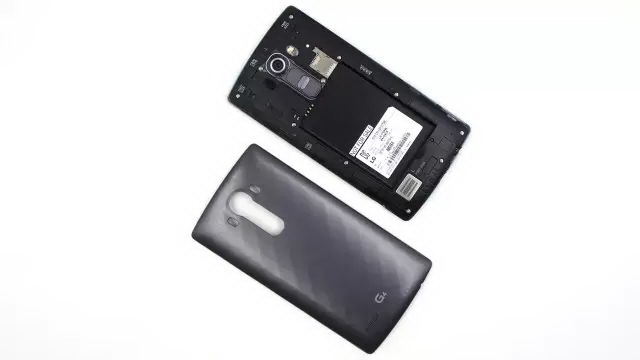
Step 1: Power off the device and remove the G4’s battery door without the help of a case opening tool or a pry tool.
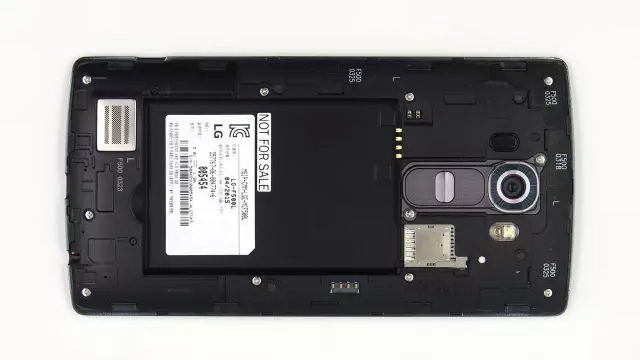
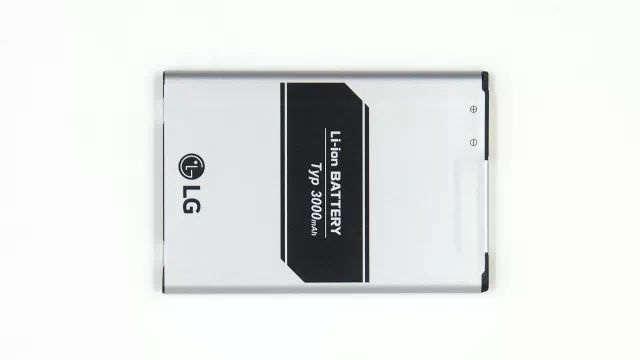
Step 2: Remove the G4’s removable battery.
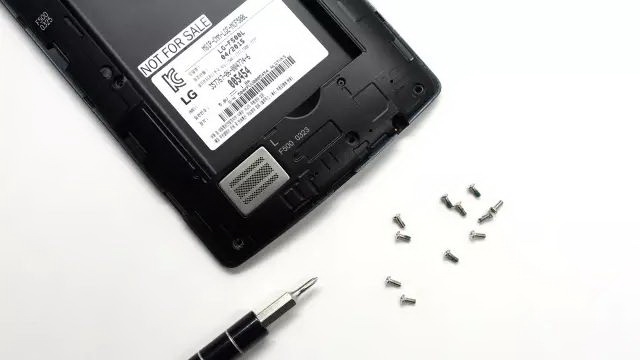
Step 3: Undo the 11 screws to remove the G4’s rear housing from the screen assembly.
Tip: the screws are all the same so no worries about mixing them up.
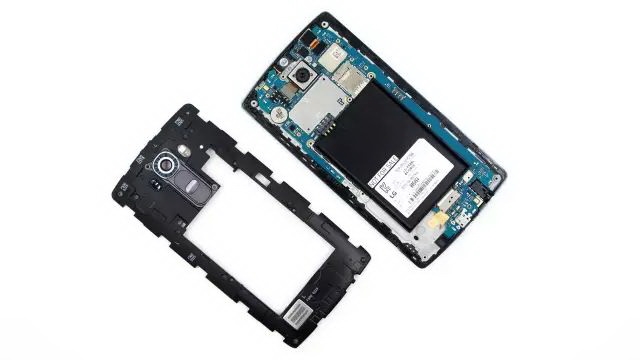
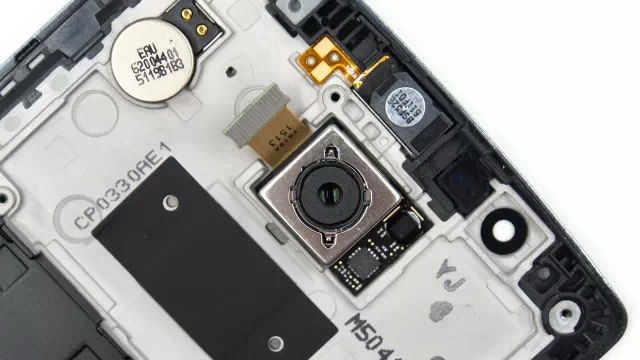
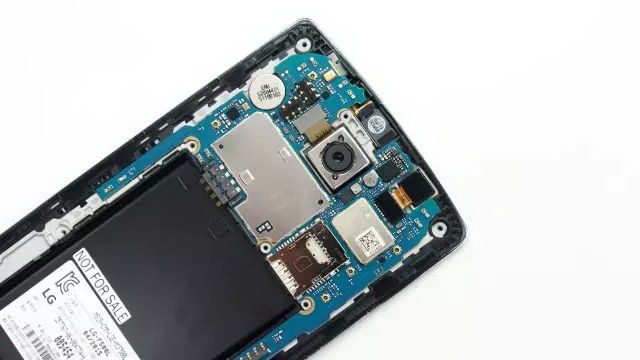
Step 4: Pry up the G4’s screen connector, front and rear facing camera flex connectors to release the logic board.
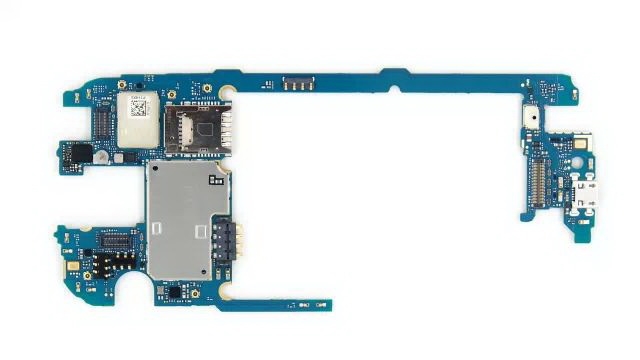
Step 5: Remove the back facing camera, vibrating motor, ear speaker and earphone jack from the front housing, and the disassembly is finished.