2016年9月2日星期五

How Does Your Waterproof Phone Prevent Water Damages?

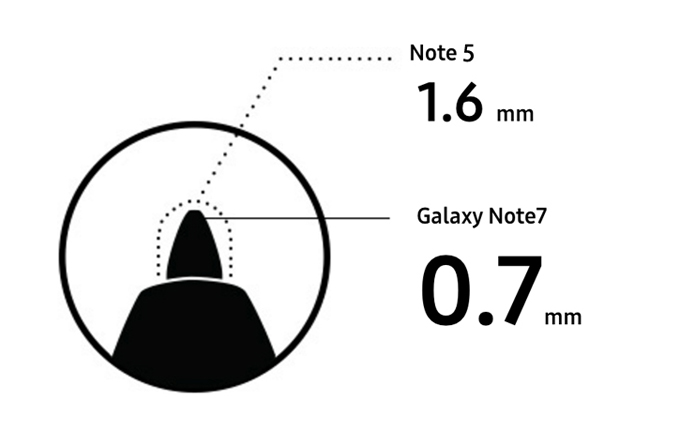
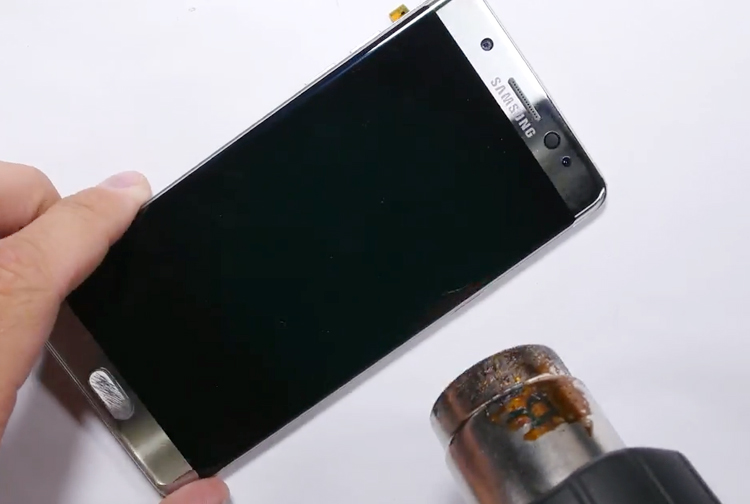
Speaking of waterproof cellphone, Sony may be the first name that comes into your mind. Nowadays more and more manufacturers are trying to make their phone waterproof, like Motorola and Samsung. As we know the new Samsung flagship- Galaxy Note 7 featuring the IP68 waterproof rating, even the iPhone 7 is rumored to be waterproof. So how does a phone become waterproof and what part should be the most important place in waterproof designs?
Generally, the waterproof materials been used most are waterproof sealant tape, sealant rubber ring, waterproof membrane, Nano waterproof coating etc. Usually these parts like back cover, ear speaker, microphone, USB interface and side buttons are the most likely places to get involved with water. As to the inside, as long as the outside parts can be well protected from water, there is hardly chance for the inside parts get wet.
External Waterproofing
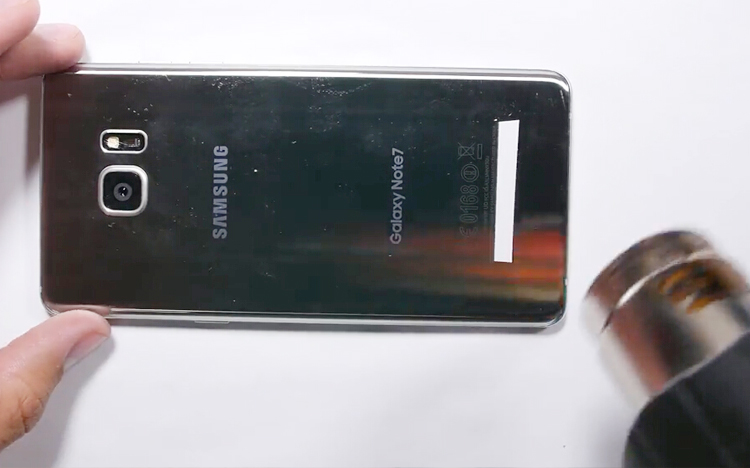
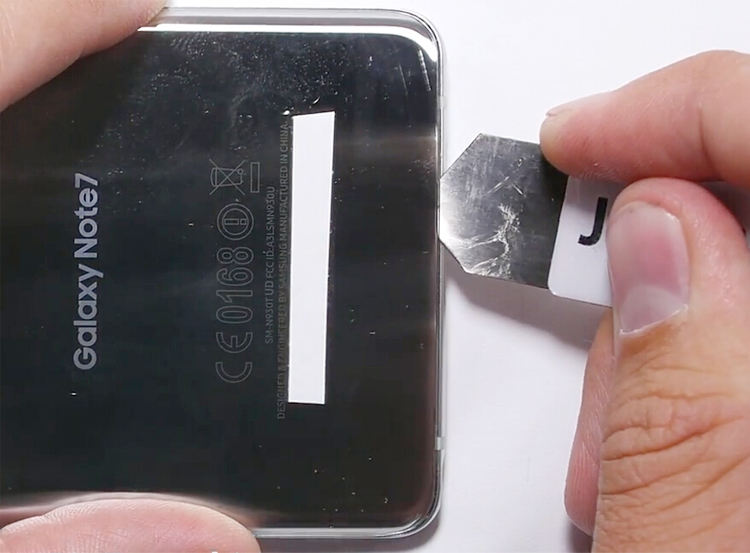
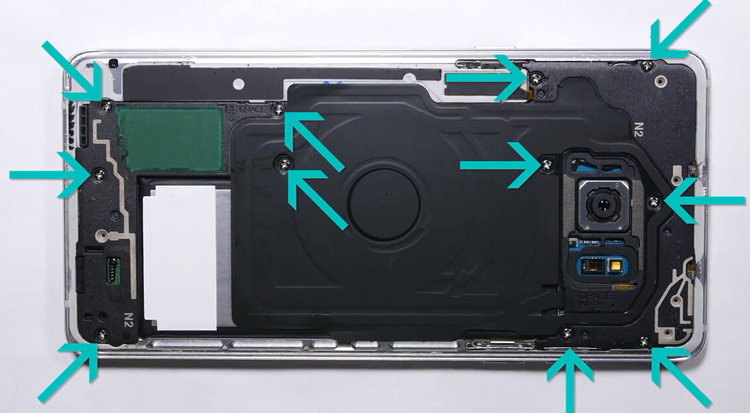
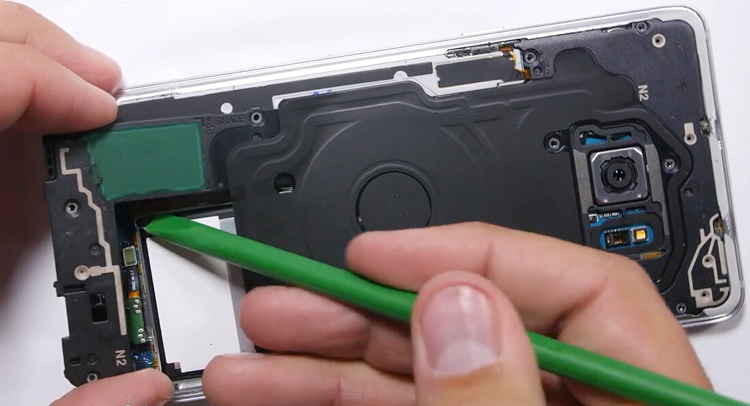
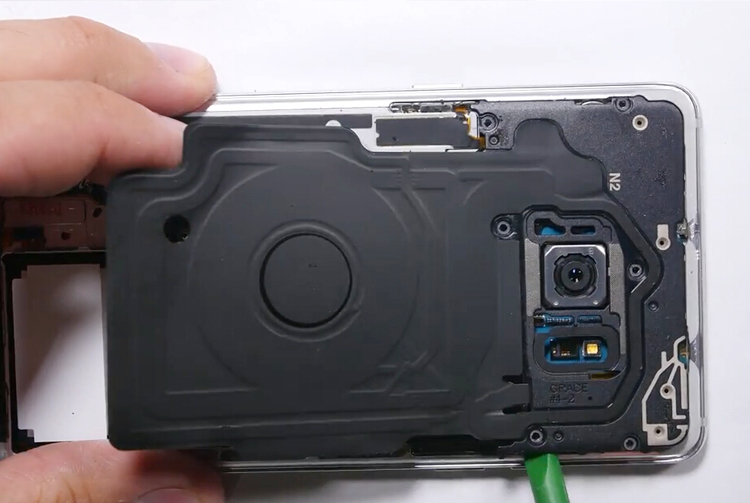
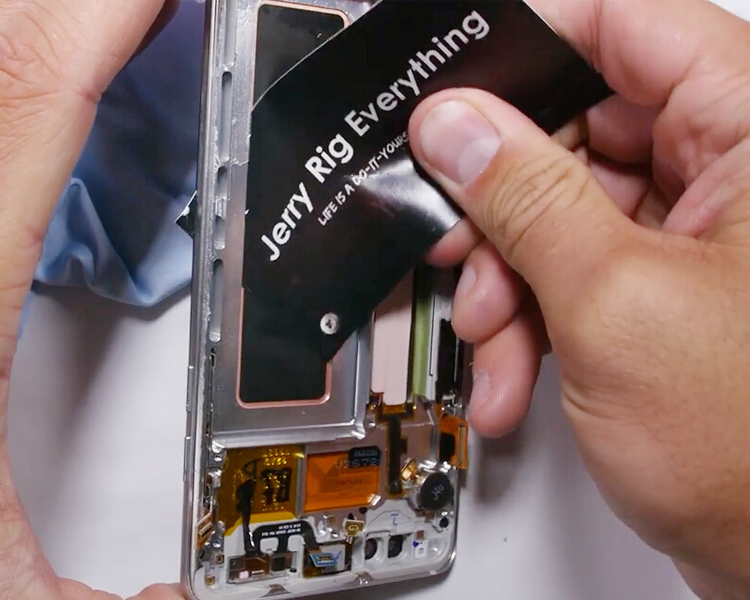
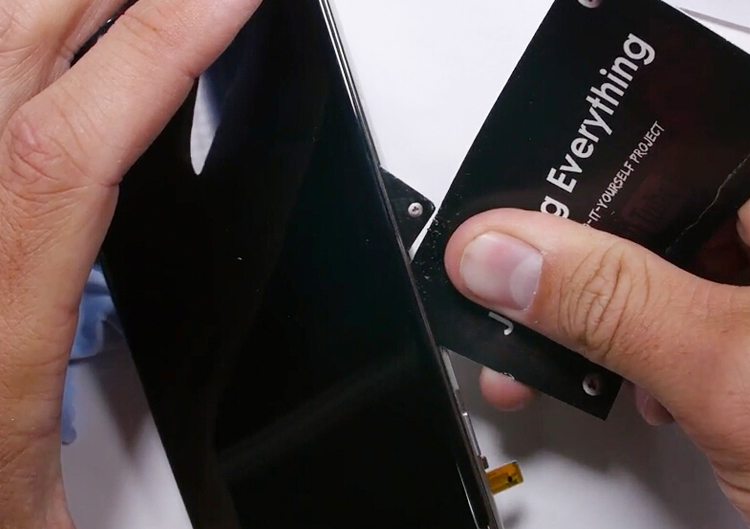
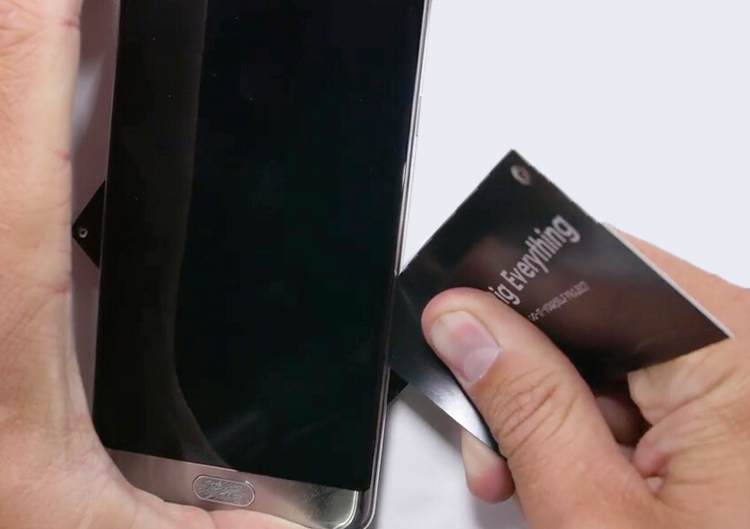
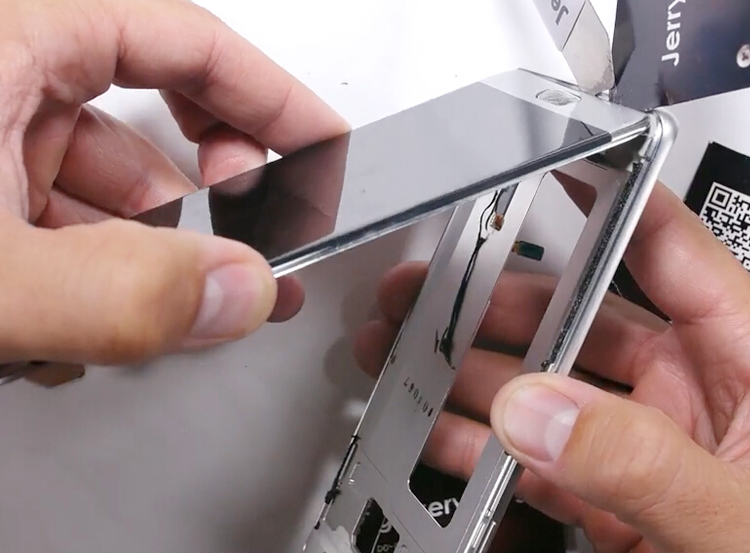
Like the gap between back shell/LCD screen and middle frame, usually there will be a strong sealant tape (as we called waterproof adhesive) fits tightly together. For example, when we disassemble the Samsung Galaxy Note 7 back glass or the AMOLED screen, we can see the strong adhesives adhered tightly to the back glass or middle frame which prevent the phone from water damages. Because of this strong adhesive, the teardown work could be harder, that’s the reason why most cellphone can’t be waterproof again when repaired by DIY repair work, the sealant tape adhesives needs to be sealed with professional skills.
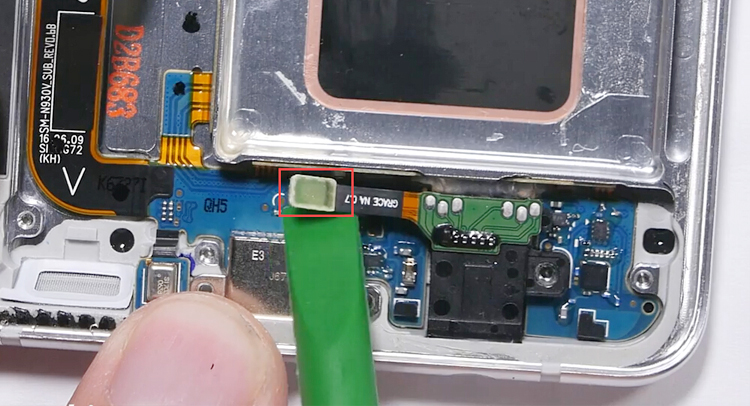
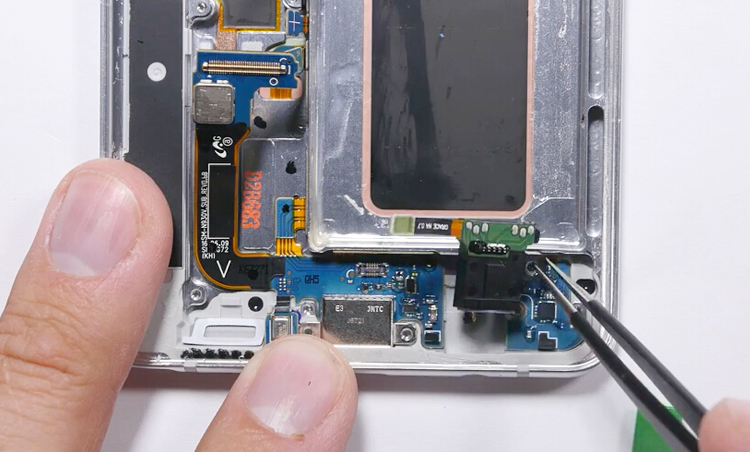
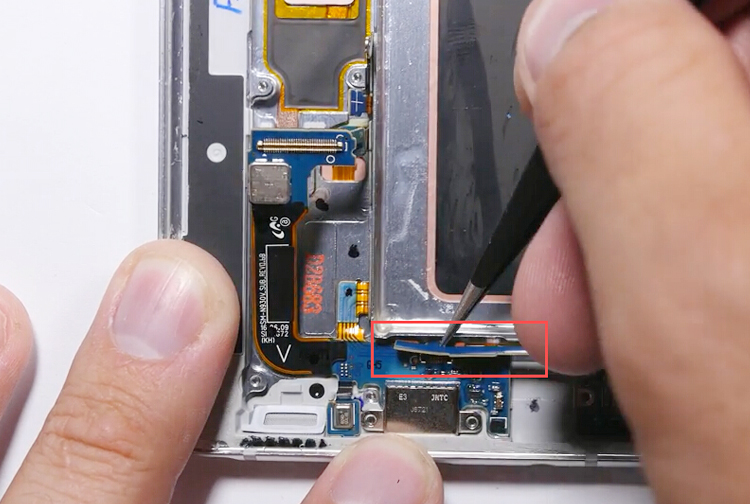
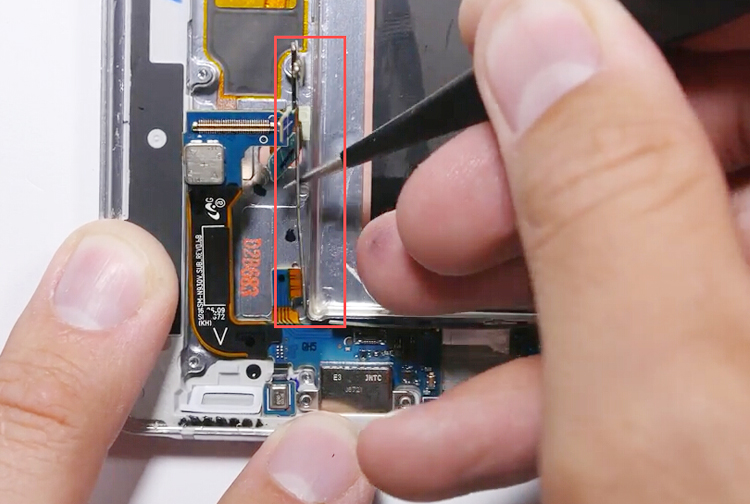
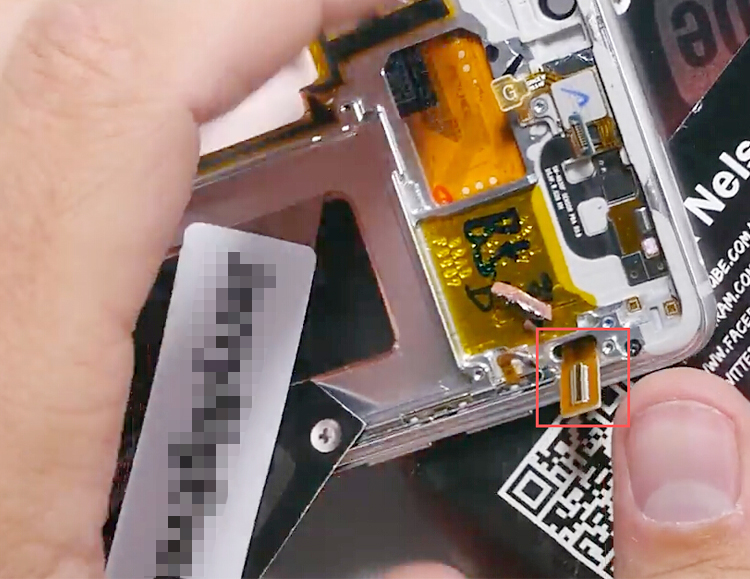
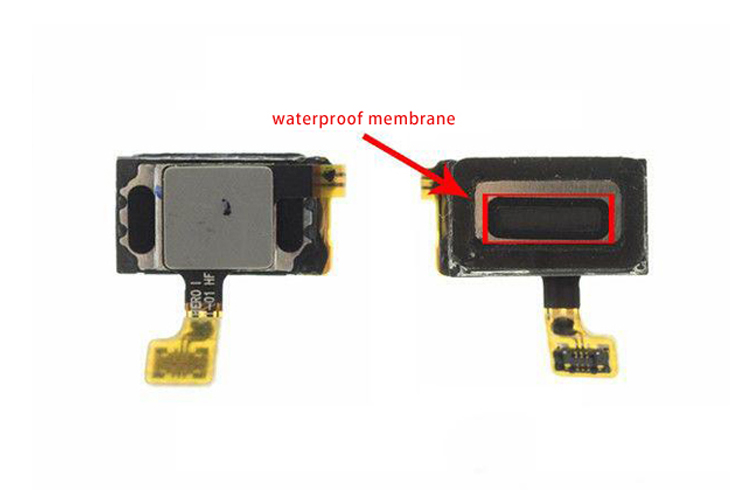
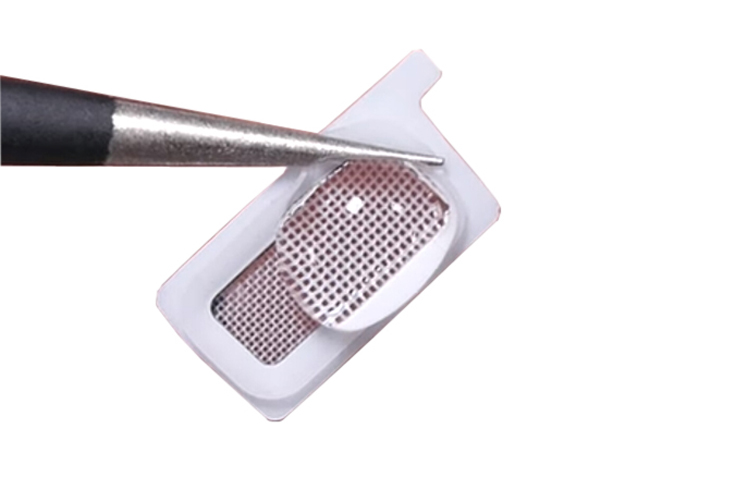
waterproof adhesives
When speaking to ear speakermicrophone (parts with porosities), which needs the assistance of air to work together. So the high-density mesh waterproof membrane is designed to use in these parts. This waterproof membrane can only let the air and voice go through, the water molecules can’t pass through without high pressures. That’s how it prevents from water damages.
cellphone outside waterproof
ear speaker waterproof membrane
seal rubber and water resistant screen
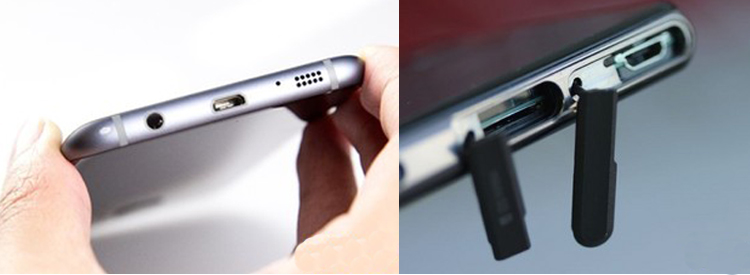
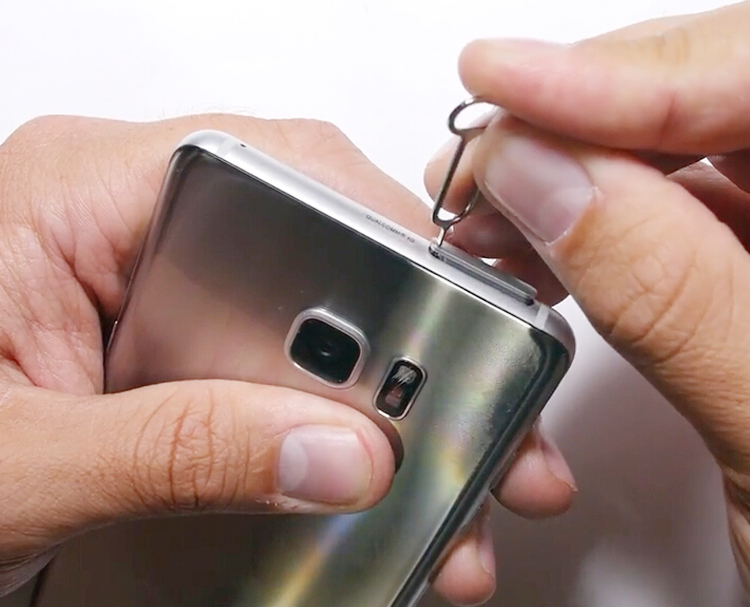
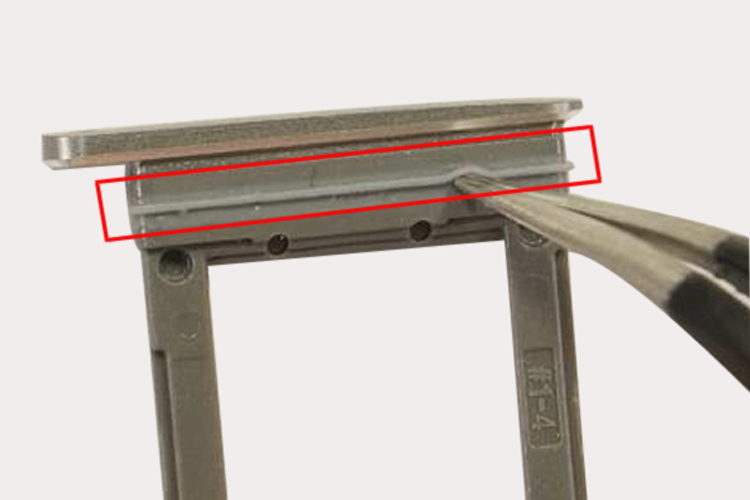
When it comes to the gap between the phone body and USB charging portheadphone jack or SIM card tray, these parts are often sealed with the sealant rubber ring.
Galaxy Note 7 headphone jack rubber seal
galaxy note 7 headphone jack waterproof
Galaxy S5 SIM card tray rubber seal
note 5 sim card tray
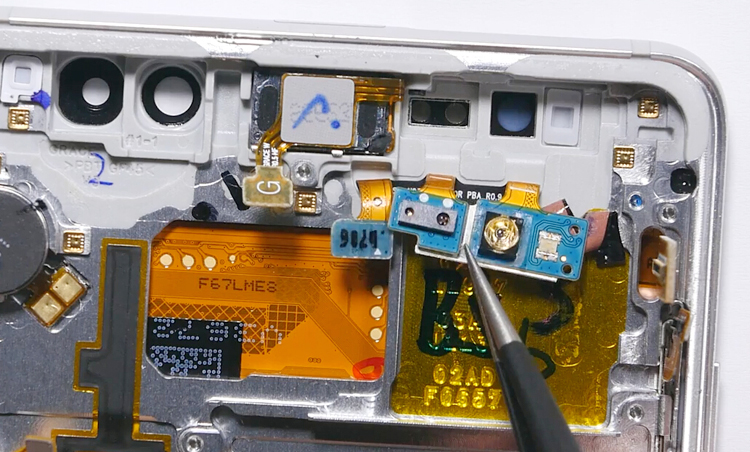
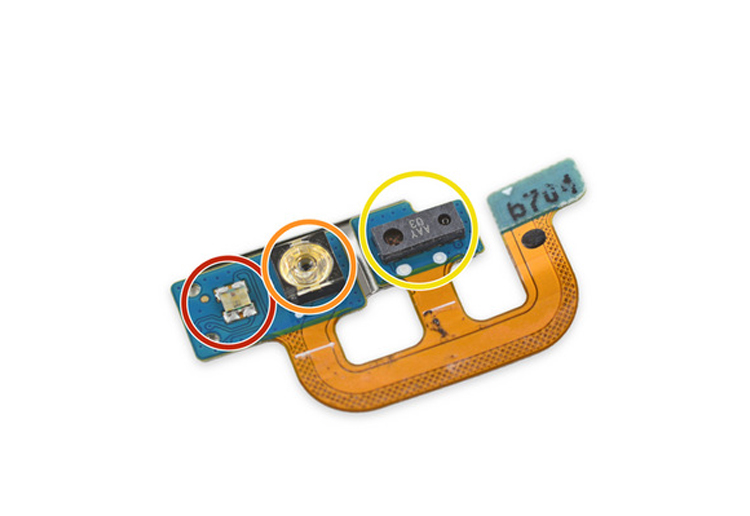
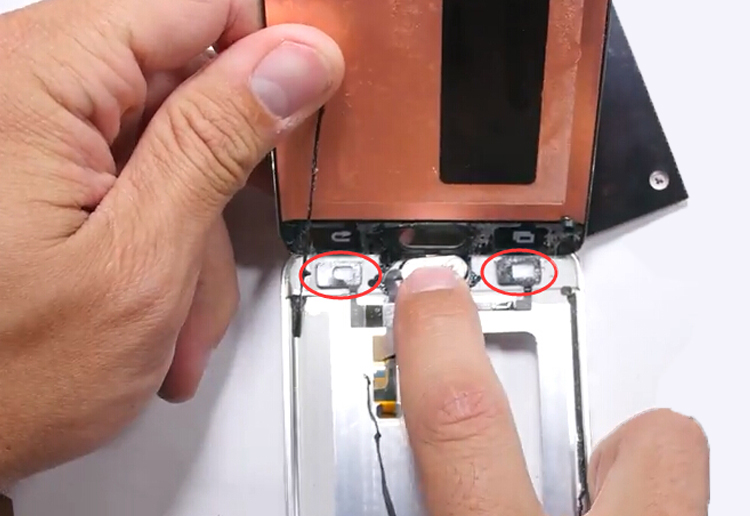
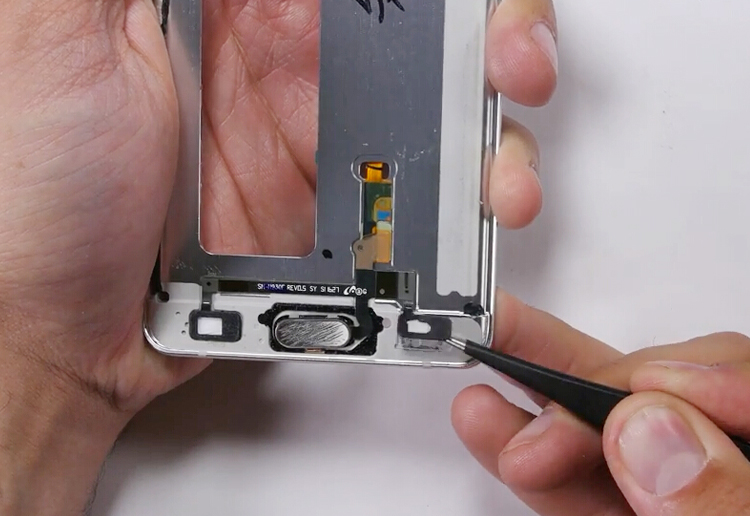
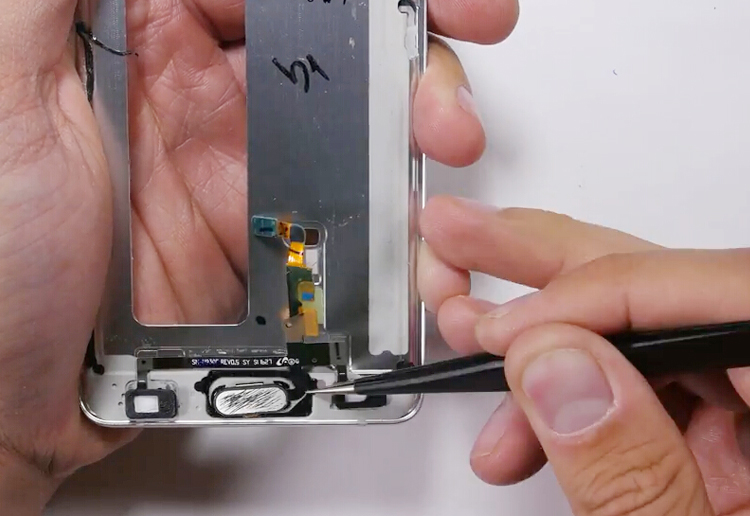
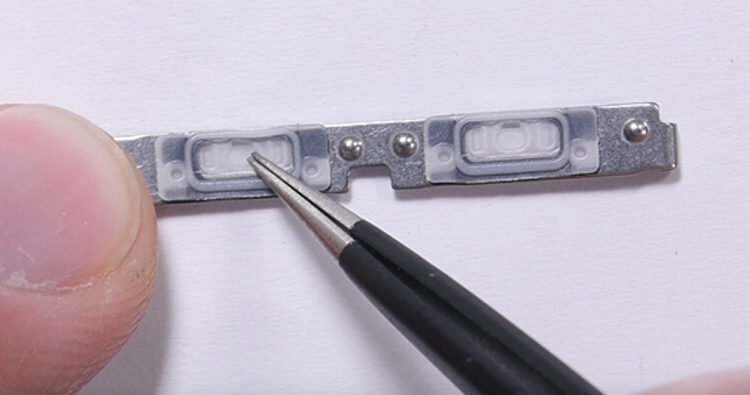
As to volume & power button or home button parts, they are also prevent water from entering the mobile phone inside by means of waterproof membrane or sealant rubber ring.
Galaxy Note 7 side buttons watertight seal
galaxy note 7 home button adhesives
galaxy note 7 side buttons
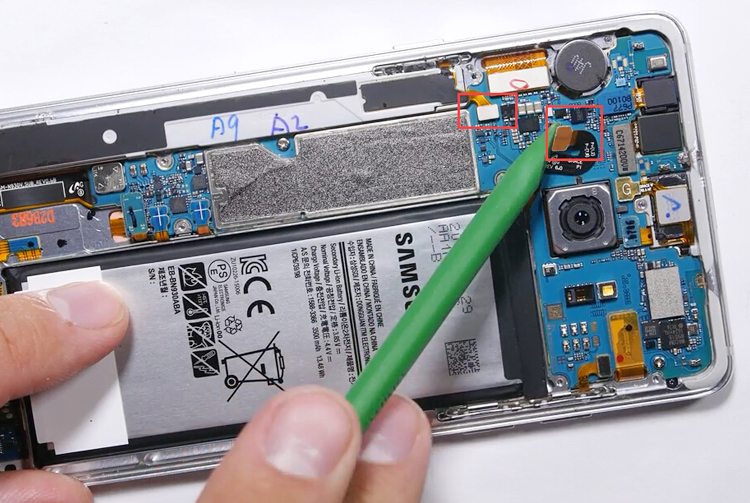
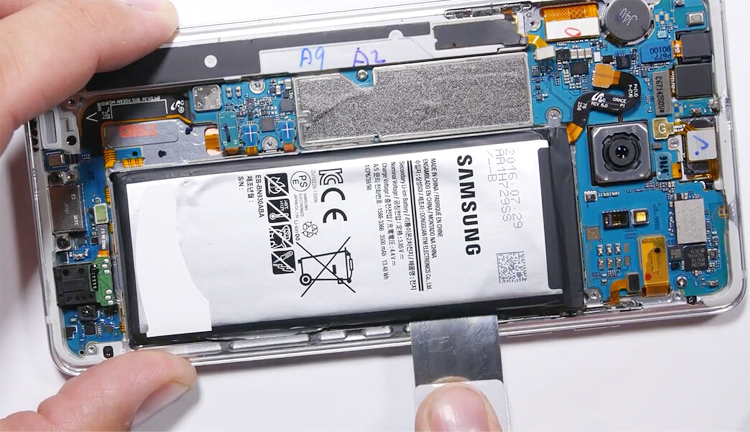
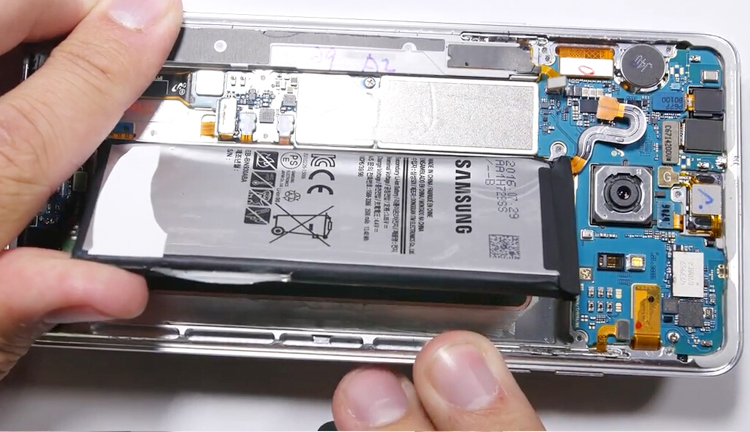
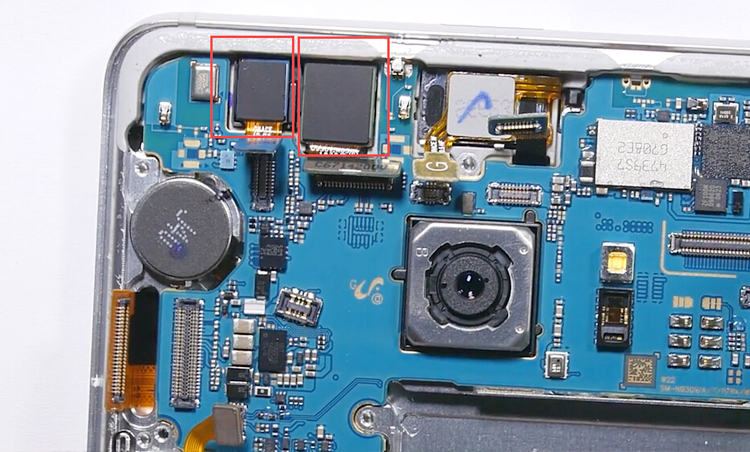
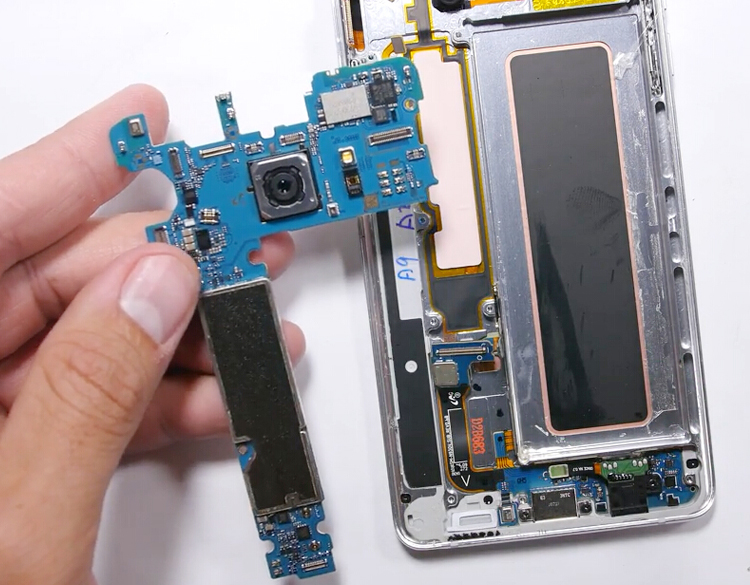
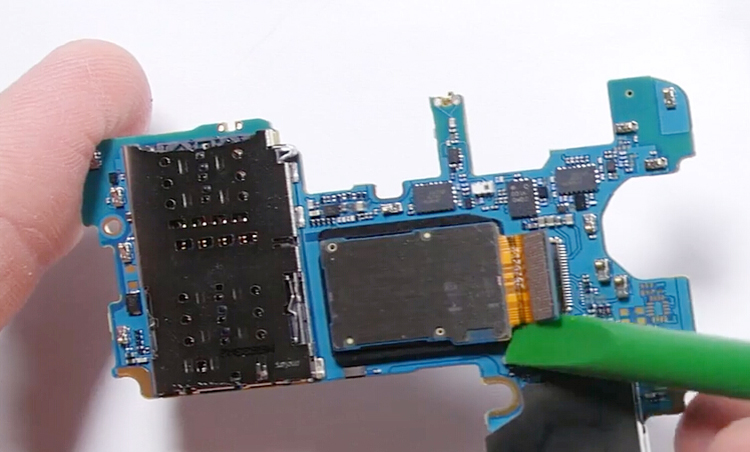
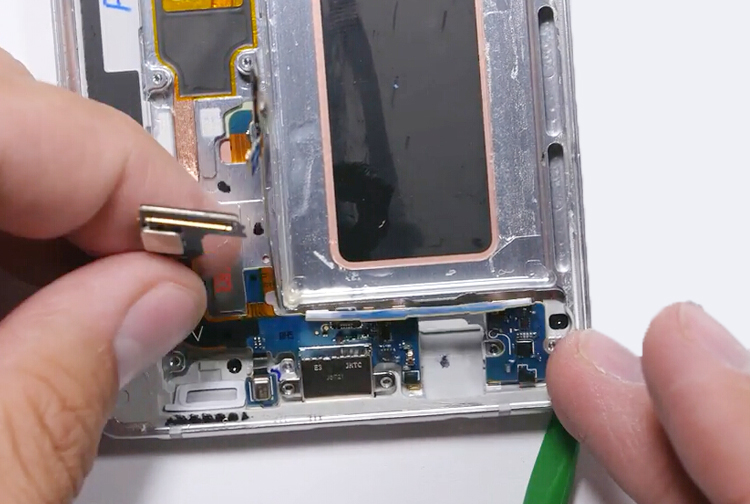
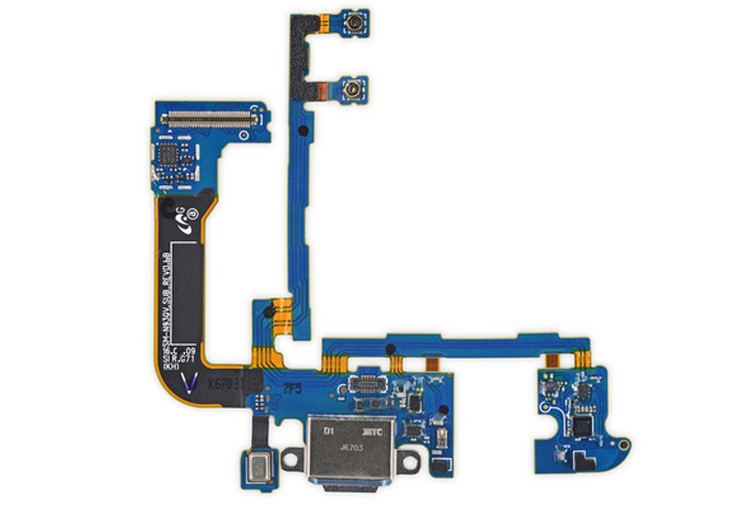
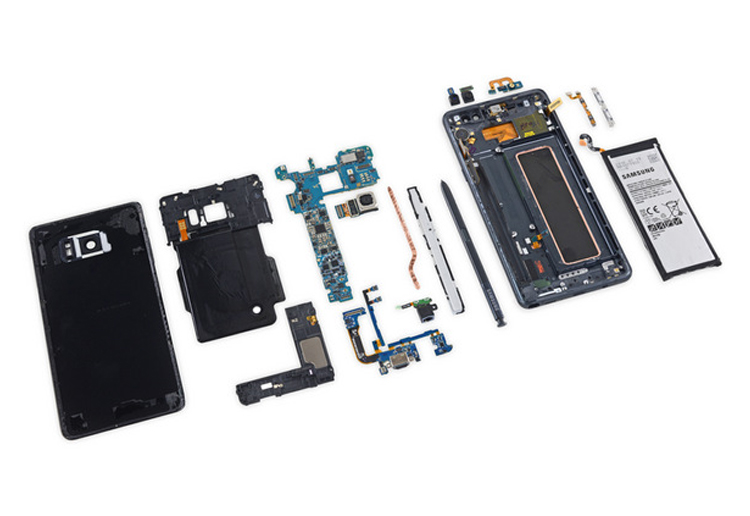
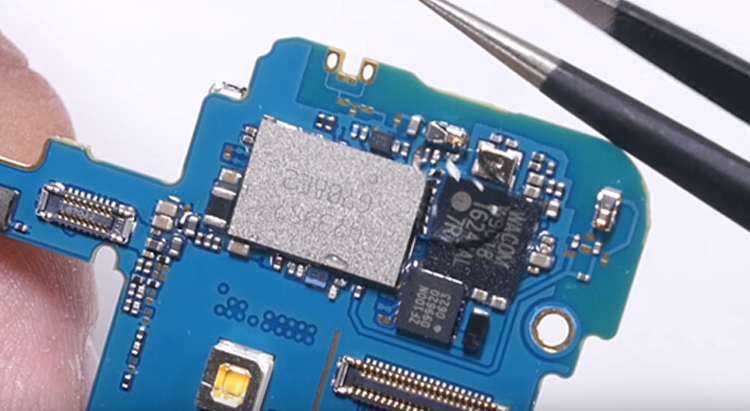
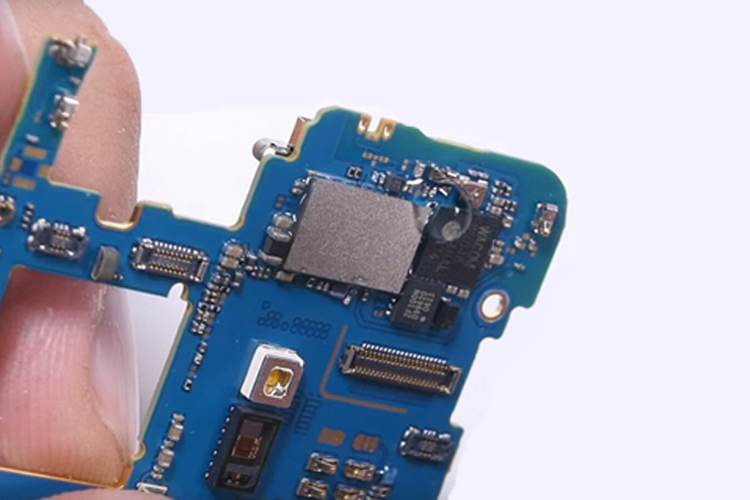
Internal Waterproofing—mainboard
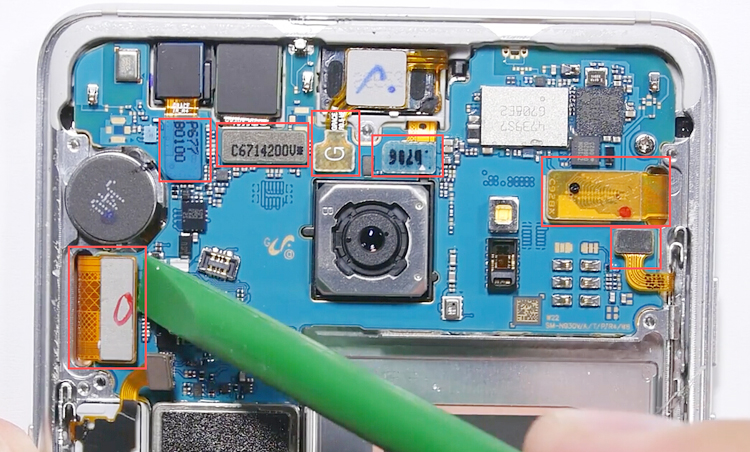
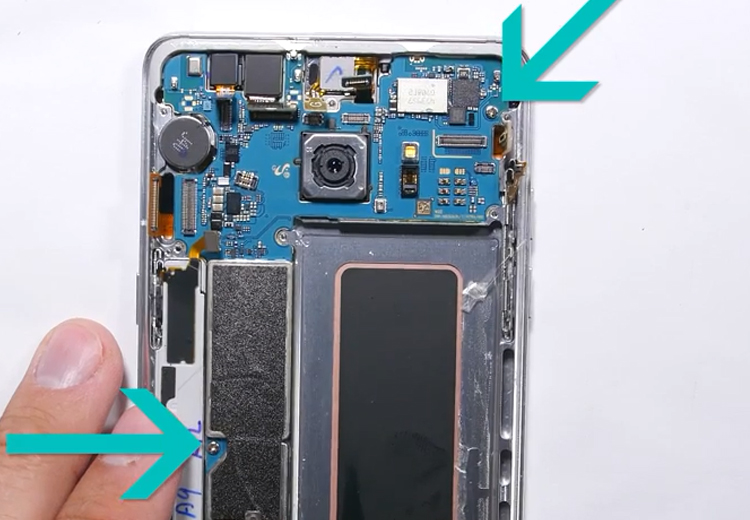
As to the core part of the mobile phone—the mainboard, the way to keep it away from water damage is covering the mainboard with the nano waterproof coating layer, once this layer has been applied to the motherboard, the ultra-thin nano protective film will be generated to prevent the contact between electronic components and water, thus, even though water seeped into the mainboard, still these electronic components on the mainboard will not be damaged. However covering the waterproof coating can be a tough and costing job for the cellphone manufacturers.
motherboard nano waterproof film
motherboard waterproof film
Through these analysis of waterproof cellphone above, we can see that waterproof design is not that difficult, the most used waterproof material are sealant tape, rubber seal ring, waterproof membrane and waterproof hydrophobic coating, sealing up the weak points where there is a possibility for water to enter with these waterproof materials can help your phone away from bad water damages. So if there is no such difficulties in waterproof design, why the waterproof function is not equipped with most of cellphones? Supposingly the main reason is that if the waterproof design has been added, the difficulty and steps for cellphone production will increase as well, and the defect rate may increase along with it. What’s more, there should be a very strict quality test before and after mass production, the cost increasing can be another big factor which affect the polularization of the waterproof mobile phone.
Also we should know that even though your cellphone featuring waterproofness, still you need to be take good care of it, even an IP 68 waterproof rating cellphone can be ruined by water damages which is not covered by the manufacturer warranty.

10 New Tips & Tricks of Galaxy note 7 S Pen you need to know

As the new flagship of SAMSUNG --- Galaxy Note 7, has been released not long ago, which attracted attentions of so many fans, the new Note 7 E-S Pen, which is one of the most landmark highlights of Samsung Note series phone, has been endowed with a variety of new features, let’s see what’s the new features S Pen has been added to.
The new look
When speaking of the S pen, we can’t help to compare it to its predecessor – the Galaxy Note 5’s S pen. The new Note 7 S pen is 2.6mm shorter than the Note 5 S pen, and the Note 7 S pen’s nib is just 0.7mm thin while the Note 5’s S pen nib is 1.6mm, which means the touching is more precisely. What’s more, the writing pressure has been improved to 4096 for better sensitivity.
1.note 7 and note 5 s pen
2.note 7 s pen nib
New functions
Translate
The first new Air Command (removing the S-Pen from its dock will fire-up Air Command) is to ‘Translate’, it is said that users with new S Pen slip at the bottom of the foreign language vocabulary, S Pen can translate the meaning of the word. It supports 71 different languages in total.
3.note 7 s pen translation
Magnify
As long as the new S Pen hovering on the phone's screen, the selected region can be enlarged and the magnification diameters can also be adjusted.
4.note 7 s pen magnify
Glance
The 3rd new Air Command is called ‘Glance’, when used, Glance will minimize the current app, placing it in the bottom-right corner. You can then use the Note 7 to carry out other tasks, hovering the S Pen above the app thumbnail to "glance" at it.
5.note 7 s pen glance
More Tips
Making Gifs easily
Using the Note 7's Smart Select tool, you can now create animated images on the fly, highlight the area you want to turn into a GIF, you can record up to 15 seconds.
6.note 7 s pen gif maker
Screen off memo
You can just jot down quick notes with the screen turned off, and you can even pined it to the always-on display, there's a small little pin at the top that you'll be able to hit.
7.screen off memo pin
Screen write
When use this function, a screenshot picture will be produced, and then you can write whatever you want on the screen, you can undo it, erase it, crop it and share on all the social media.
8.note 7 S pen write notes
Create notes
Tap create notes then you can start writing, taking notes, drawing with different brushes and colors, easy and convenient.
10.note 7 s pen write notes
Waterproofness
Waterproofness is another advantage of this new E-S pen, featuring IP68 rating waterproofness makes you are able to even use the S Pen to write on the Note 7 while under water.
11.note 7 s pen waterproof
S pen alerts
This function is very meaningful because if you forgot your S pen on the table or anywhere else and you walked away, what’s going to happen is that your phone is going to beep to tell you that the S Pen is not recognized inside so you won’t forget it anywhere, as long as you have set it before, so you will never lose your S pen.
12.NOTE 7 S PEN alert
S pen stuck problem solved!
Believe that many people have been troubled by the note 5 S pen stuck problem, this time it is impossible to stick the new Galaxy Note 7 E-S pen in backwards, the S pen will be stuck when inserting it backwards and you can’t insert it deeper anymore, so you don’t have to worry about the S pen stuck problem anymore.
13.note 7 s pen stuck problem solved
In a word, we can see that the Galaxy Note 7 S pen is more than just a writing tool, which brings us a lot more conveniences and funs. If you have found something more enjoyable with the new S pen, welcome to share with us!

2016年8月23日星期二

Galaxy Note 7 Teardown for screen, battery, charging port replacement

Since the most attracting new flagship of Samsung, the Galaxy Note 7 has been released not long ago, many Samsung fans are eager to see how difficult it is to replace the battery, curved screen or charging port, here we’re going to give it shot -- disassembling the whole Note 7 to see what’s the differences when compared to the Galaxy Note 5 in repair procedure.
Repair Tools Needed:
Heat gun or hair dryer
Guitar pick or sharp cards
Step 1 Remove back glass cover
Power off the phone and take out the S pen first.
1.power off note 7
2.take out note 7 s pen
Then remove the SIM card tray.
3.take out sim card tray
Heat up the back glass cover for a while like always.
4.heat up note 7 back cover
Then insert the metal opening tool to pry up the back glass cover.
5.pry up note 7 back glass
Use a sharp paper card or guitar pick to cut the waterproof back cover adhesive stickers. (You may need to heat up the back cover several times when cutting the adhesives, just take your time)
6.cut back glass adhesive sticker
After loosen all the adhesive stickers around the edges, you can remove the back cover now.
7.remove back glass cover
Step 2 Remove battery
Undo 11 screws on the plastic back frame by Phillips screwdriver.
8.undo screws
Then the loudspeaker module comes out easily.
9.remove loudspeaker module
Next move, take the wireless charging & NFC pad away.
10.remove wireless charging&NFC Pad
Then release the battery connector and the S pen connector.
11 remove battery and s pen connector
Now the battery can be taken out, use a metal opening tool to pry it up, be careful not to hurt the battery, the tough adhesive is underneath.
12.pry up battery
13.remove battery
Step 3 Remove small parts
After remove battery, then we can release all the connectors here, the screen ribbon connector, camera connector, earpiece connector, sensor connector, another screen ribbon connector and power flex ribbon connector.
14.undo all the connectors
After that you need to undo 2 screws before removing the motherboard.
15.undo 2 screws
By the way, remove the front facing camera and iris scanner.
15.1 remove front and rear camera
Moving down, there are 3 new connectors, 2 signal cable connectors and the home button cable connector.
15.loosen connectors
Lift up the motherboard, don’t be so urgent to tear apart the motherboard cause there is still a connector to the charging port on the bottom.
16.lift up motherboard
17.loosen connector
18.mother board
Next step you can remove the rear facing camera from the motherboard now.
19.remove rear camera
Back to the middle frame assembly, we can start with the front array, which comes with an infrared LED helping with the iris scanner in low light situation.
19.1 front array
front sensor array
Then undo 3 screws to remove the headphone jack cable and charging port flex cable.
20.remove 3 screws
Release the headphone jack flex cable connector and remove it.
21 loosen headphone jack connector
22.remove headphone jack
Next we’re going to take out the type-C charging port flex cable. Pry it out from that gap and then lift the signal cable which connected to the charging port flex.
23.pry out charging port flex
24. pry up signal cable
Now remove the USB type-C charging port, which is another new try for Samsung.
25.remove charging port
note 7 charging port flex cable
Step 4 remove AMOLED screen assembly
Heat up the screen for a while.
26. heat up screen
Then use a sharp card to insert into the gap between the screen and the middle frame from the inside.
27.insert card to screen gap
Use another card to insert to the little gap to loosen the supporting frame adhesives.
28.separate screen and frame
29. loosen screen adhesives
Have to say that this is a real hard job to loosen all the screen adhesives around the whole edges, there is a big risk damaging the screen, you need to be very careful.
Note: when cutting the screen adhesives, be careful not insert the card too deep in case you broken the screen flex cable ribbon.
30.do not ruin the screen cable
If you feel harder releasing the adhesives, try to apply more heat to the screen.
31.separate screen
Also there you need to be careful with the touch key pad when removing the screen off the middle frame.
32.be careful with touch button flex
Now we can remove the home button flex cable.
33.remove home button flex
One more thing, the Galaxy Note 7 home button material is still made from metal and paint coating covered, there is the risk of getting scratched easily. Be aware of protecting your home button well.
34.remove home button flex cable
Removing the home button flex cable, then the whole teardown work has been completed by now.
note 7 teardown
From this disassembly work we can see that the Galaxy Note 7 is easier to be fixed in some way compared to the predecessor Note 5, the USB type-C charging port flex can be replaced without disassembling the screen, the battery can be taken out without removing the motherboard. However replacing the screen is still difficult because of the curved display. Better providing some protections to your beloved Galaxy Note 7!