2016年2月28日星期日

How to Tear Down/Disassemble the Galaxy S7 for Screen Replacement

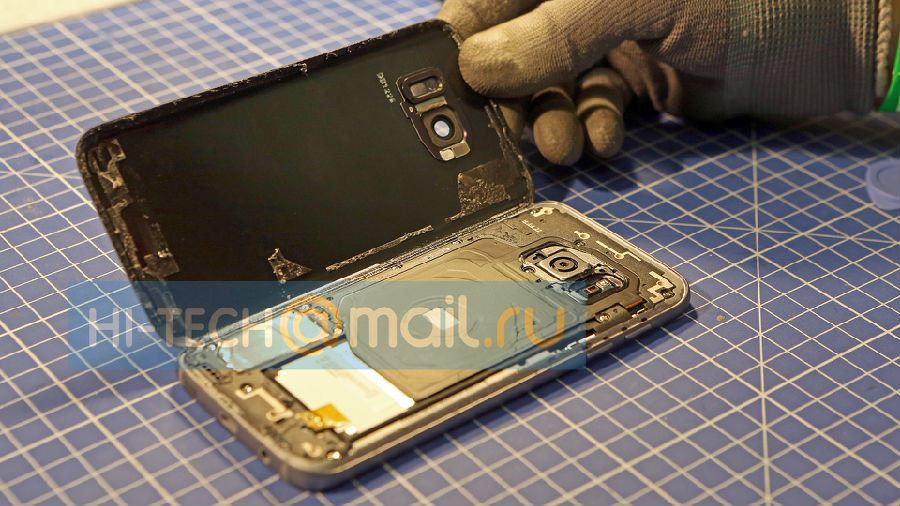
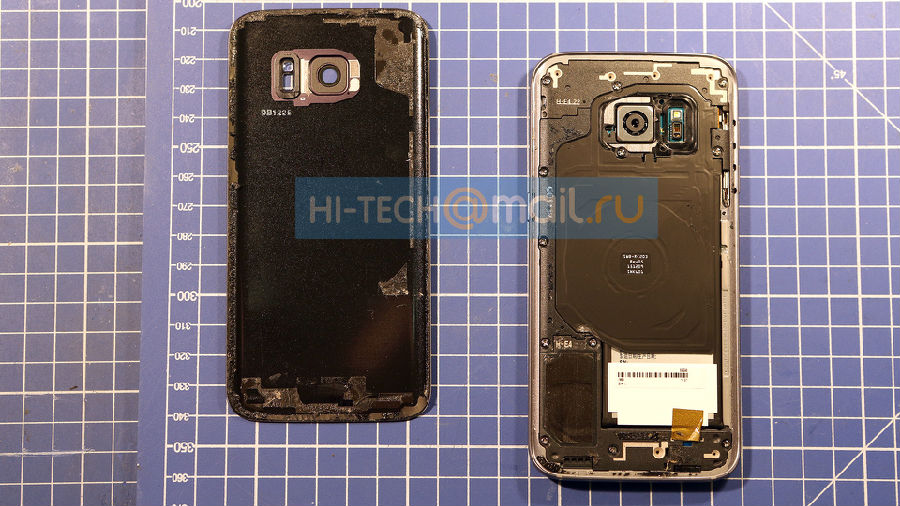
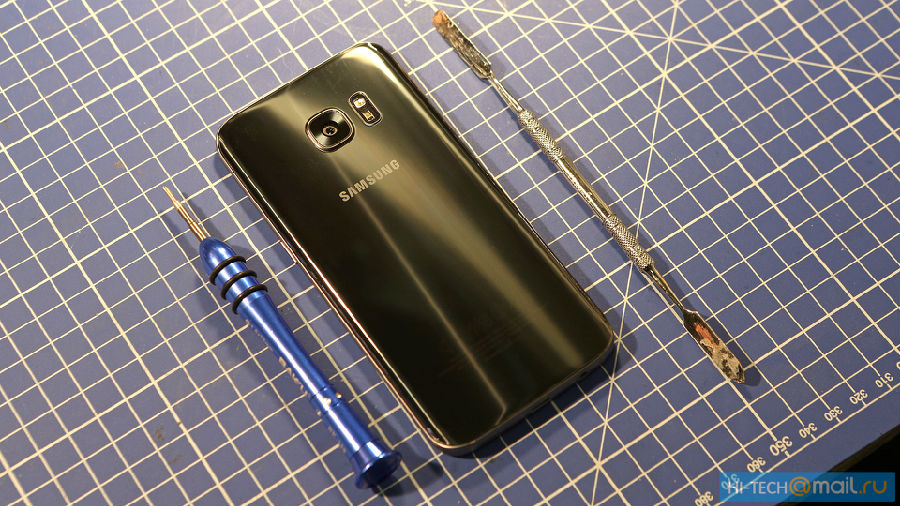
The Samsung Galaxy S7 and Galaxy S7 Edge were annouced days ago in the MWC 2016, which are about to come to meet the public soon. However, before it's officially released, a Russian tech site namedHi-Tech had got a Galaxy S7 and disassembled it right at the moment. Here we followed his steps and watched how this IP68 rate Samsunng flagship was torn down.

Tools Needed:
• Heat Gun/Hair Dryer
• Spudger

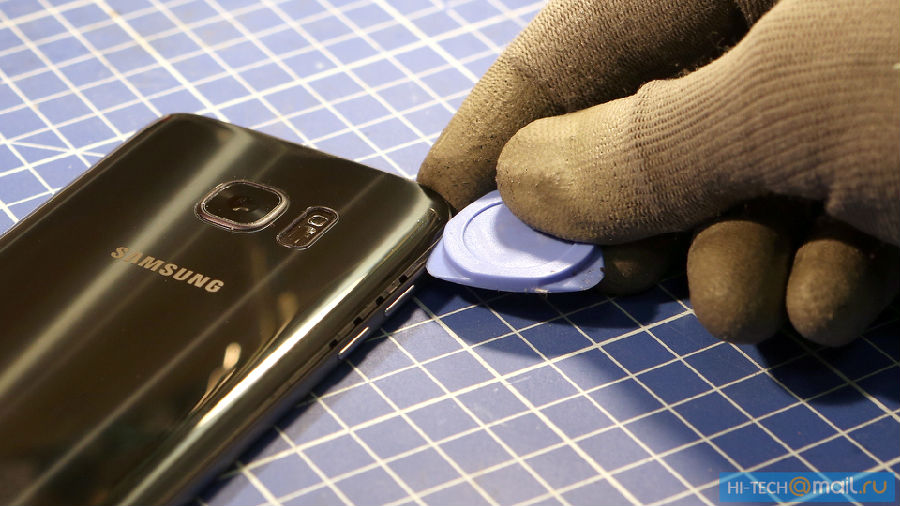
1. Power off the device, heat up around the edges to soften the back cover adhesive underneath. Gently pry or pull it up until a gap shows up, then insert a guitar pick in between and running it around to separate the Galaxy S7 back cover.
Notice: the back cover is tightly sealed to the frame by waterprof adhesive in order to keep the device waterproof. However, if the Galaxy S7 back side was exposed to the sun or high temperature for a long time, the adhesive and gasket will get deformed, making the waterproofness weaken or lost.
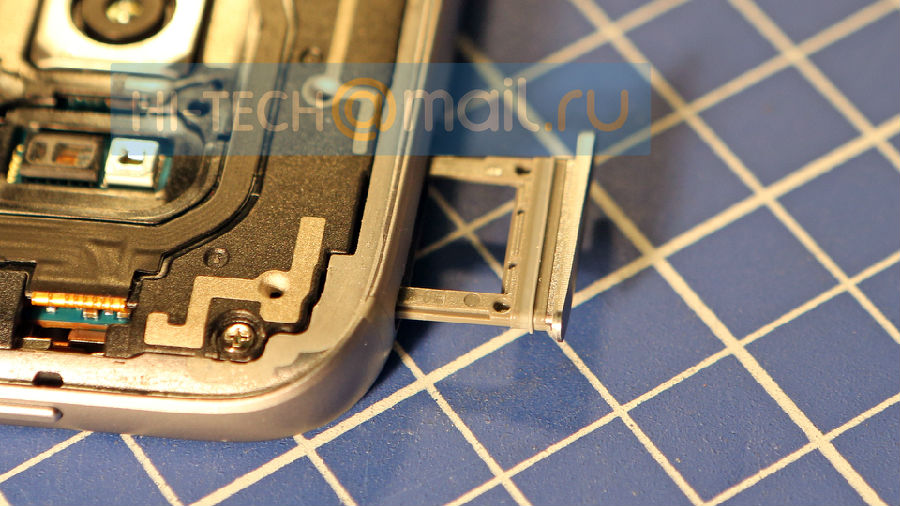
2. Remove the Galaxy S7 SIM card tray.
Notice: as you can see from the below picture, the SIM card tray is also wearing waterproof adhesive so as to protect the device from moisture.
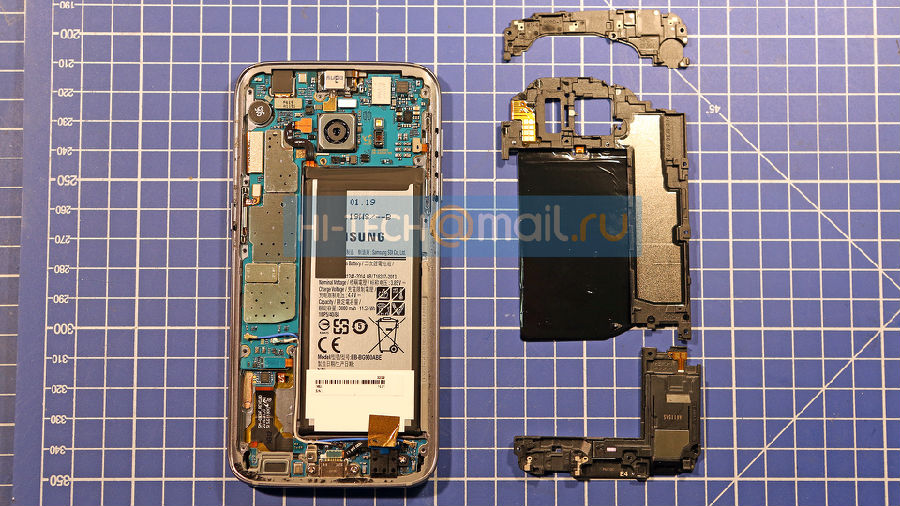
3. Undo the 13 screws in the Galaxy S7 rear housing, gently pry up to release the top cover, rear housing and loudspeaker module.
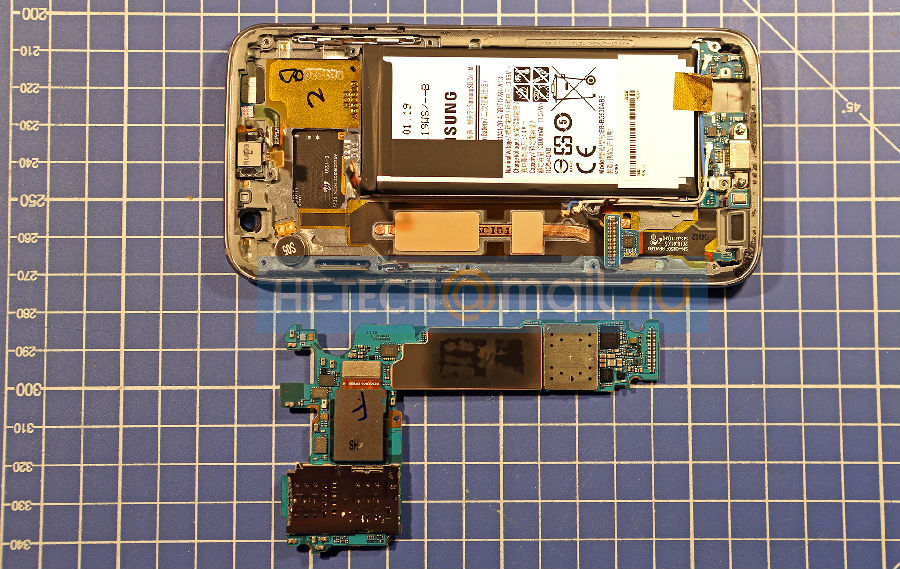
4. Pry up the 10 connectors to release the Galaxy S7 motherboard.
Notice: the 10 connectors are including front camera connector, battery connector, ear speaker connector, 3 screen connectors, 2 RF signal cable connectors, charging port flex connector and a motherboard connector on the back side.
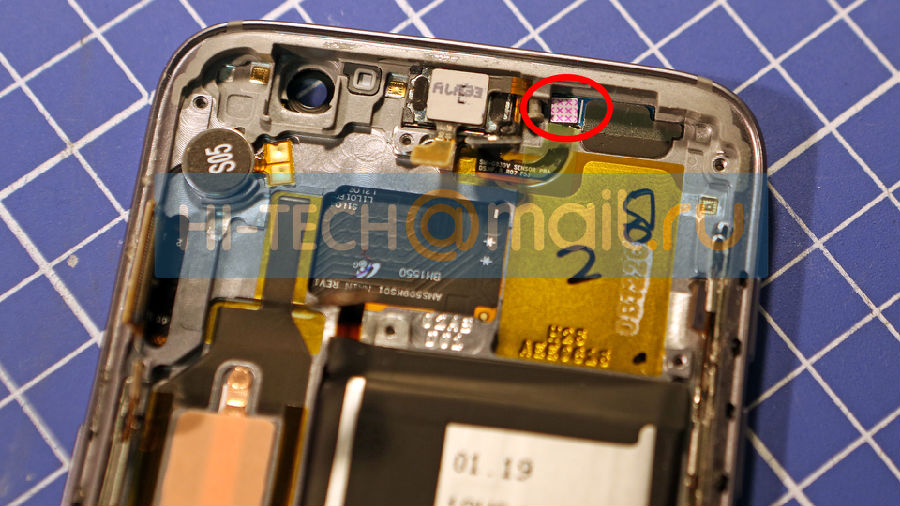
5. The water damage detector sticker is placed between the earphone jack and ear speaker.
Notice: the sticker is a symbol for technicians to examine whether the Galaxy S7 is water damaged or not as it will go red once any liquid permeates in. 
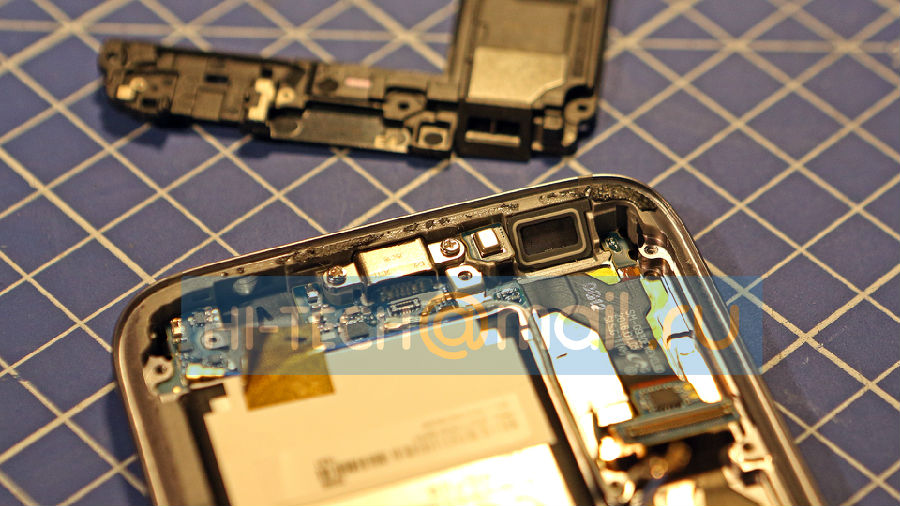
6. Remove the yellow tape covering the Galaxy S7 microphone. 
Notice: the microphone is also covered by a rubber gasket to keep the moisture from seeping in.
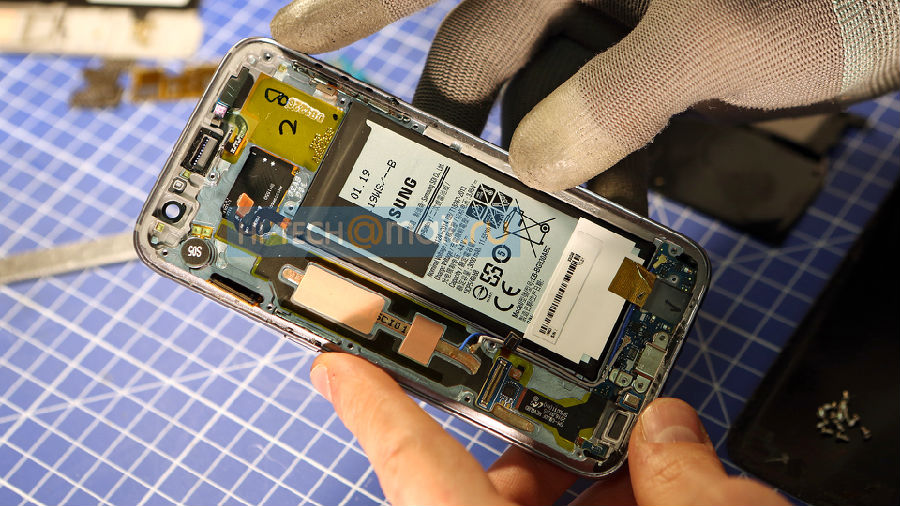
7. Gently pry up to release the Galaxy S7 battery.
Notice: as suggested before, the battery capacity is 3000 mAh. Besides, the battery sticker indicates that the working tempeture should not be higher than 45°C.
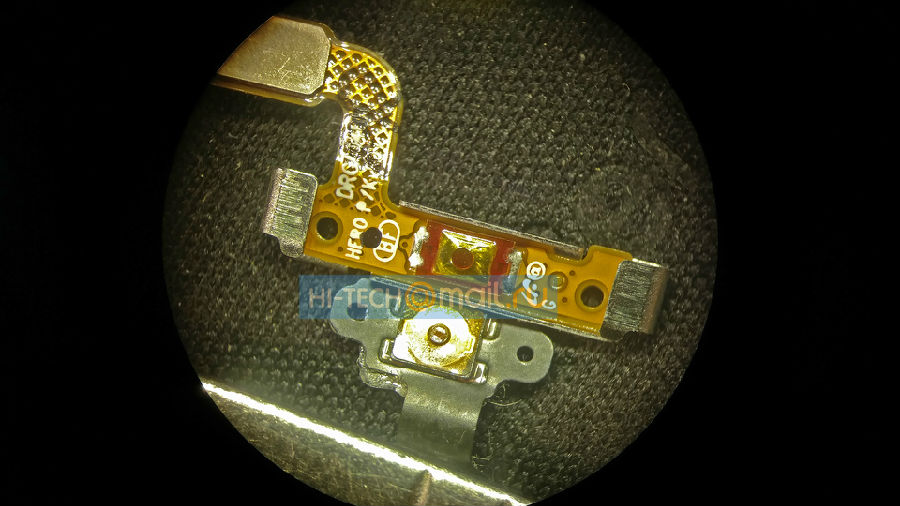
8. Release the Galaxy S7 power button flex cable ribbon.
9. Remove the Galaxy S7 earphone jack.
Notice: the Galaxy S7 charging port module was not removed since it is imbedded into the front housing, which cannot be removed until the front housing is separated from the LCD assembly.

10. The Samsung Galaxy S7 teardown was finished.
Notice: if you need to replace a screen, just reassemble it with a new Galaxy S7 LCD and digitizer with frame replacement in the reverse orders.
2016年2月26日星期五

A Clear View of China Made iPhone 6 LCD Screen (First Version)

Not too long ago, we’ve just got some samples of the new China Made iPhone 6 LCD Display. No doubt that this will be another option for all who are suffering from the high price of the iPhone screens. Let’s take a deep look of these screens.

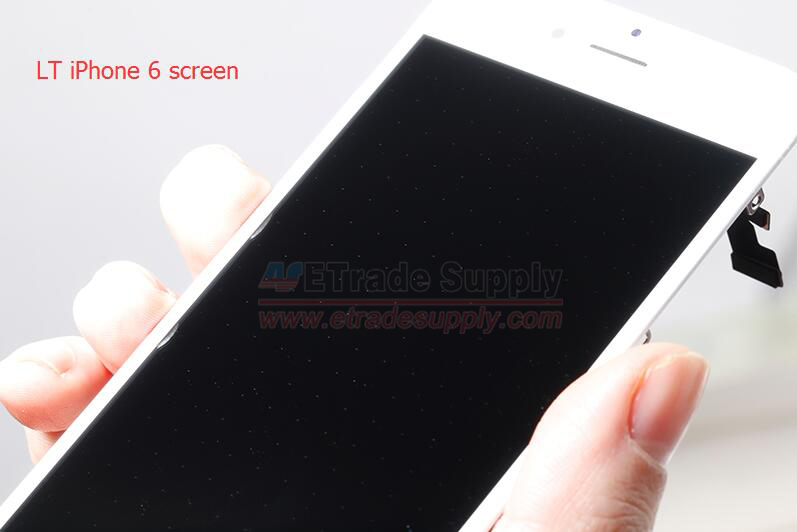
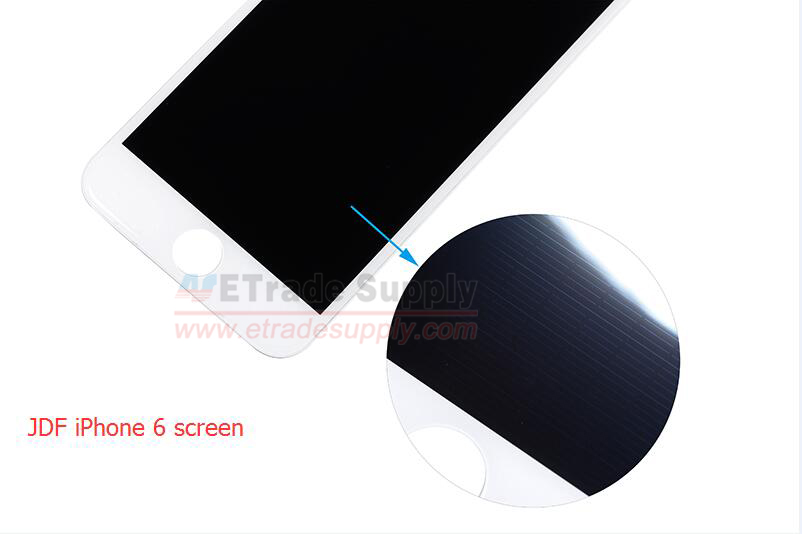
At the moment, there are two companies producing the iPhone 6 LCD screens, one is LT, the other one is JDF (no iPhone 6 screens made by TM are available now). Below are some detailed comparisons after our tests.

Appearance:
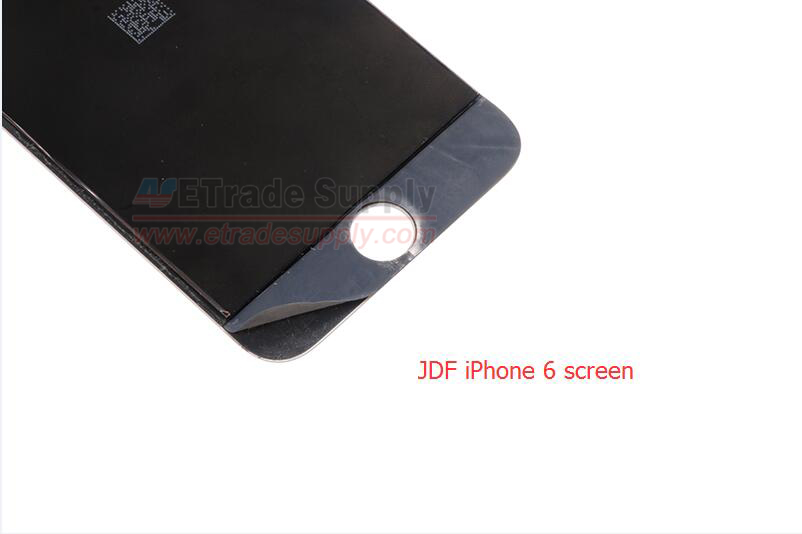
When taking a closer look at both of the LT and JDF iPhone 6 screens under direct light, you’ll see the digitizer textures. While for the original screen, the textures had been hidden by a special painted layer.
                                             

Size:
The glass lens of LT made iPhone 6 screen is far too thin compared with the original one, which can’t secure the display well. At the same time, thinner glass lens will make the home button stick up above the screen. While for the JDF made screen, a plastic layer has been added to make it thicker.

Compatibility with the rear housing:
It’s hard to be realized through eyes, but it’s easily to be touched. When you grab the iPhone 6 with LT made screen, it’s hard to ignore that annoying uncomfortable feeling. At this point, the JDF made screen is much better.

The colors of the display:
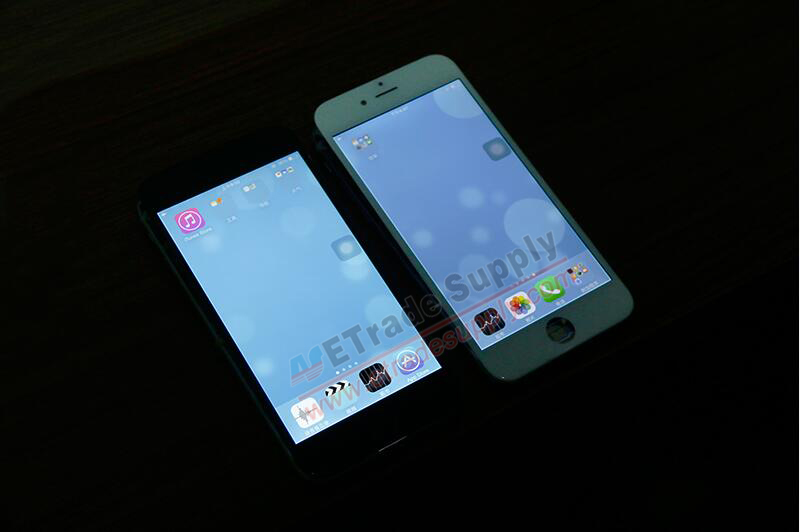
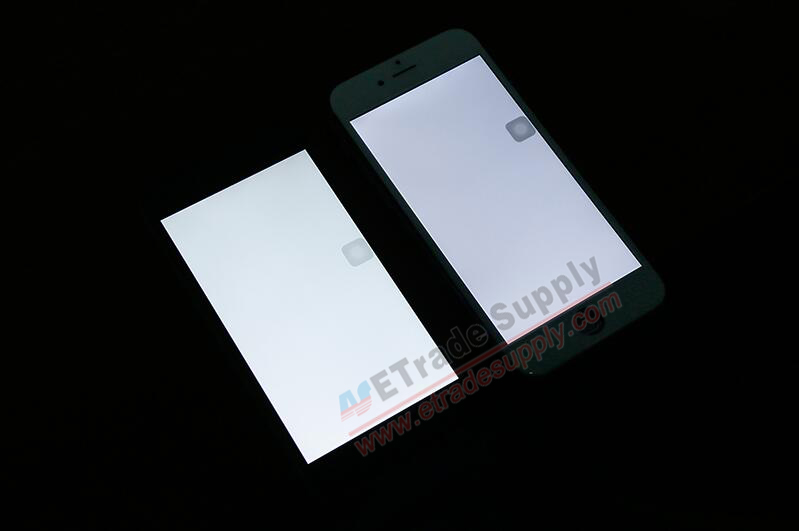
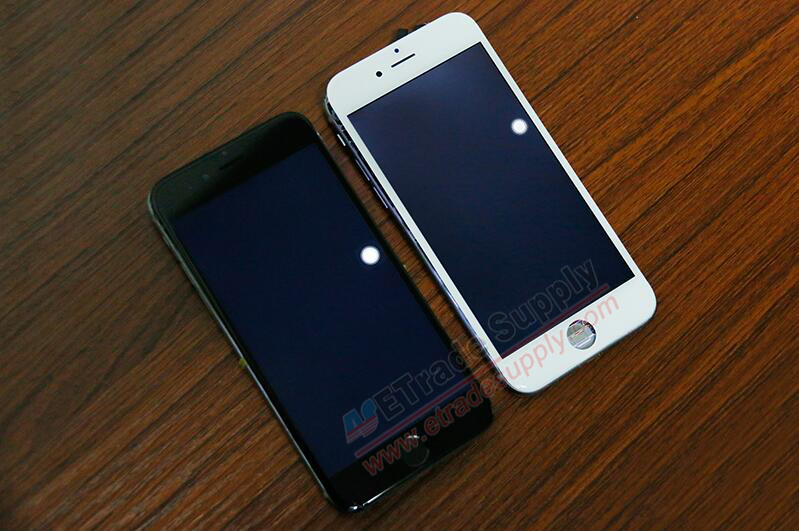
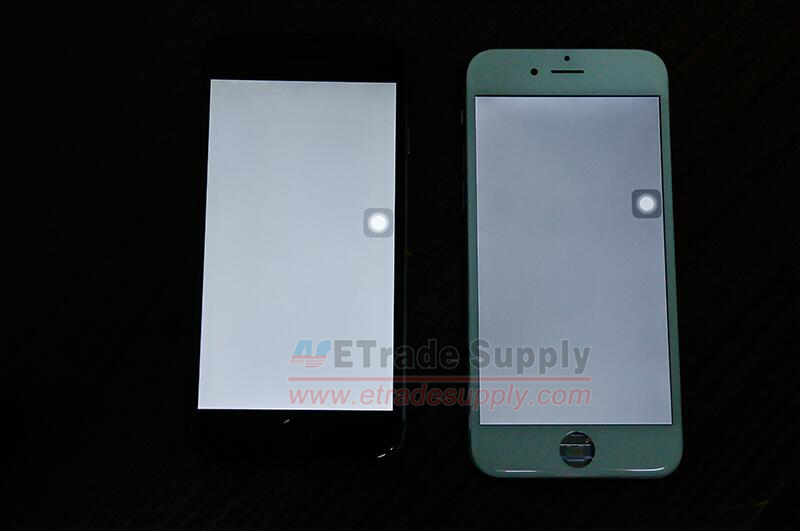
For both of the China made displays, clear color differences can be seen. Here are some sample photos we’ve taken:

High and low temperature test:
High and low temperature tests have been applied to both the LT and JDF iPhone 6 screens. Both of them have survived and worked well after been putted in a 55 centi degrees room for 2 hours and -5 centi degrees room for 2 hours.

Conclusion:
Through our tests, the first version of both the LT and JDF displays are not good choices for the repair industry. The obvious color differences, thickness differences still need to be improved. If you have any questions regarding the LT/JDF iPhone 6 screens, please leave your comment below, we’ll try our best to answer it.

2016年2月25日星期四

How to Replace/Repair iPhone 6S 3D Touch Layer

Not long after the iPhone 6S and iPhone 6S Plus being released, we post a tutorial guiding how to replace an iPhone 6S+ screen with 3D Touch layer disassembled. In this post, we’re going to discuss about is it possible to replace a broken iPhone 6S screen without replacing the original 3D Touch layer?

Before starting, always bear in mind that be extreme careful to install a 3D Touch layer as the vulnerable flex cable ribbon is easily to get broken, also do not apply too much force to the IC chip to avoid any damage.

Now let’ get started.
 Test the iPhone 6S LCD and digitizer assembly with the 3D Touch layer disassembled.
Test results:
1. LCD display and touchscreen worked as usual.
2. 3D Touch did not function at all.
3. Slight light leakage showed up around the display edges.

 Reassemble the iPhone 6S LCD and digitizer assembly with a brand new 3D Touch layer replacement.
Test results:
1. LCD display and touchscreen worked as usual.
2. 3D Touch functioned well, too.
3. Still slight light leakage showing up around the display edges.

Summary:
1. The iPhone 6S backlight film is firmly attached to the 3D Touch layer, any damage to the backlight film during the 3D Touch layer disassembly will lead to light leakage.
2. The 3D Touch layer may also get damaged during the disassembly.
3. Strongly recommend you to replace the iPhone 6S LCD and digitizer with 3D Touch layer assembled in order to reduce the chance of breaking it.

Watch below video to get more details:

2016年2月23日星期二

How to Fix the iPhone “1970 Date” Bug

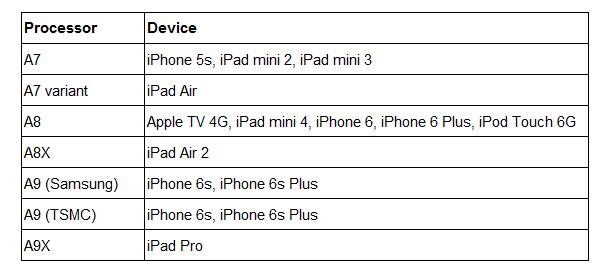
Recently, the bug of manually setting the date to May 1970 or earlier will cause the 64-bit processor iOS devices to brick after a restart, Apple Support had announced this issue would be prevented by an upcoming software update. Below chart are the afftected devices which may have the “1970 date” bug:

Apple also offers replacements for some of the affected devices. If your iPhone or iPad is under warranty, contact Apple Support is the best choice. For the others, try below fixes.

1. Charge your iPhone battery to 100%, wait for hours till the UNIX time is equal to or greater than 0 and the system time starts.

2. Use up your iPhone battery. Your iPhone will be automatically powered off after draining the battery, however, the device will leave 3% battery capacity to keep the internal clock working as usual. The internal clock will be reset after rebooting until the battery is totally used up. While some prove it doesn’t work.

3. Disassembly to remove the battery and reassemble it after 10 minutes. For the iPhone disassembly tutorial guides, please check below:
It’s not recommended to try this trick for those who has no experience in cellphone repair. Also, your warranty will be voided once the phone is disassembled.

4. Wait until Apple to release the updated software.

How to Fix Phone Gets Hot and Battery Drains Fast

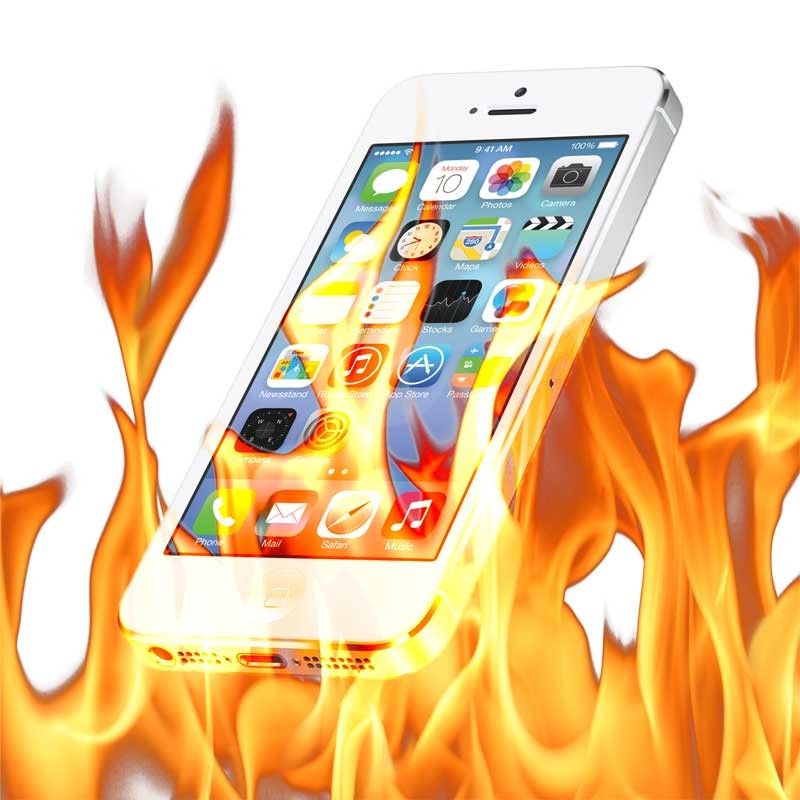
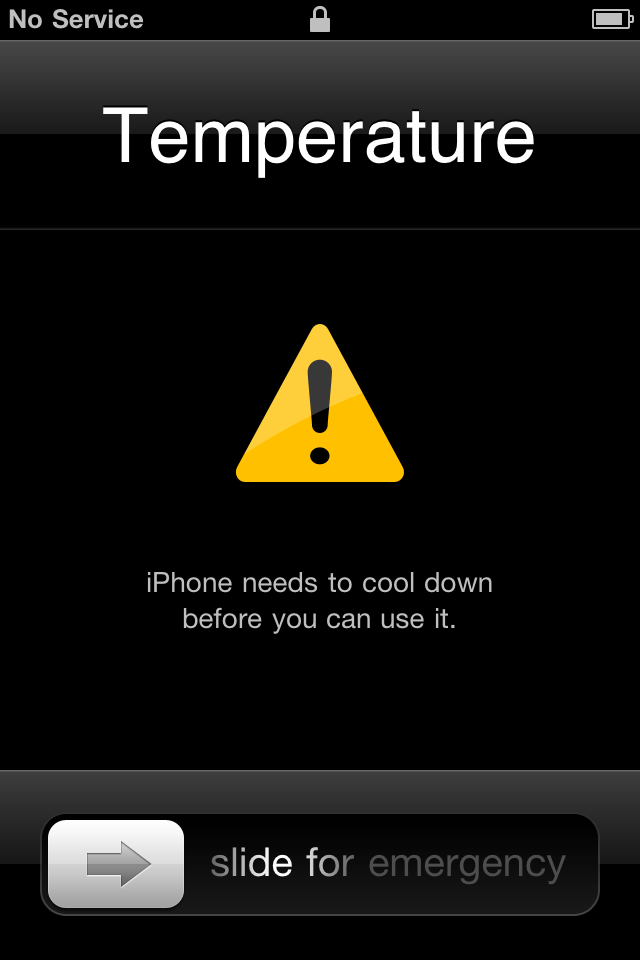
If your phone whether it’s an iPhone 6S or a Galaxy S6 suddenly gets hot although you’re not using it in a hot summer or it’s not charging, then you should pay attention. An overheating phone will lead to a faster battery draining or even cause the battery to explode, which is dangerous. Why it happens? What to and not to do when a phone gets too hot? Here we go:

What is the cause?
1. High Temperature. The working temperature for a smartphone is 0~35 degrees Celsius, equals to 32~95 degrees Fahrenheit. Be aware when your phone is exposed to a hot summer or direct sunlight for a long time.
2. Intense Workload. Too many apps running in the foreground or background results in the processor always working and lasting in an overload status which makes the device unable to dissipate heat timely.
3. Poor Signal. If your device is in a poor mobile network, the device will increased transmitter power to have a massive data interaction with nearby base stations, which will also lead the processor to run in overload and have no time to cooling down.
4. Faulty Battery. An original battery which is about to finish its service or a faulty battery produced by a third-party manufacturers.
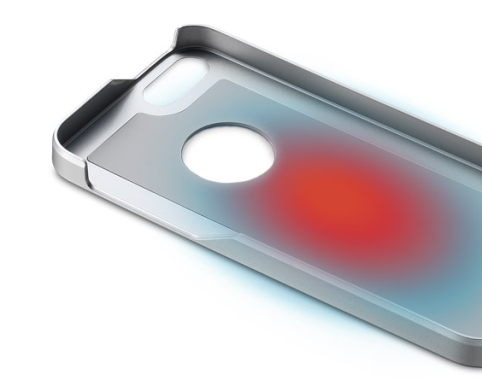
5. Heavy Covering. Cover your phone in a protective case or some heavy stuffs will bring on poor heat dissipation.
6. Calling while Charging. Battery inputs and outputs at the same time will produce heat and the input and output of electric current will also put you in danger when you’re calling while the phone it’s charging.
7. Software Incompatibility. An iPhone after jailbreak or an Android phone after root may be installed some malicious or incompatible plugins without notice, which give rise to the cellphone heating.

What to do?
1. Keep or use your phone in a good ventilation place.
2. Turn off background running apps and uninstall the seldom use or never use apps.
3. Disable auto download and auto update selections.
3. Remove the protective cases when a phone is getting hot.
4. Use a good quality earphone instead of placing the phone close to your cheek when having a long conversation.
5. Stop the app you’re using or the video you’re watching when a phone is getting hot.
6. Install a professional app to detect what causes the phone to heat.
7. Watching out the weird overheating at any time.
8. Power your device off to let it rest for a moment.
9. Turn to local service center or repair shops for help.
How to avoid?
1. Avoid playing a game, watching a video or calling while the phone is charging.
2. Avoid protecting your phone with poor heat dissipation case.
3. Avoid charging your phone with faulty chargers or cables.
4. Avoid holding your phone or putting it into a pocket when it’s getting hot.
5. Avoid rapid cooling like placing it in a refrigerator or in front of the air conditioner as the large difference between the inside and outside of cellphone will lead to condensation which will damage the phone.

2016年2月19日星期五

Finally, There Is a Solution for the Bricked iPhone Due to the Error 53

A few days ago, the Guardian has reported that thousands of iPhones have been bricked due to the non-official third party repair. This only happened to iPhone 6/6+/6s/6s+ which the home button has been replaced while upgrading to the new iOS version or restoring. According to Apple, the device will be checked whether the home button is paired with the CPU to make sure the users’ fingerprints are safe. Once the iPhone is detected as “Not Pair”, it will be permanently bricked with no warning.
 
Today, the official solution come. Apple has released an updated version of iOS 9.2.1 for users to update their iPhones via iTunes only. This will help to restore those iPhones been disabled by Error 53 and prevent other devices from this issue in the future.

Now connect your bricked iPhone to iTunes via PC or Mac, update it, then your iPhone should come back to life!

However, this will bring your lost Touch ID function back to work once you get it replaced. Let Apple to handle your device is the only option to reuse the Touch ID.

2016年2月18日星期四

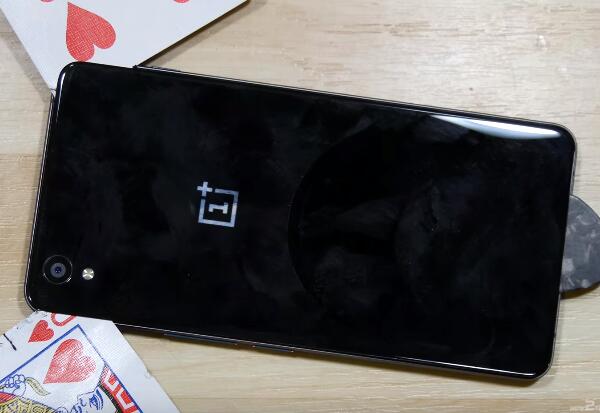
How to Replace a Cracked Oneplus X Screen

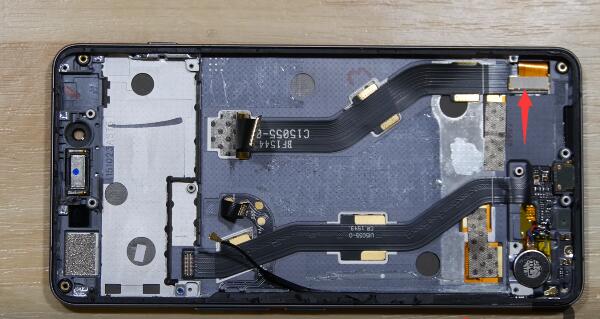
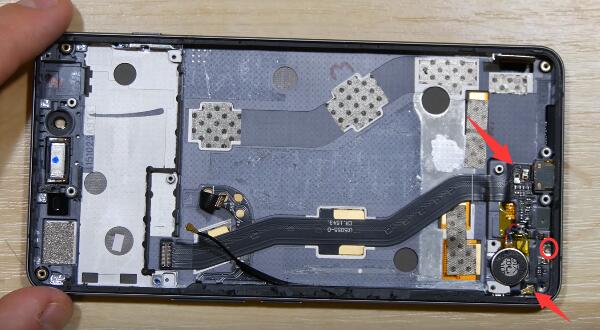
The Oneplus X was released with an Onyx version and a Ceramic version, featuring a 5.0-inch AMOLED capacitive touchscreen protected by the Corning Gorilla Glass 3. It came three months after the release of Oneplus 2, is there any significant difference between these two devices? Let's teardown the Oneplus X for screen replacement and you can compare it with the Oneplus 2 screen replacement step-by-step tutorial.

Tools Needed:
Heat Gun/Hair Dryer

Step 1: Power off the device and remove the Oneplus X SIM card tray.

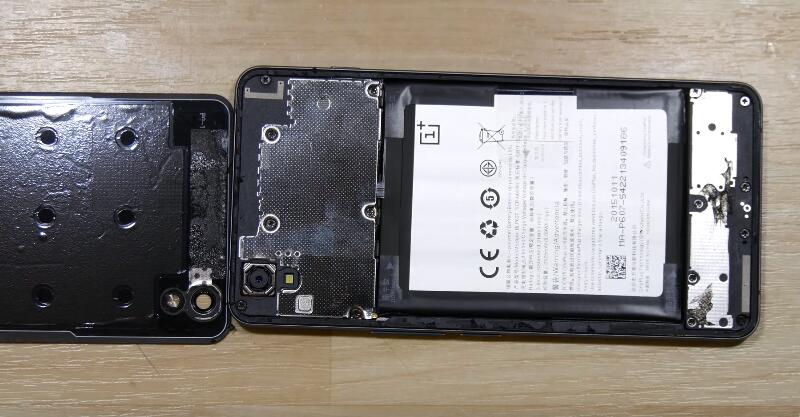
Step 2: Heat up around the back cover edges to soften the adhesive, gently pry up the back cover until a gap shows up, then insert a guitar pick or poker card in between and run it around the edges to release the Oneplus X back cover.

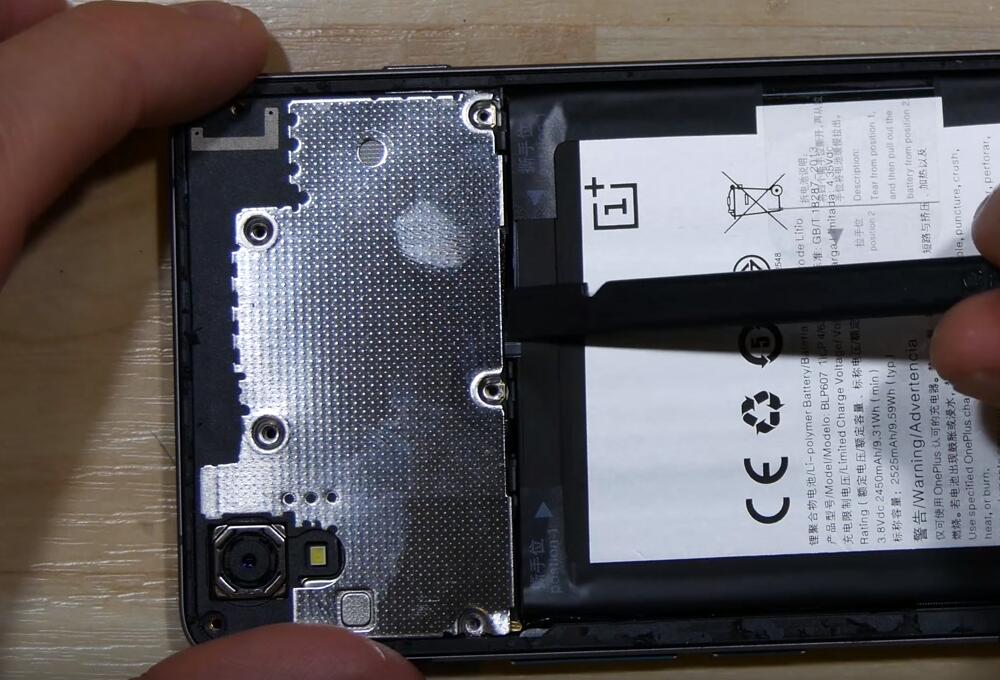
Step 3: Undo the 7 screws, a Phillip screwdriver and a Torx screwdriver are needed as the screws are in different sizes. Then gently pry up to remove the metal cover.

Step 4: Pry up the battery flex connector, then pull up the adhesive tape to release the Oneplus X battery. If the tape puller doesn't work as expected, gently pry it up with the help of a plastic spudger while pulling the tape, be careful not to damage the flex cable ribbons under the battery. Reform the battery in shape if the battery is deformed during the removal.

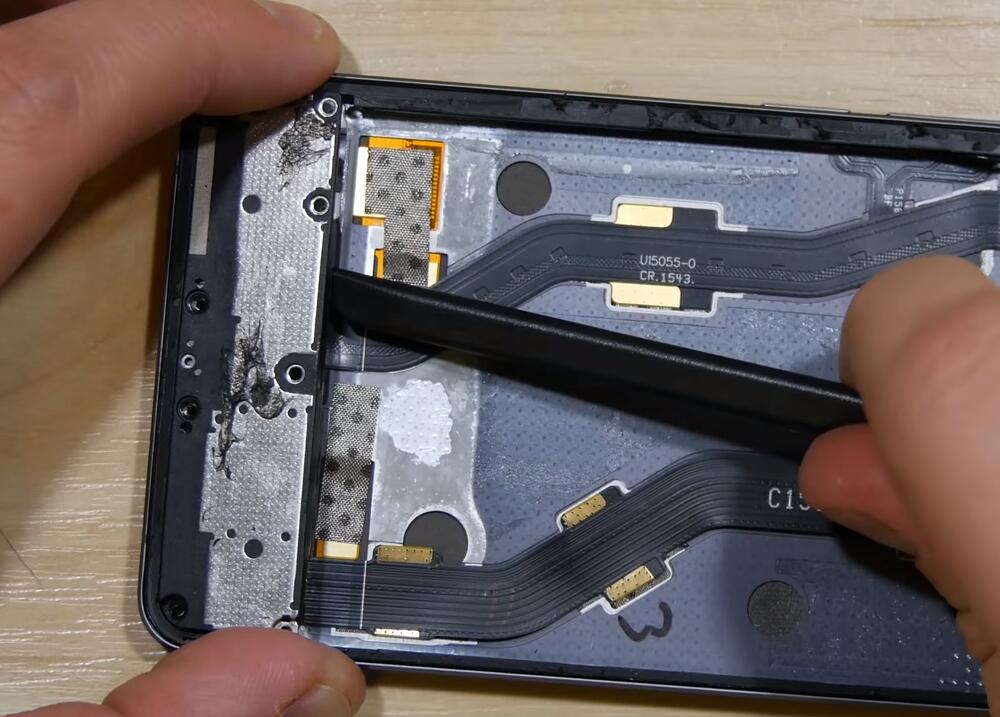
Step 5: Undo the 8 screws, also, make sure the different screws are orgnized. Then peel off the back adhesive tape, pry up to release the loudspeaker assembly, be careful not force to remove it as it's connected to the frame with a couple of clips.

Step 6: Undo the screw, pry up the 5 connectors so as to release the Oneplus X rear facing camera and motherboard.

Step 7: Pry the connector to release the Oneplus X motherboard flex cable ribbon, be careful not force to pull it as there's adhesive underneath.

Step 8: Undo the screw, pry up the signal cable connector and then gently to remove Oneplus X charging port with flex ribbon module.
(Picture source: How2Tech)
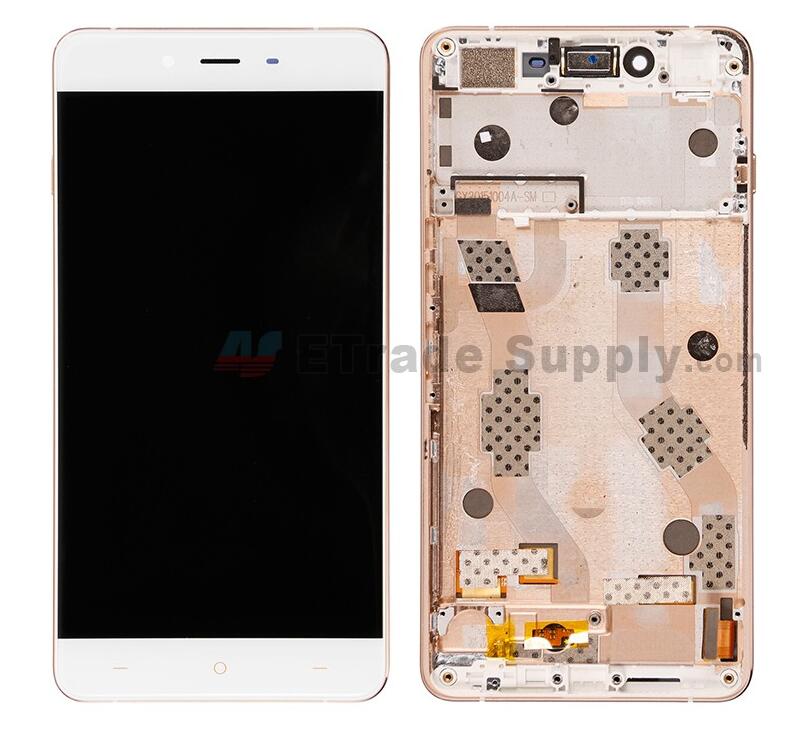
Now reassemble this device with a new Oneplus X LCD and digitizer assembly with frame replacement in reverse order.

2016年2月17日星期三

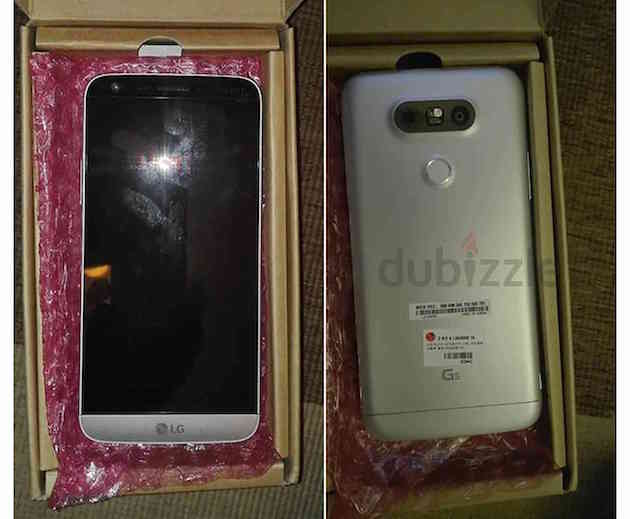
Samsung Galaxy S7 Edge and LG G5 Leaked Before Announcement

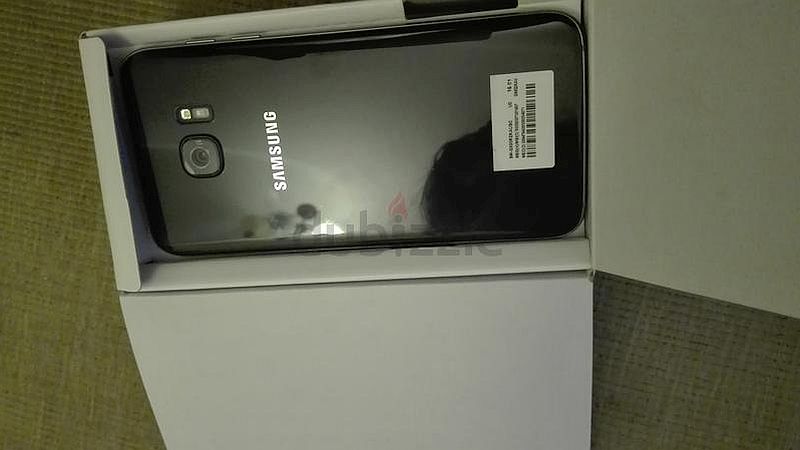
As expected, the Samsung Galaxy S7 Edge and LG G5 will be released in the coming MWC 2016. However, an ecommerce site in Dubai is selling those two phones now, even before the official announcement. Let’s first take a look at what these two phones looks like.
For the Samsung Galaxy S7 Edge, it has no big difference compared with the Galaxy S6 Edge, purported to have a 5.1 inch display (1440X2560 Resolution), a Snapdragon 820/Exynos 8890 processor, 4 GB of RAM, 12 MP camera and protected by Coring gorilla glass 5 and IP67 water and dust resistance.
For the LG G5, it supposed to have a 5.6 inches 2K display, Qualcomm Snapdragon 820 processor, 4 GB of RAM and a dual 20 MP camera.

Let’s wait and see what Samsung and LG will bring to us in Feb, 21st. 

2016年2月16日星期二

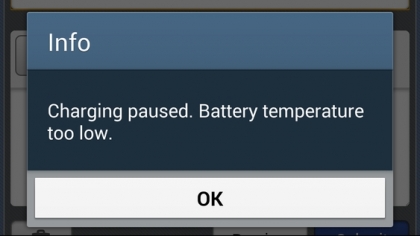
Why LG G2 Won’t Charge Due to Low Temperature

Recently, some users turned to XDA-developers forum for help asking why their LG G2 wouldn’t charge and warned up “Low Temperature” even though they’re not in a low temperature environment. Tricks like heating up the LG G2 with a hair dryer, reset or restore the device can fix the problem temporarily. Luckily, one user shared his successful experience with us:
1. Unlock your LG G2 and dial 3845#*model no.#, for example, if your device is D800, please dial 3845#*800#.
2. Go to Setting > Battery > and turn on Fake Battery Mode.

Now your LG G2 is chargeable thought it may always show a fixed level of battery like 90% or something else. If you’d like to know how much it has charged, simply turn off the fake battery mode.
If you have any other ideas about LG G2 charging paused due to low temperature, please leave your comment below.

2016年2月15日星期一

How to Replace the Sony Xperia Z5 Premium Camera Lens

Instead of Sapphire lens or Corning Gorilla Glass, the camera lens of Sony Xperia Z5 Premium is made of plastic. Though the camera lens won’t get shattered, it will easy get scratched. A scratched glass lens will sure affect the image quality which is very important for daily uses. If your camera lens of the Sony Xperia Z5 is scratched, don’t worry, just follow this step-by-step guide to replace it.

Tools Needed:
Hair Dryer/Heat Gun
Razor Blade

Step 1:
Shut down your Sony Xperia Z5 Premuim.
 
Step 2:
Use the Hair Dryer/Heat Gun to heat up the back cover of the Sony Xperia Z5 Premuim.
 
Step 3:
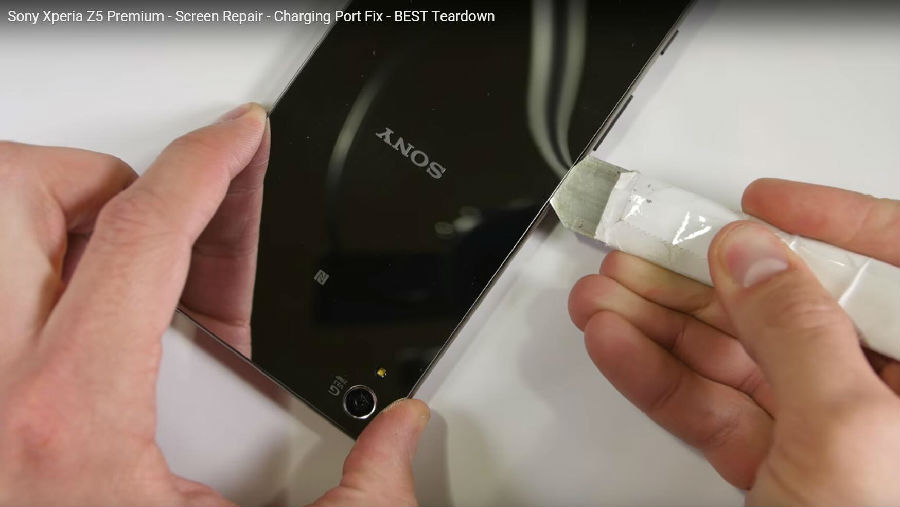
When the back cover is heated up, insert the Thin Metal Pry Tool to release the adhesive around the edges of back cover. (Slide in some name cards or Triangle Phone Separation Tool to keep the back cover from sticking again)
 
Step 4:
Pull the 2 pull tapes under the battery then the battery should come off right the way. (If no, use the Heat Gun/Hair Dryer to release the battery)
 
Now, you could replace the camera lens simply by replacing the back cover.
Replacing the camera lens only is also another choice, this can save you more money but only cost a few efforts.

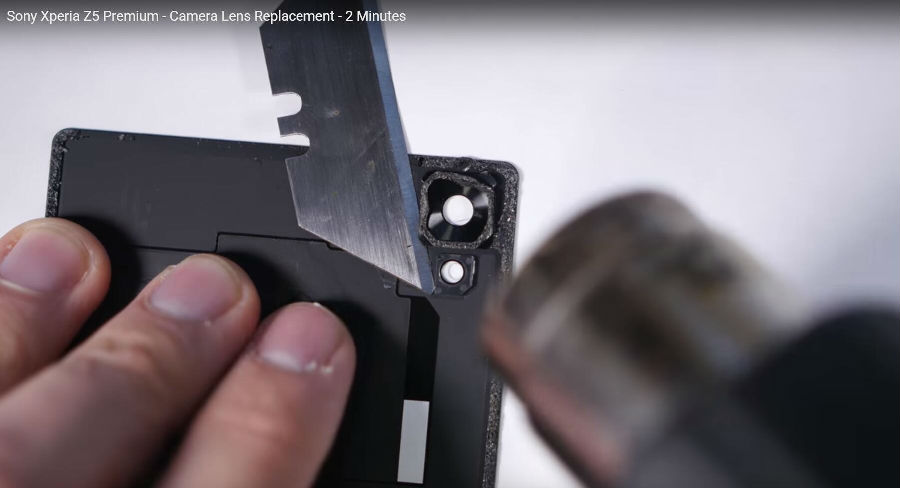
Insert the Razor Blade to separate the camera lens need to be replaced, peel off the protective film on the new camera lens then put it on the back cover.