Huawei Honor 8, which is recognized as the most beautiful Huawei smartphone ever, was unveiled in July 11, 2016 in China and will release in Aug 18 in the US according to the media reports. Here we take a simple teardown guide to pre-show you how it looks like the internal work and how to do a DIY repair your own.
Repair Tools Needed:
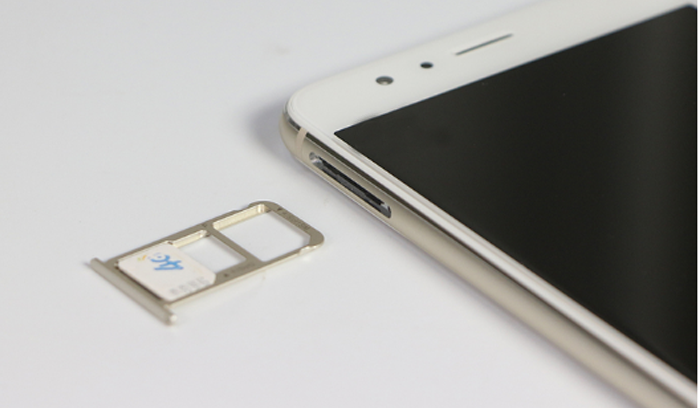
Step 1 Power off the phone and remove the SIM card tray.
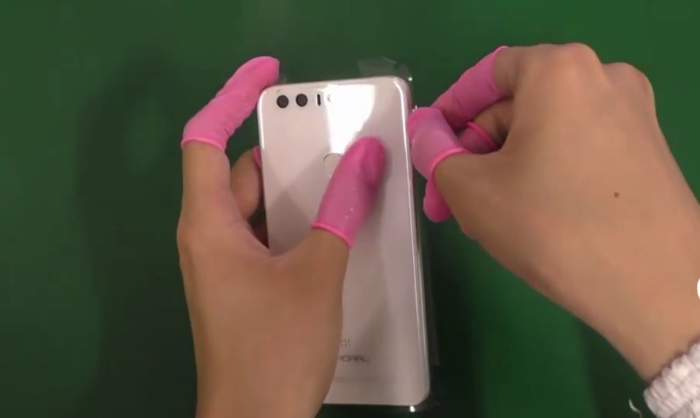
(Tips: in order to protect your screen, you’d better put a protective film on screen surface.)
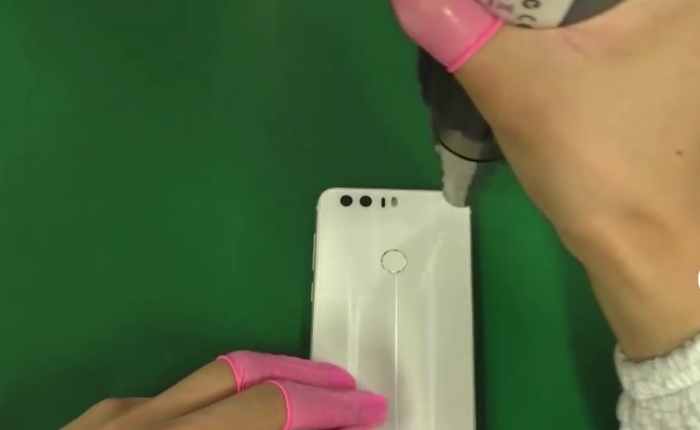
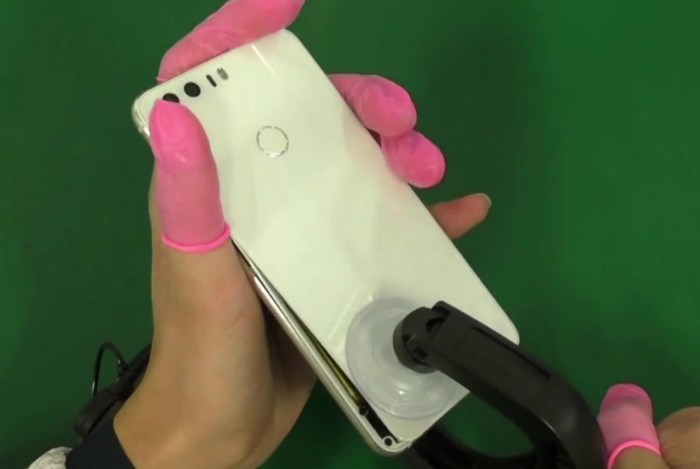
Step 2 Remove battery cover
This Huawei Honor 8 battery cover is made from glass, and it is sticked tightly to the middle frame with lots of adhesives, which needs to be heated up for about 2minutes to melt the back cover sticker. Then use a suction cup separator to pull off the battery cover glass.
 Note:
Note:
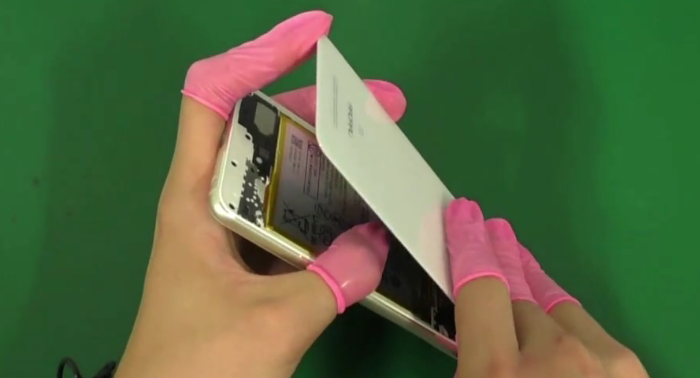
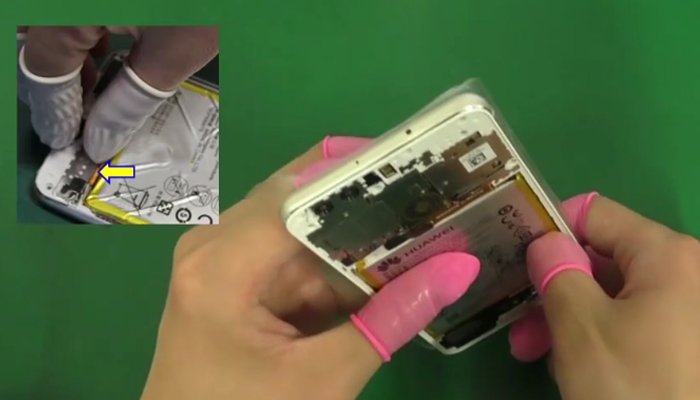
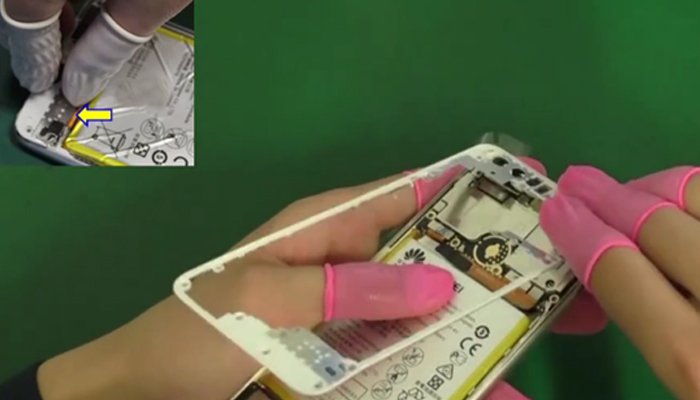
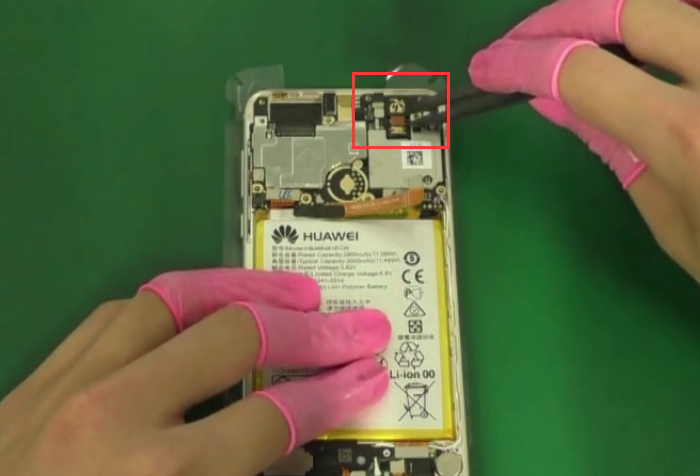
The back cover glass is connected to the motherboard with the fingerprint sensor flex cable, you’d better pry up the cover from the bottom in case you broken the flex cable.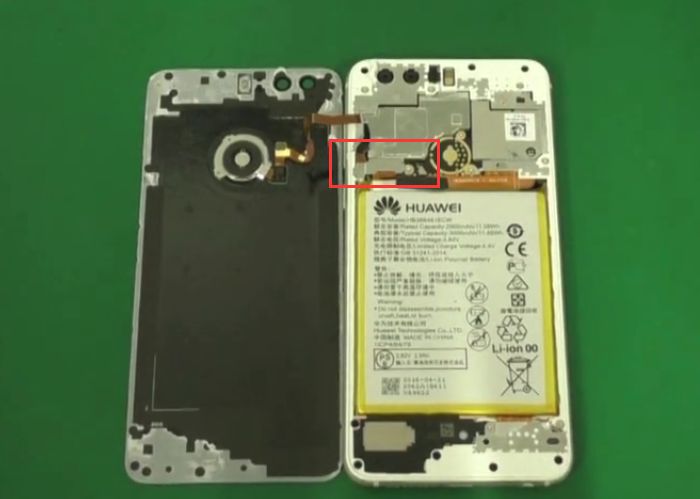
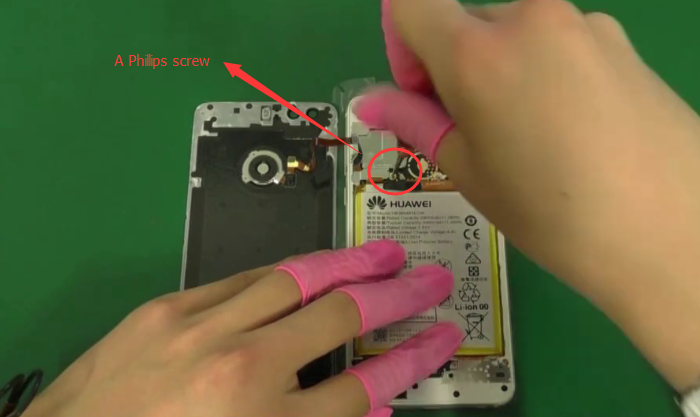
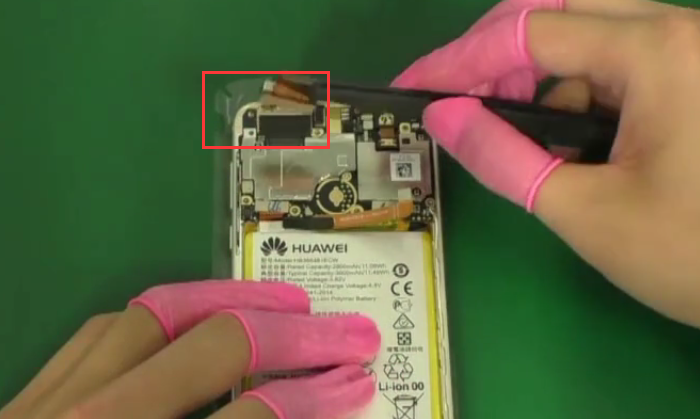
Undo the Phillips screw and remove the metal bracket then you can disconnect the flex cable, so you can remove back cover glass now.
Take a closer look at the fingerprint sensor flex cable.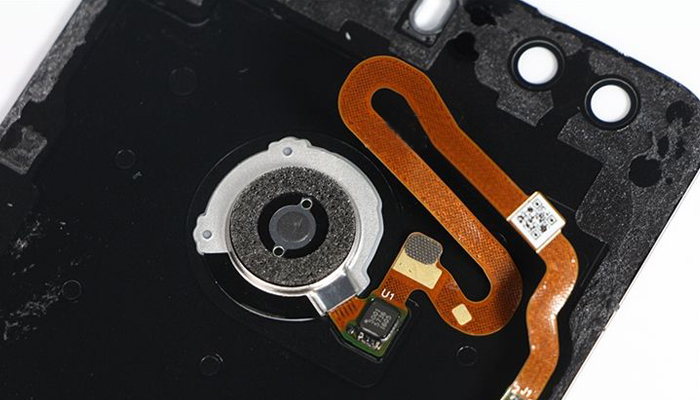
Step 3 Remove plastic back frame
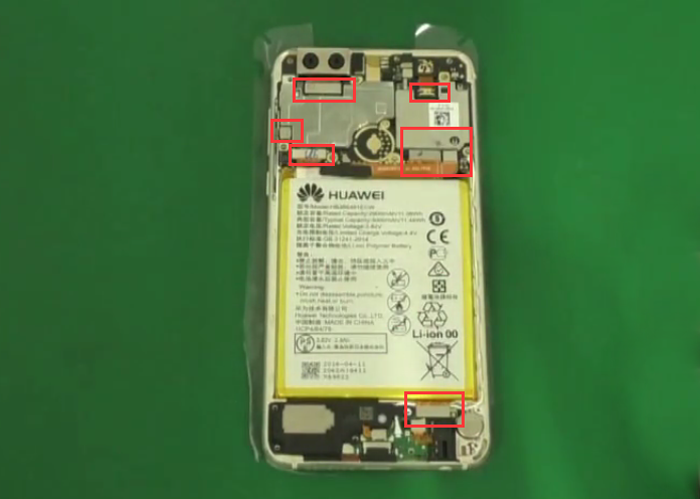
First undo 16 screws on the plastic back frame as showed in following picture position.

Then you can remove the back frame now. (Start from the bottom side position as showed in the picture below will much easier.)
Step 4 Remove motherboard and small parts
After removing the back frame, disconnect the rear facing camera connector, front facing camera connector, PCB board connector, LCD screen connector, side keys connector by the spudger.
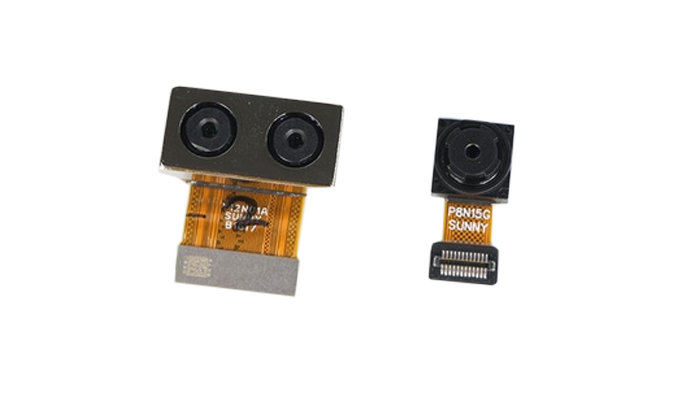
Now you can remove the rear facing camera and front facing camera.
Dual rear camera with 12MP.
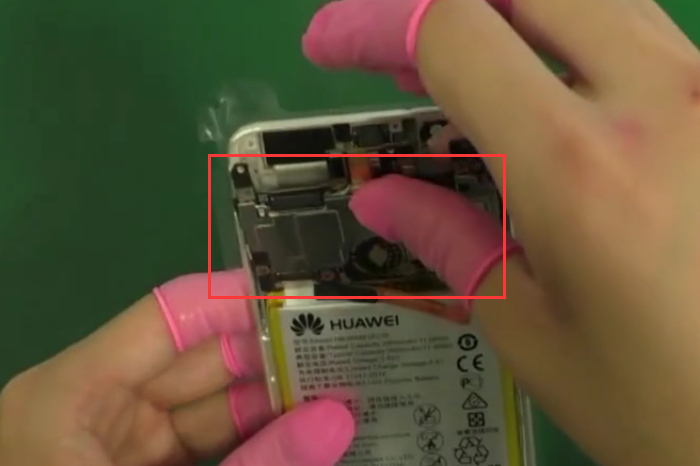
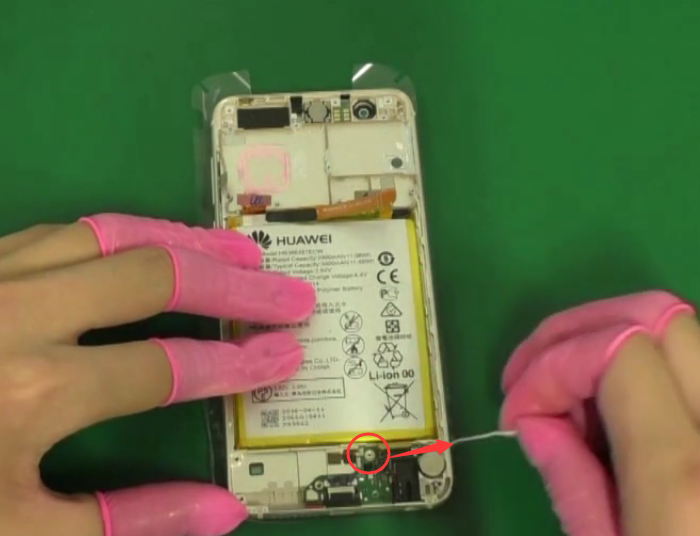
Don’t forget one Phillips screw here before removing the motherboard.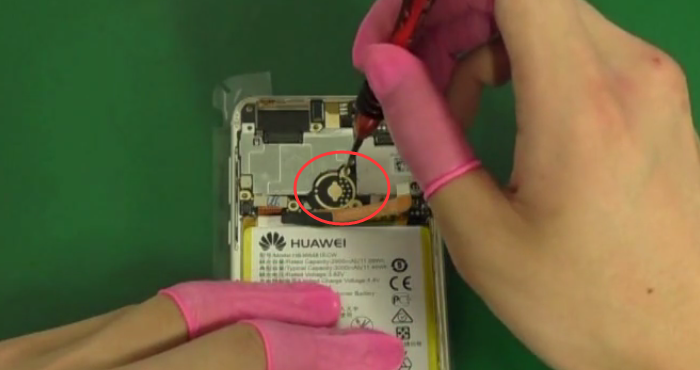
Now you can remove the motherboard. (Pry up the motherboard from the rear camera area will be easier)
Move to the bottom side, you can pry out the loudspeaker with no effort.
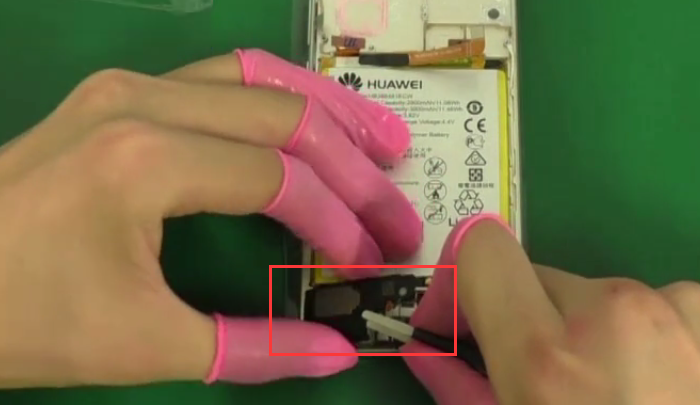
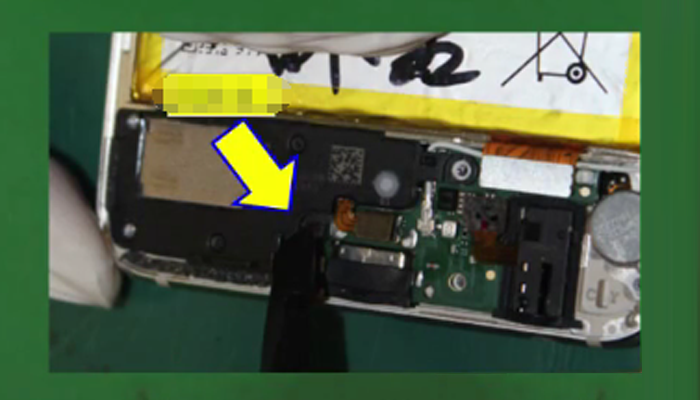
Next to the loudspeaker, disconnect the signal cable now.
Then you can remove the headphone jack. Use a plastic tweezers to loosen the headphone jack and pick it out.
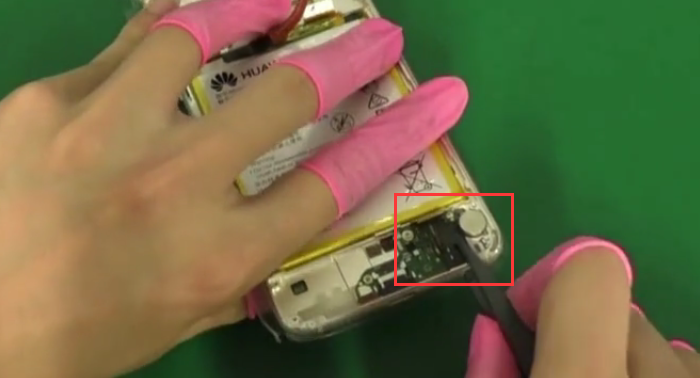
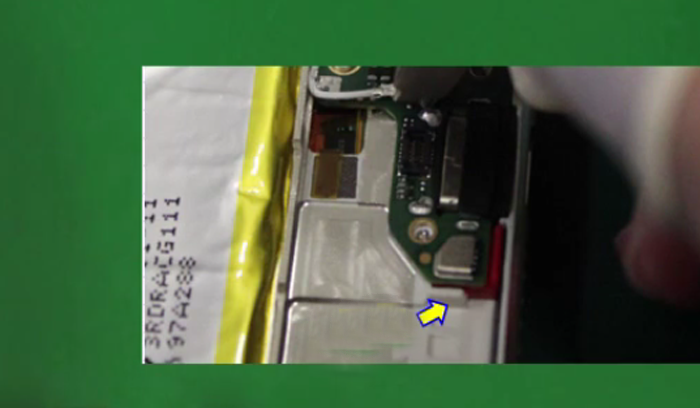
After removing the earphone jack, it’s time to remove the daughter board now.
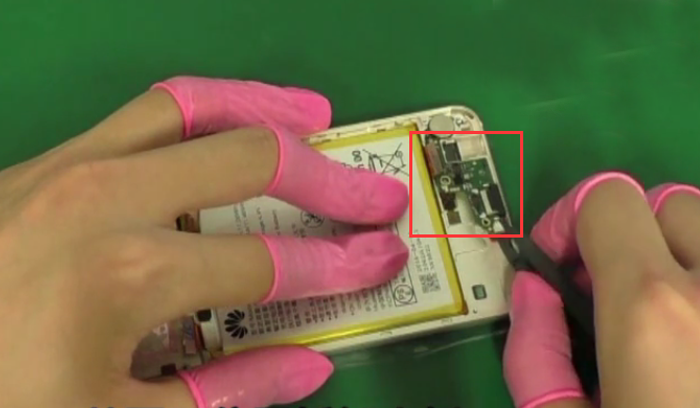
From this position you can remove the daughter board easily.
This is the daughter board with USB-Type C connector.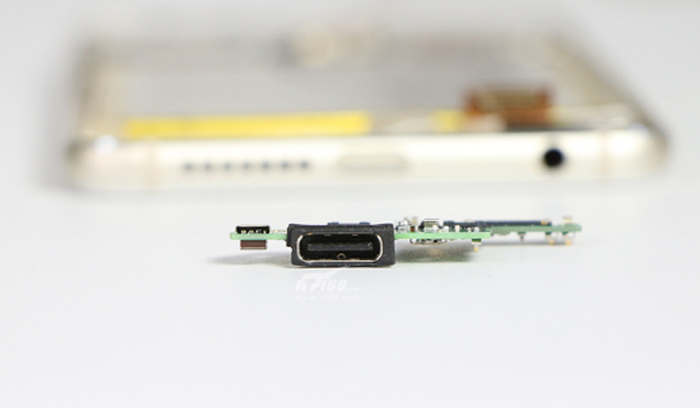
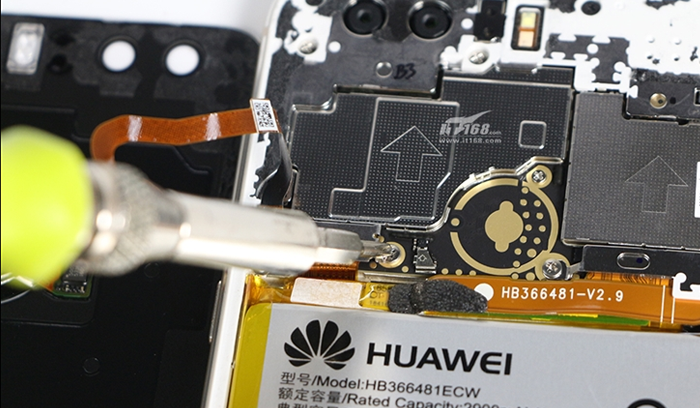
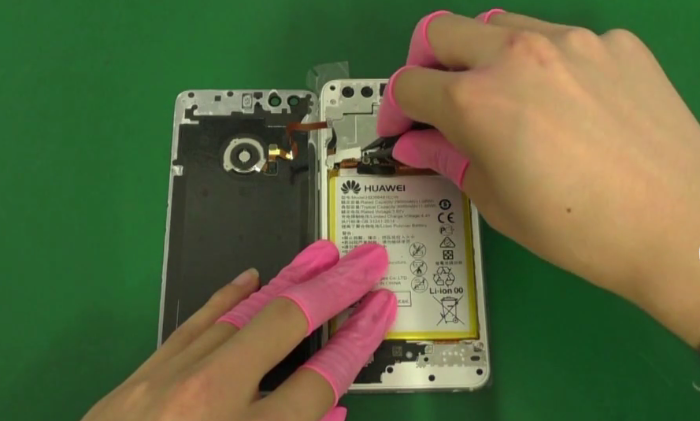
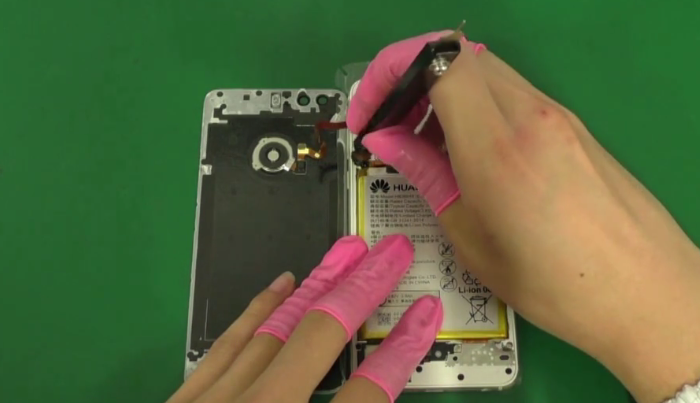
As to the big 3000mAh battery, it is fixed to the middle housing by the soft adhesive sticker. Pull the sticker out then it’s easy to remove the battery.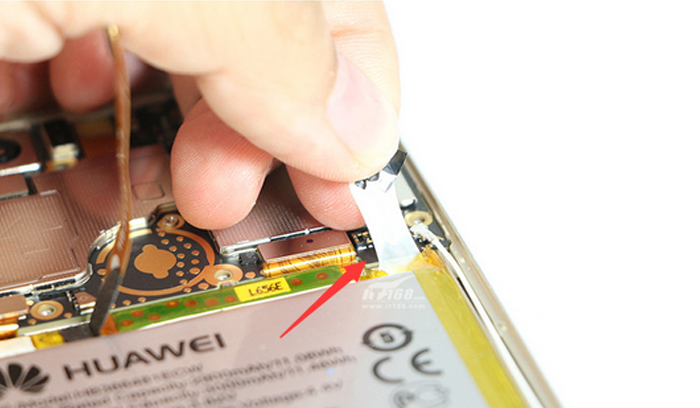
(Note:Pull out the battery tape along the direction of the battery or it is easily to broken.)
In order to protect the battery tape, here we’re not going to take off the battery.
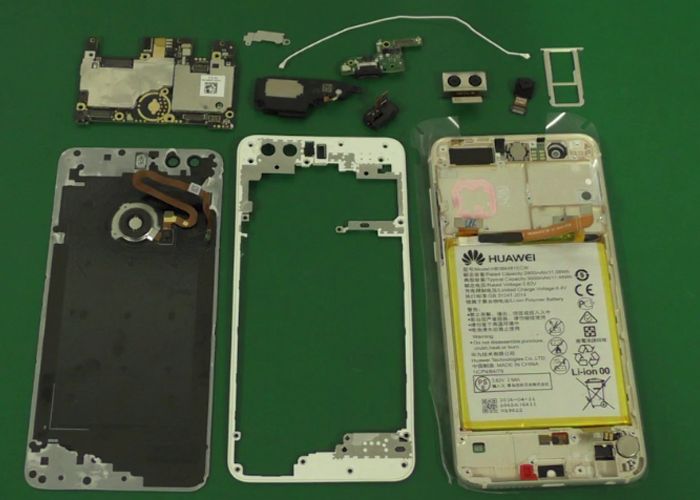
So, this is how the Honor 8 looks like inside. Welcome any comments to share with us!