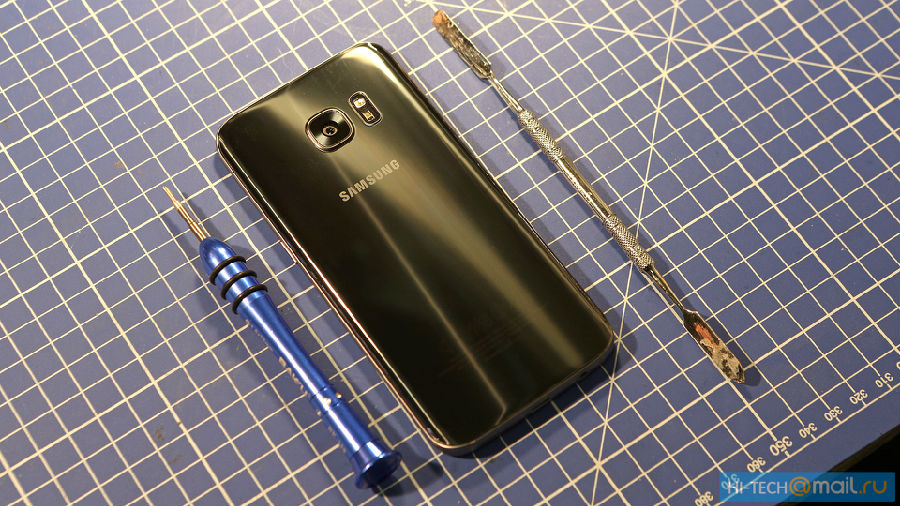
The Samsung Galaxy S7 and Galaxy S7 Edge were annouced days ago in the MWC 2016, which are about to come to meet the public soon. However, before it's officially released, a Russian tech site namedHi-Tech had got a Galaxy S7 and disassembled it right at the moment. Here we followed his steps and watched how this IP68 rate Samsunng flagship was torn down.
Tools Needed:
• Heat Gun/Hair Dryer
• Spudger
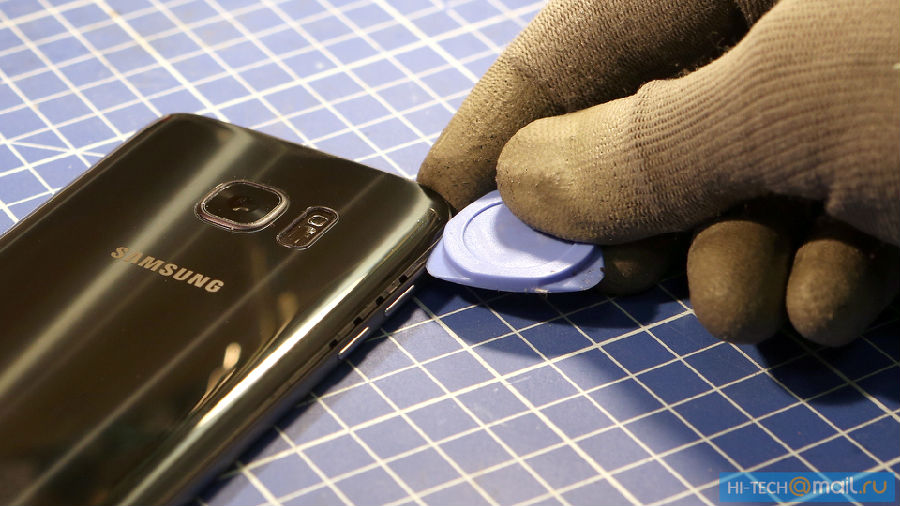
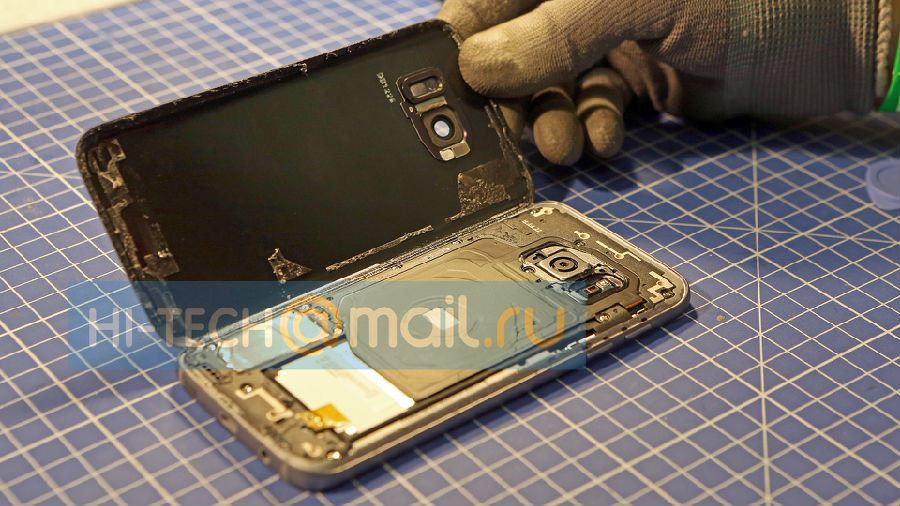
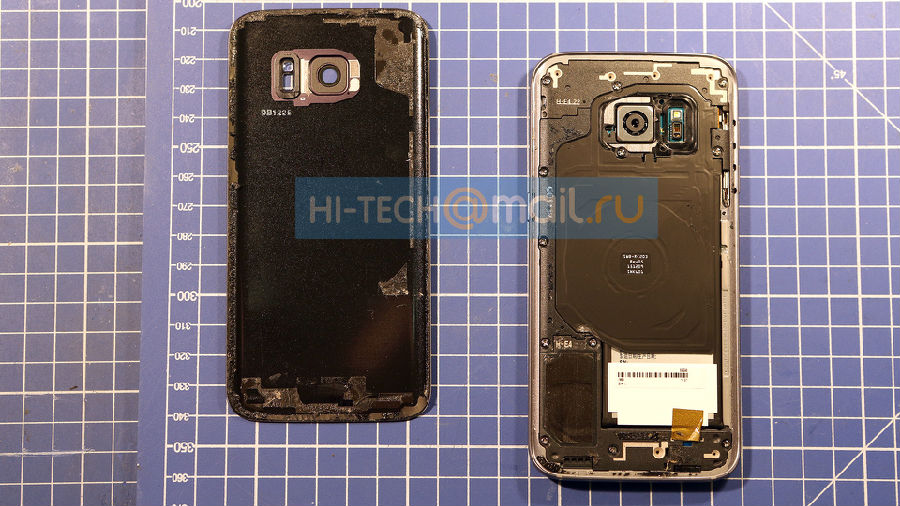
1. Power off the device, heat up around the edges to soften the back cover adhesive underneath. Gently pry or pull it up until a gap shows up, then insert a guitar pick in between and running it around to separate the Galaxy S7 back cover.
Notice: the back cover is tightly sealed to the frame by waterprof adhesive in order to keep the device waterproof. However, if the Galaxy S7 back side was exposed to the sun or high temperature for a long time, the adhesive and gasket will get deformed, making the waterproofness weaken or lost.
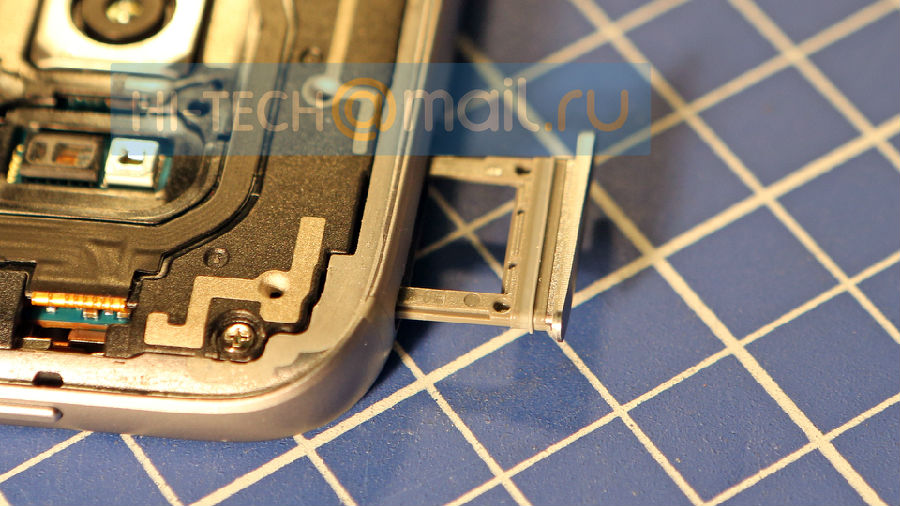
2. Remove the Galaxy S7 SIM card tray.
Notice: as you can see from the below picture, the SIM card tray is also wearing waterproof adhesive so as to protect the device from moisture.
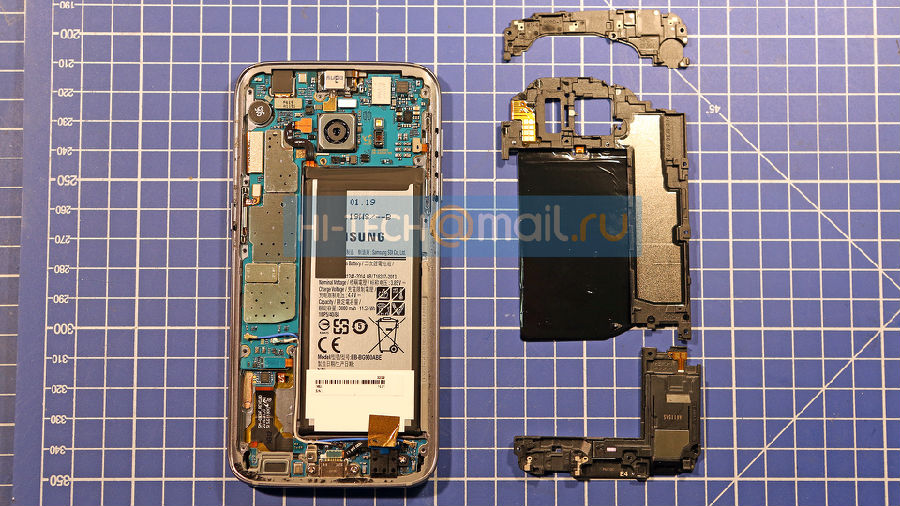
3. Undo the 13 screws in the Galaxy S7 rear housing, gently pry up to release the top cover, rear housing and loudspeaker module.
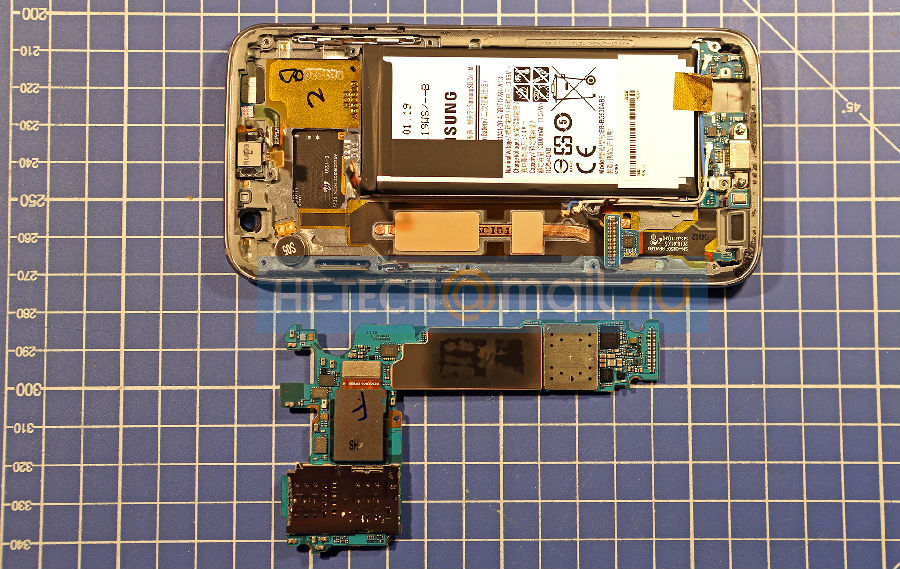
4. Pry up the 10 connectors to release the Galaxy S7 motherboard.
Notice: the 10 connectors are including front camera connector, battery connector, ear speaker connector, 3 screen connectors, 2 RF signal cable connectors, charging port flex connector and a motherboard connector on the back side.
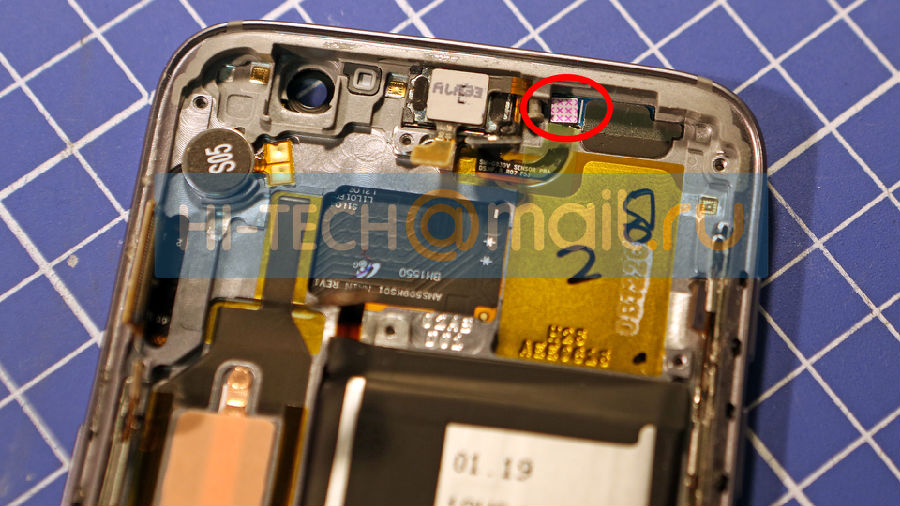
5. The water damage detector sticker is placed between the earphone jack and ear speaker.
Notice: the sticker is a symbol for technicians to examine whether the Galaxy S7 is water damaged or not as it will go red once any liquid permeates in.
6. Remove the yellow tape covering the Galaxy S7 microphone.
Notice: the microphone is also covered by a rubber gasket to keep the moisture from seeping in.
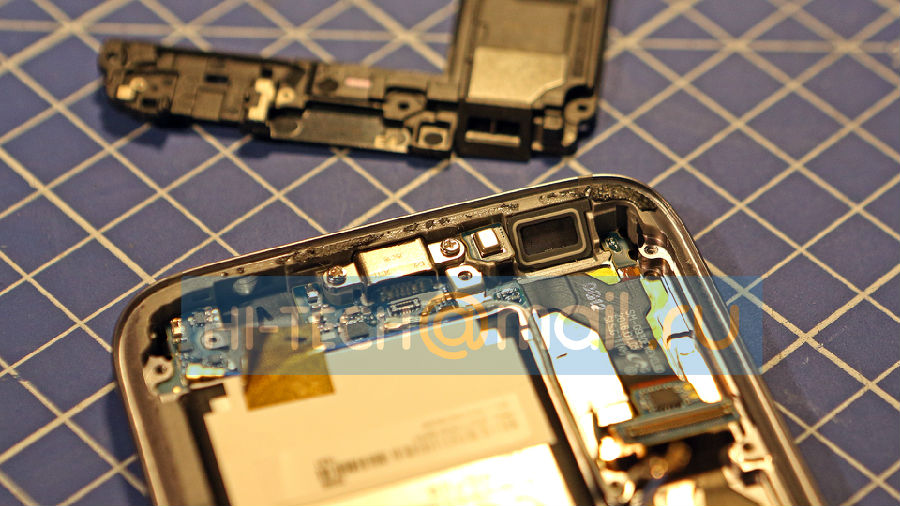
7. Gently pry up to release the Galaxy S7 battery.
Notice: as suggested before, the battery capacity is 3000 mAh. Besides, the battery sticker indicates that the working tempeture should not be higher than 45°C.
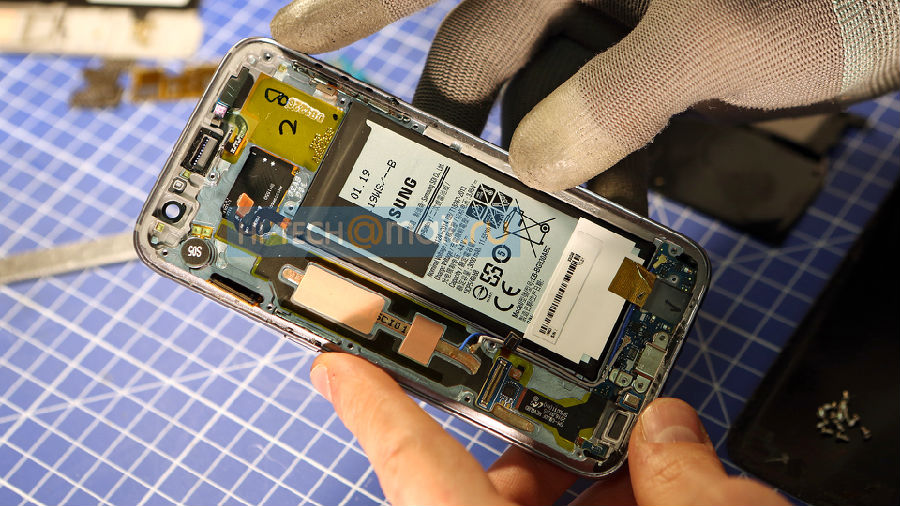
8. Release the Galaxy S7 power button flex cable ribbon.
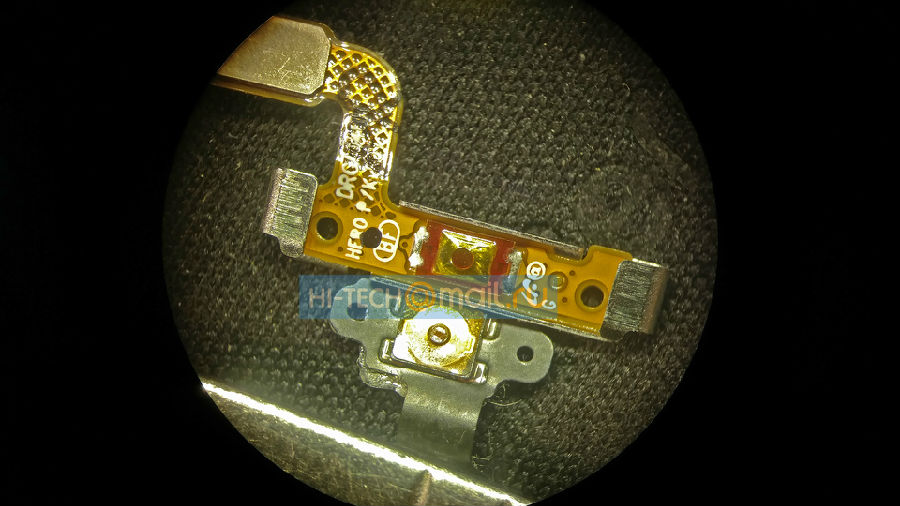
9. Remove the Galaxy S7 earphone jack.
Notice: the Galaxy S7 charging port module was not removed since it is imbedded into the front housing, which cannot be removed until the front housing is separated from the LCD assembly.
10. The Samsung Galaxy S7 teardown was finished.
Notice: if you need to replace a screen, just reassemble it with a new Galaxy S7 LCD and digitizer with frame replacement in the reverse orders.