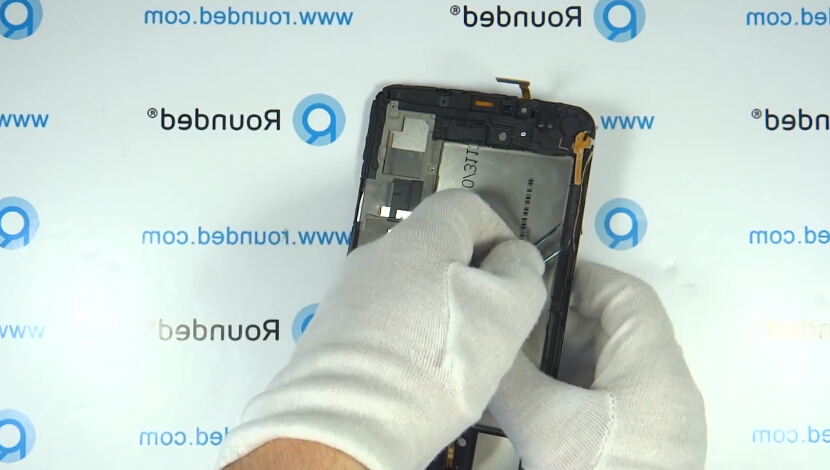
The Samsung Galaxy Tab 3 7.0 was released in the second half of 2013, which is a cheaper and slightly smaller version of Tab 3 8.0. If your Tab 3 7.0 is still working fine with only a broken digitizer and you don’t have the budget to upgrade it with the new version. The most economical way is to replace the cracked screen/digitizer. Here we’ll walk you through a step by step guide of how to replace the Samsung Galaxy Tab 3 7.0 digitizer.
Tools Needed:
Step 1:
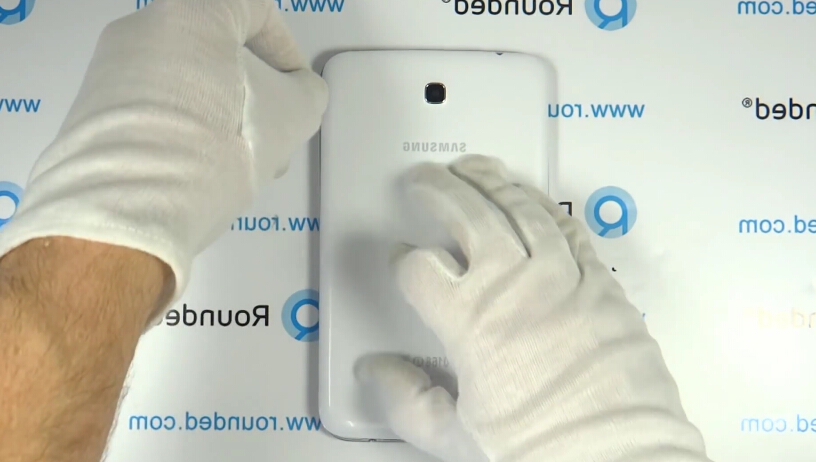
Remove the battery door.
Step 2:
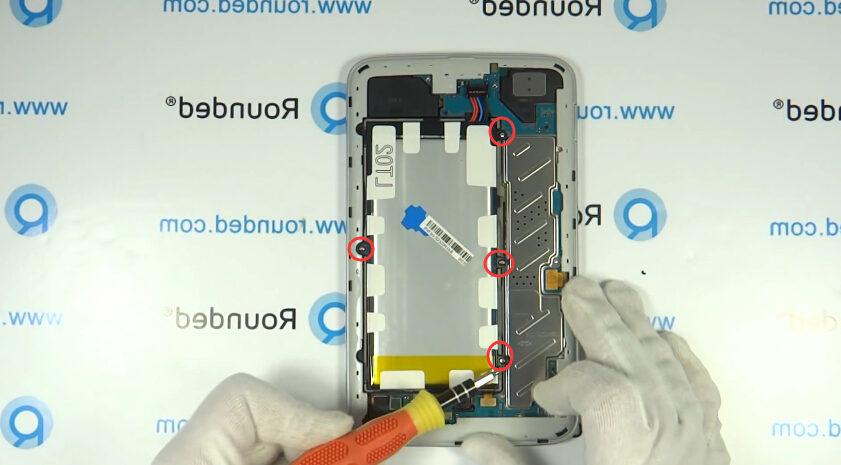
Remove 4 screws as showed in the picture.
Step 3:
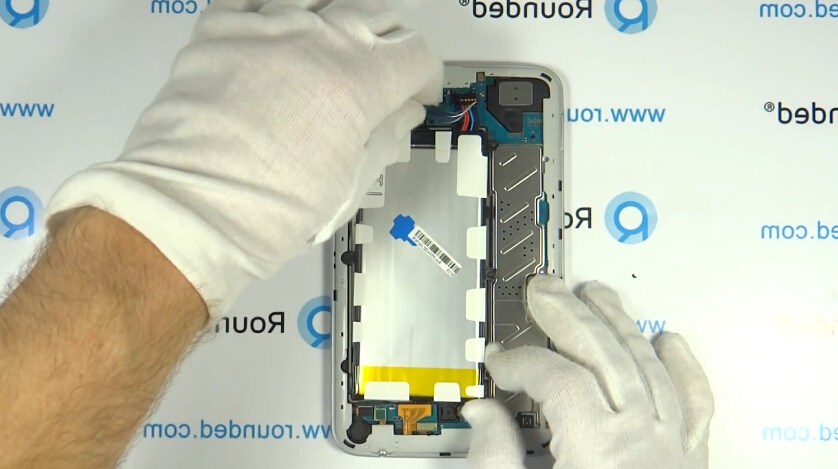
Disconnect the battery clip and then remove the battery.
Step 4:
Insert a plastic pry tool to release the rear housing.
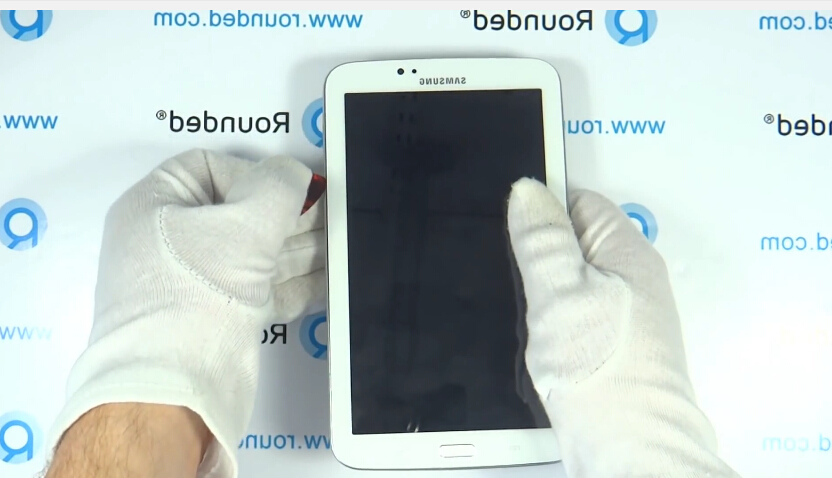
Step 5:
Undo 2 screws as showed.
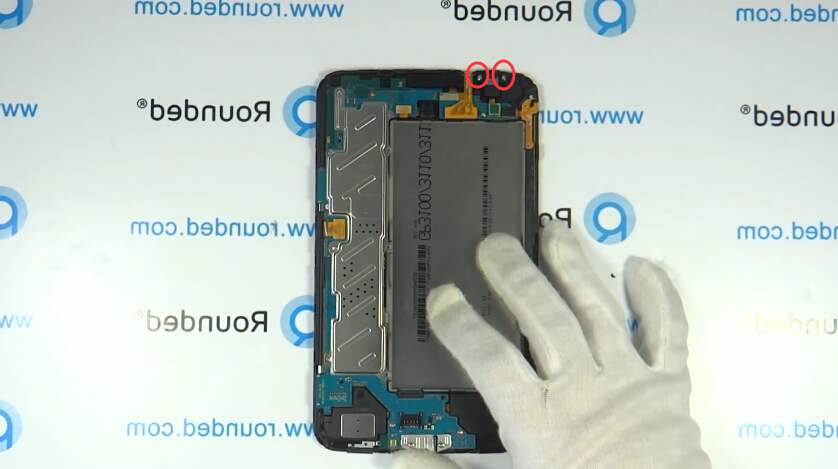
Step 6:
Disconnect and remove the headphone jack.
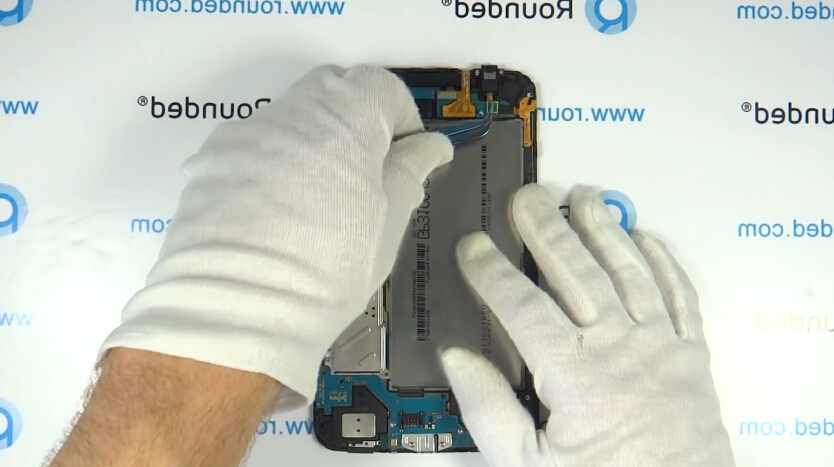
Step 7:
Disconnect the 5 connectors.
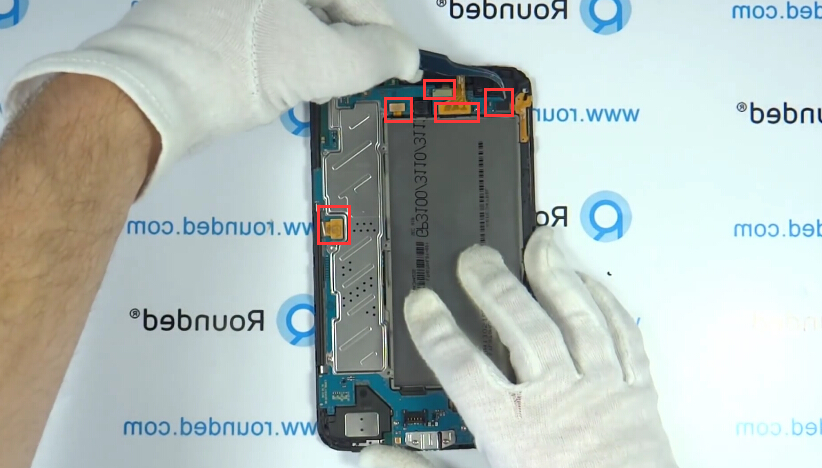
Step 8:
Undo the 7 screws on the motherboard then release it.
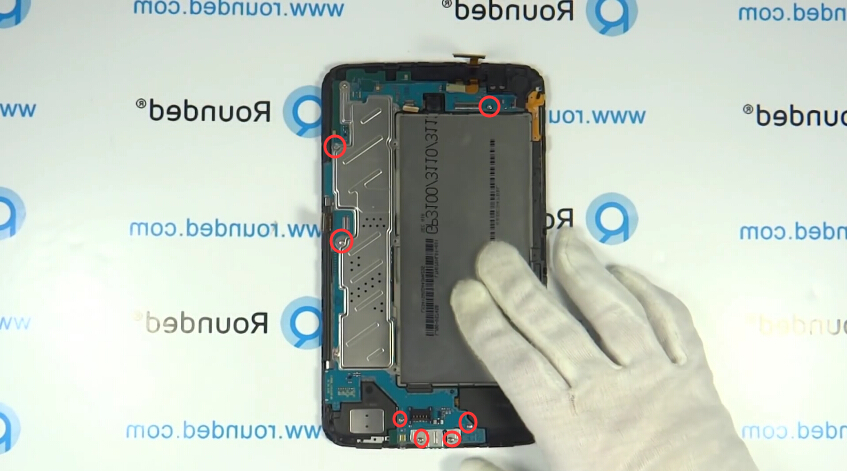
Step 9:
Remove the screw and then the antenna.
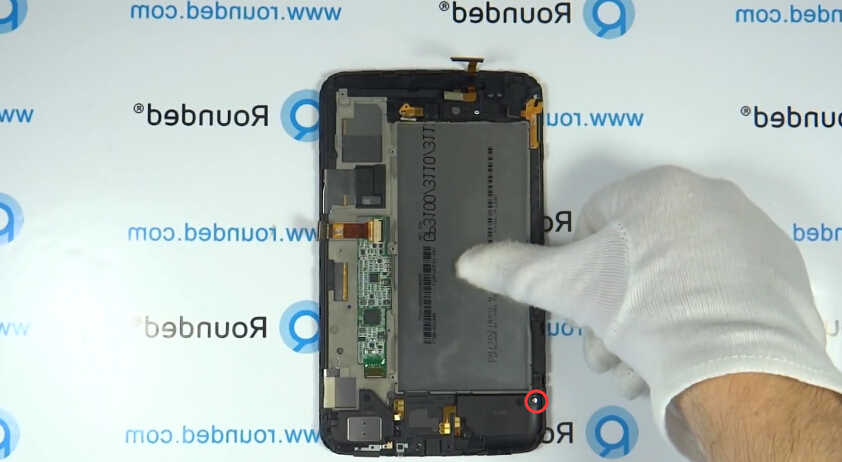
Step 10:
Use tweezers to remove the loud speaker module.
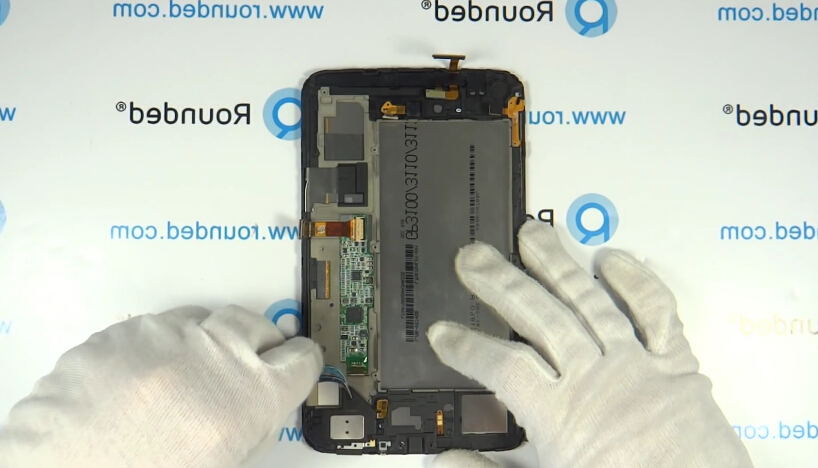
Step 11:
Use tweezers to pick up the rear camera.
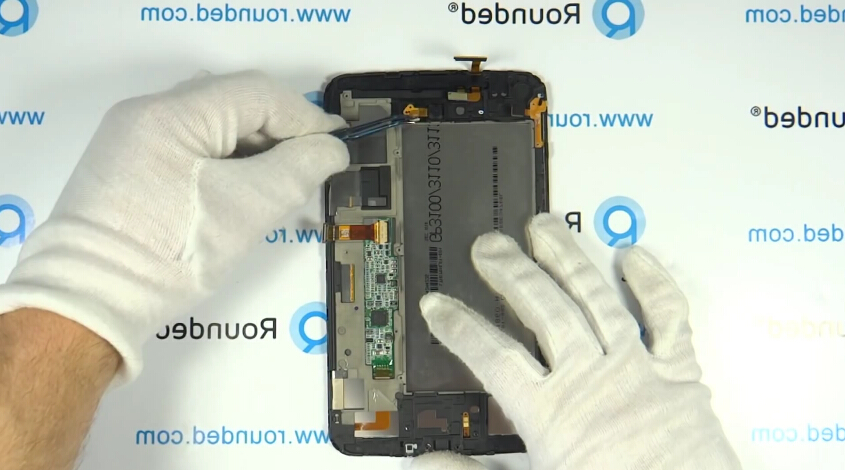
Step 12:
Use tweezers to pick up the plastic bracket.
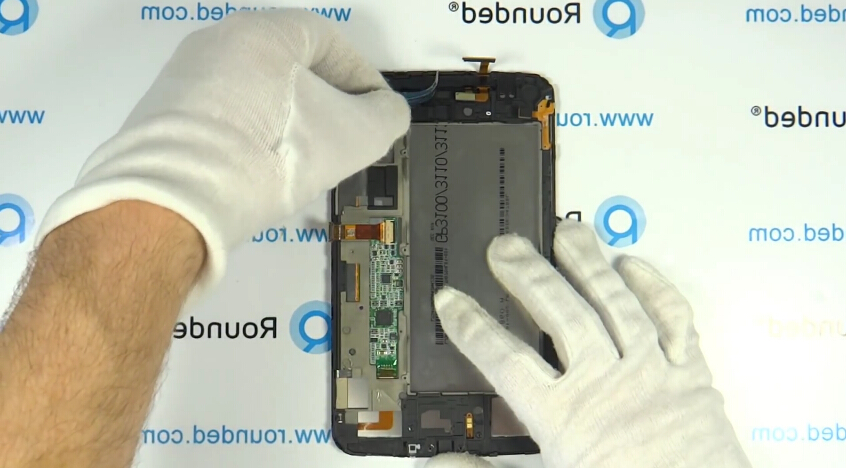
Step 13:
Remove the front facing camera with proximity sensor.
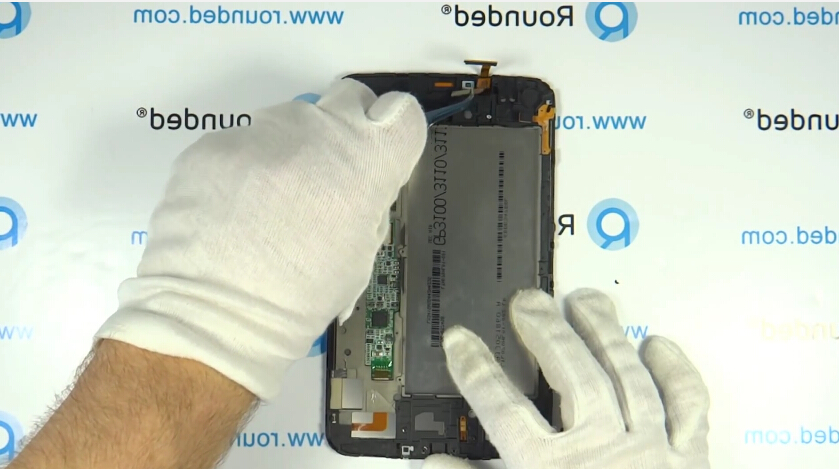
Step 14:
Remove the power button flex cable.
