2016年7月17日星期日

What you should know about Sony Z3/Z3Compact/Z3+,Z5/Z5Compact/Z5 Premium front housing adhesive

Recently a video about Sony Z3 front housing adhesive impressed us which showed the adhesive should be heated before used. When we searched this problem on the internet, we found many customers encountered the same problem, they said Sony Z3&Z5 series front housing adhesive are weak when they used, which caused problem when they assembled screen with front housing. To further study this problem and know how it happened, we made an investigation and found some very important information.
There are two types of front housing adhesive for Sony Z3/Z3Compact/Z3+, Z5/Z5Compact/Z5 Premium, one is original front housing adhesive which was named Grade S+ in our website, another is OEM compliant front housing adhesive which was named Grade R. Let’s take Sony Z3 front housing adhesive on our website for example. You will know their difference by reading contents below.
1. Material difference
Sony Z3 Front Housing AdhesiveQualityMaterialUsage Notes
S+ GradeOriginalHot Melt Glue(HMG)Heating before used
R GradeOEM compliantDouble Sided GlueNo need heating
2. Quality difference
For non-original adhesive, there are different quality also as they are from different factories. So Etrade had tested many suppliers and would use the best source.
3. Usage difference
Step 1:
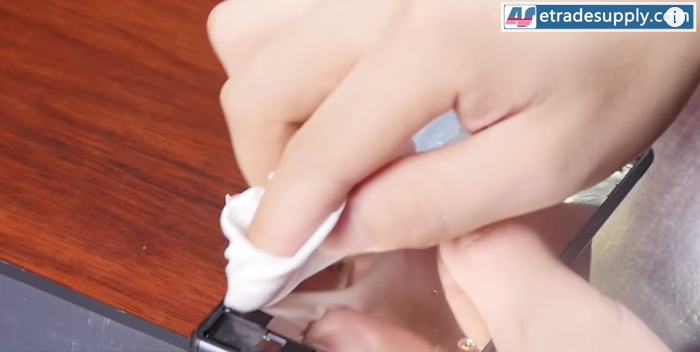
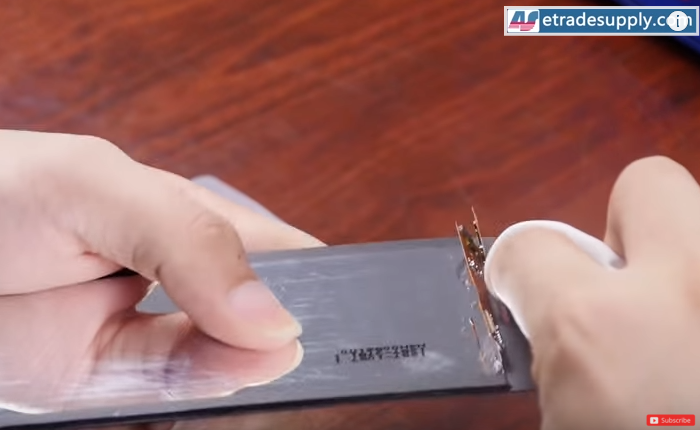
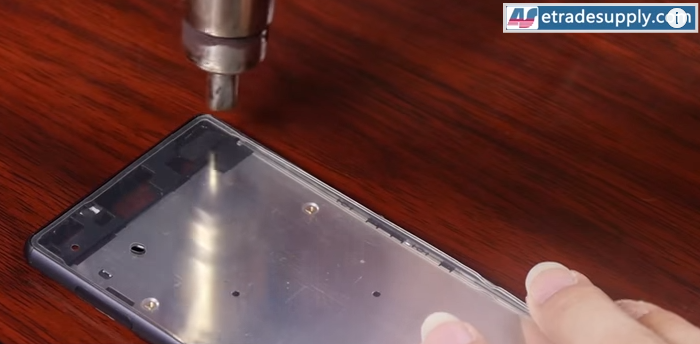
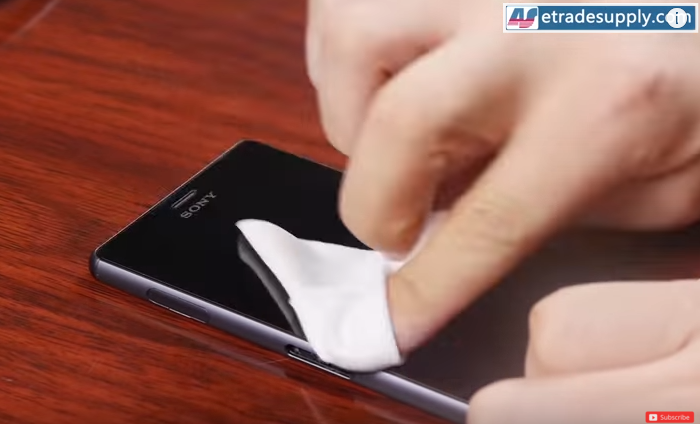
Clear up the residual gum on the screen &front housing with 90% Alcohol.Clear up the residual gumClear up the residual gum2
Step 2:
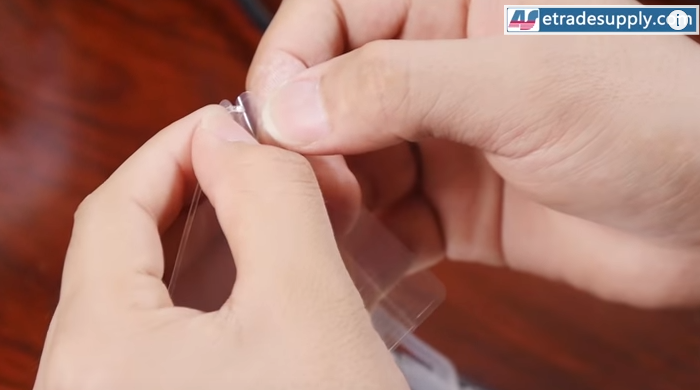
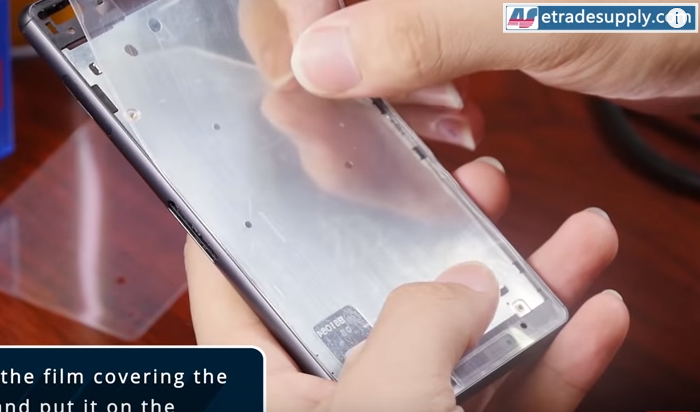
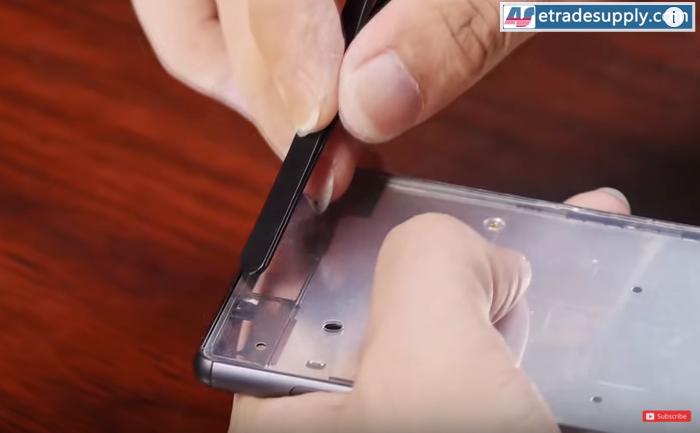
Peel off the films and put one side on the front housing then peel off final film.Peel off sticker
LX0LN9S80J1)A2LWUY66)ISpeel off sticker protective film
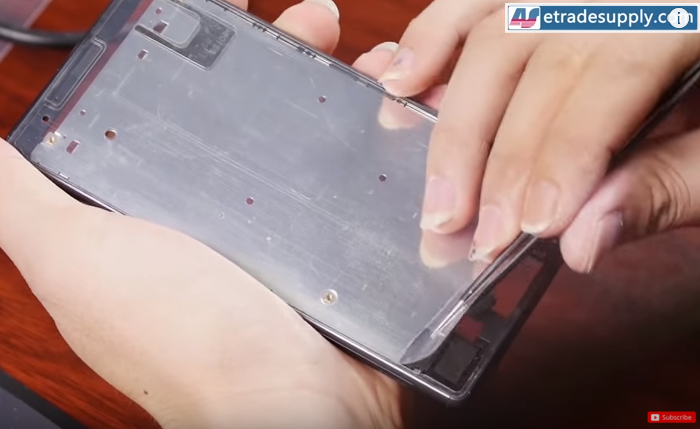
Heat up the front adhesive sticker for about 1 minute and make it stick tightly to the frame.heat up stickerfix stickerStep 3:
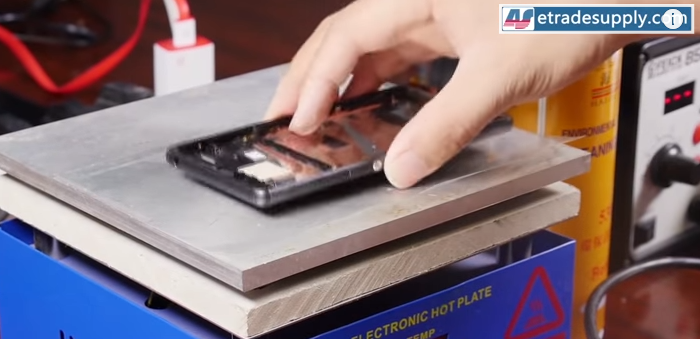
Original: Put the screen on and then put the whole front screen assembly with frame on the heating plate (80-100 centi degree for 5 second).
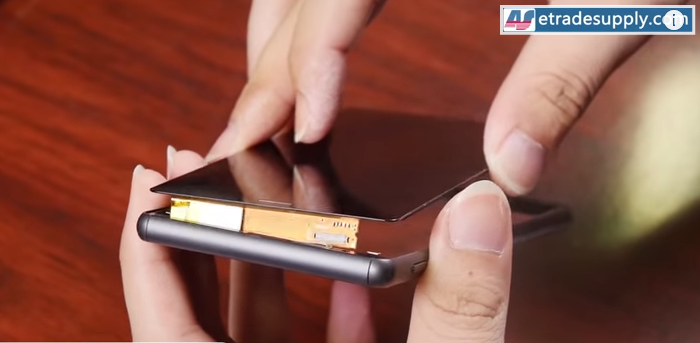
install screenheat up
Non-original: Put the screen on and press them with efforts.(No need to put it on the heating plate)press screenLast step:
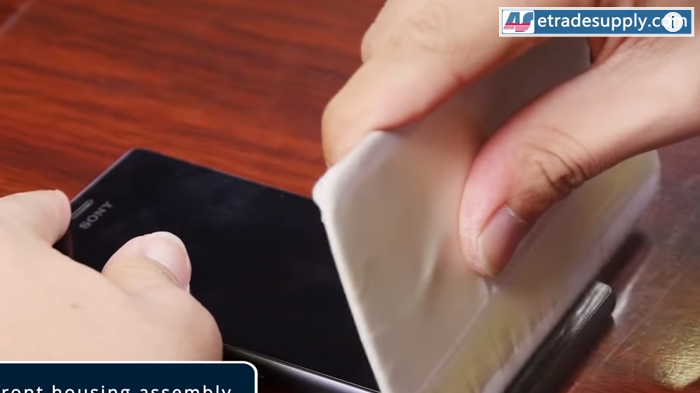
Original: Press the screen with efforts and clean the screen surface.
Non-original: You could also use 3M reinforce to strengthen the stickiness before you put screen onclean screen
So if Sony Z3 front housing adhesive you purchased is original, heat the item by heating plate before used, then it will work.
You will also notice the same situation would happen on Sony Z3 compact/Z3+Z5/Z5 Compact/Z5 Premium. So the correct ways for you to use their front housing adhesives which are the same as Sony Z3. Please refer to the below video instruction.

How to Replace the Huawei Honor 8 Broken Screen

Huawei Honor 8, which is recognized as the most beautiful Huawei smartphone ever, was unveiled in July 11, 2016 in China and will release in Aug 18 in the US according to the media reports. Here we take a simple teardown guide to pre-show you how it looks like the internal work and how to do a DIY repair your own.
Repair Tools Needed:
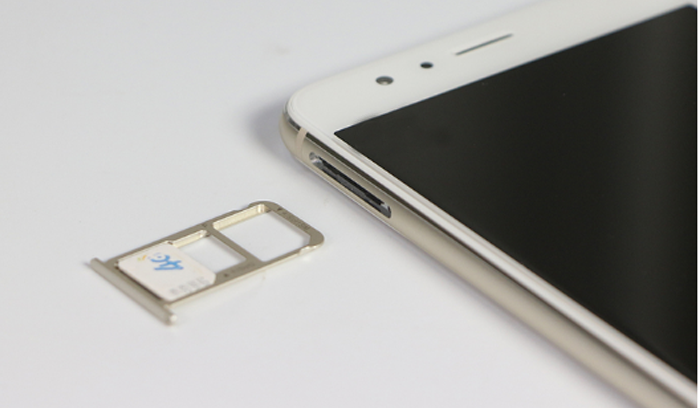
Step 1 Power off the phone and remove the SIM card tray.
1 remove sim card tray
1.sim card tray
(Tips: in order to protect your screen, you’d better put a protective film on screen surface.)
Step 2 Remove battery cover
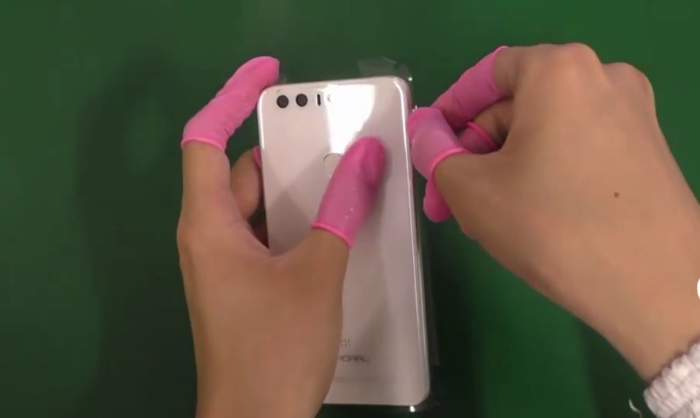
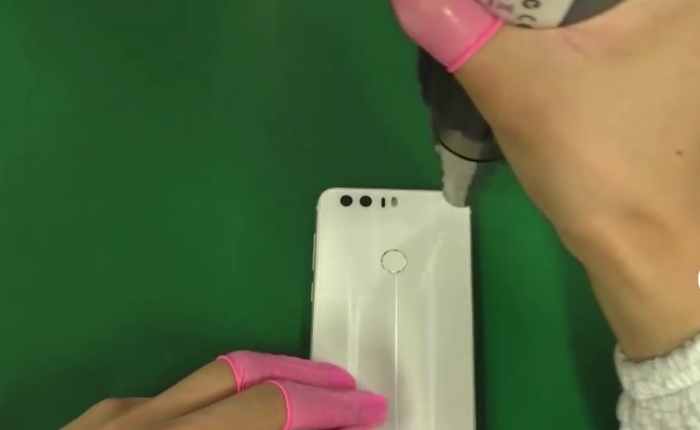
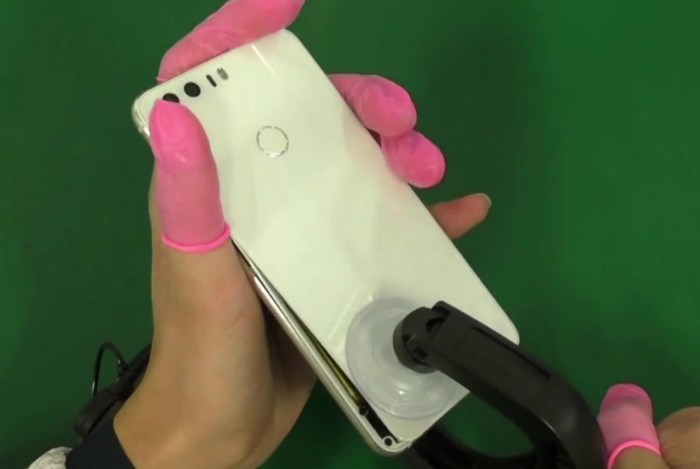
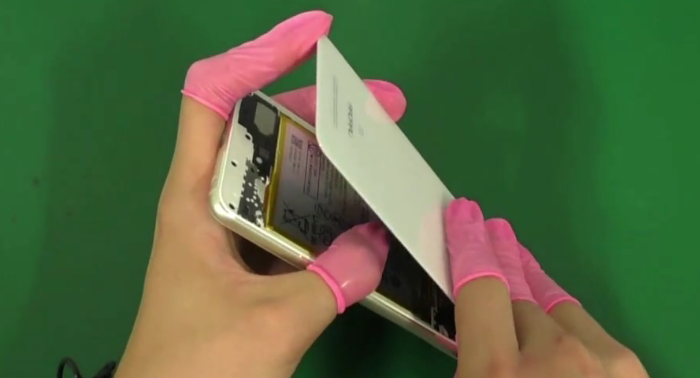
This Huawei Honor 8 battery cover is made from glass, and it is sticked tightly to the middle frame with lots of adhesives, which needs to be heated up for about 2minutes to melt the back cover sticker. Then use a suction cup separator to pull off the battery cover glass.
2,heat up back cover
3.pry up back cover
4.pry up back coverNote:
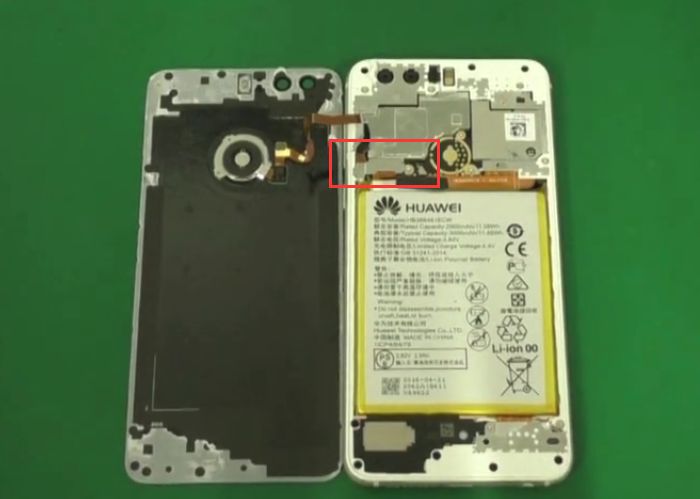
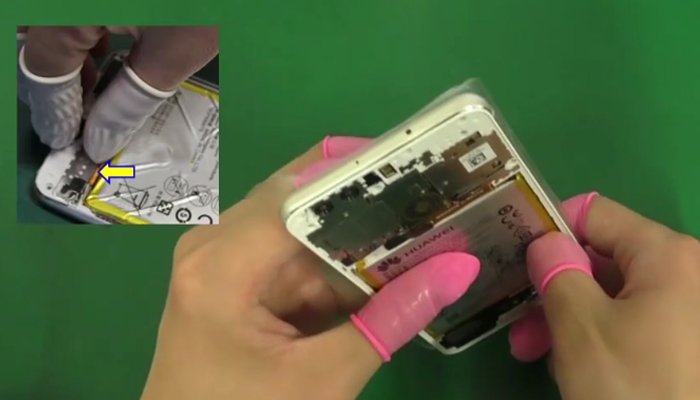
The back cover glass is connected to the motherboard with the fingerprint sensor flex cable, you’d better pry up the cover from the bottom in case you broken the flex cable.5.back cover
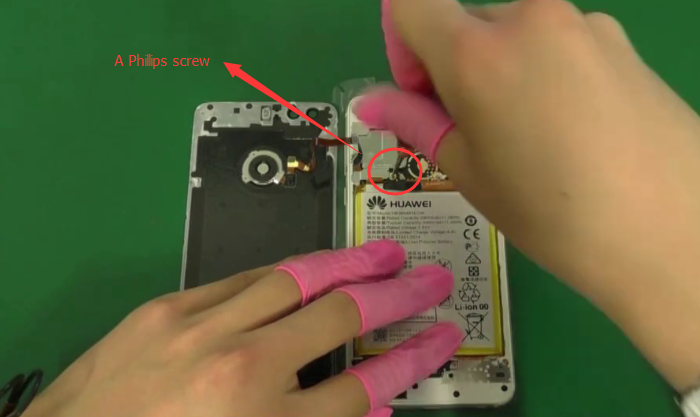
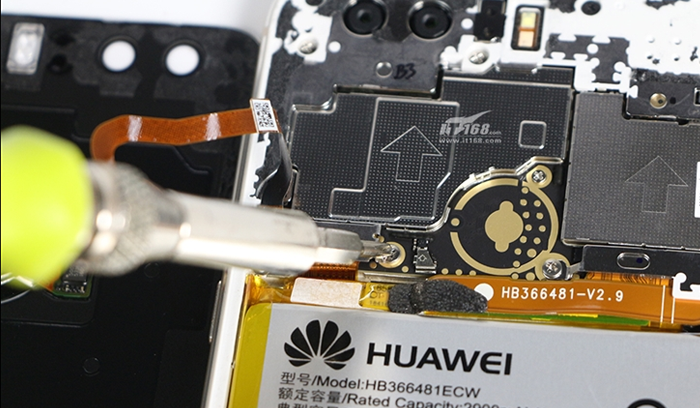
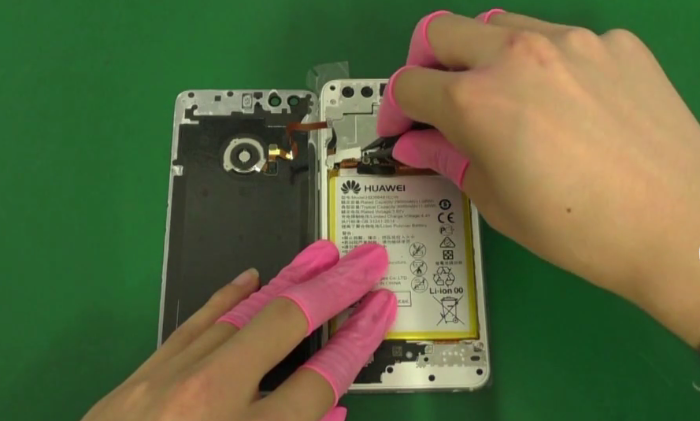
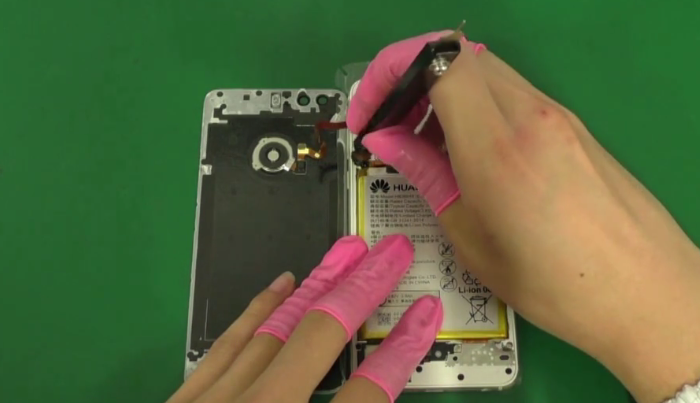
Undo the Phillips screw and remove the metal bracket then you can disconnect the flex cable, so you can remove back cover glass now.
6.remove screw
undo screw
7.remove metal bracket
8.release fingerprint flex
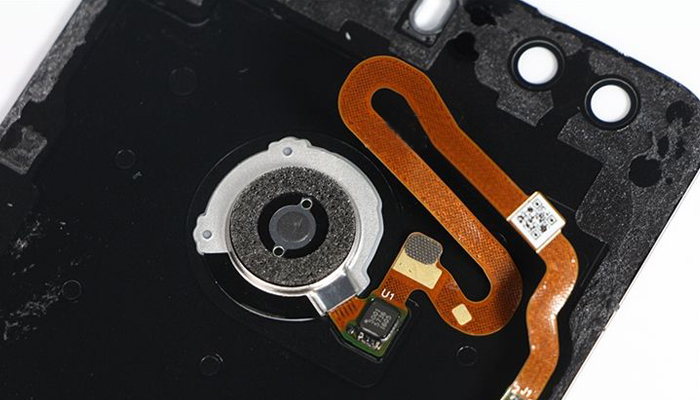
Take a closer look at the fingerprint sensor flex cable.9.back cover glass
Step 3 Remove plastic back frame
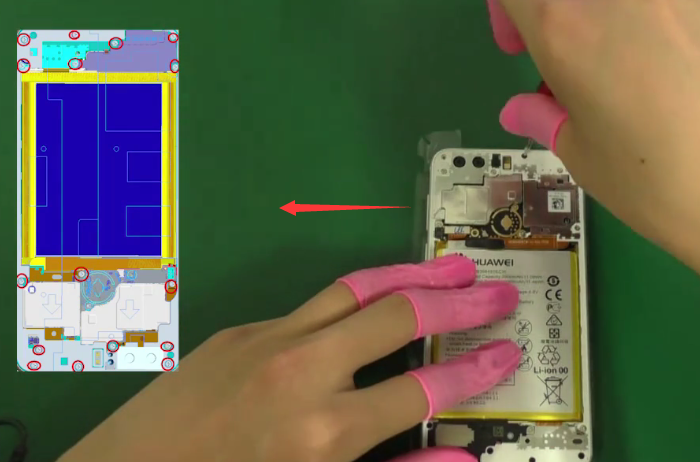
First undo 16 screws on the plastic back frame as showed in following picture position.
undo 16 screws
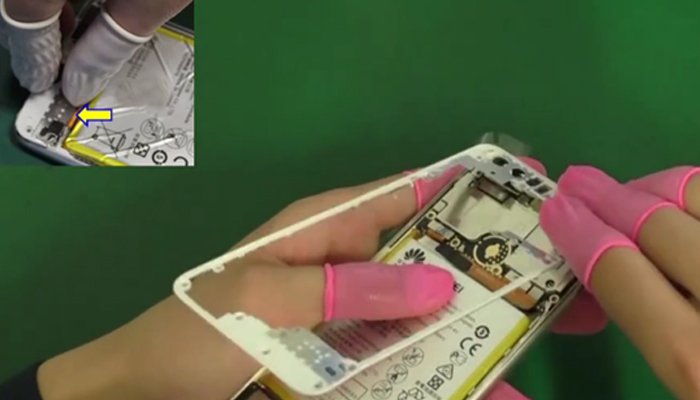
Then you can remove the back frame now. (Start from the bottom side position as showed in the picture below will much easier.)
remove back frame
remove back frame 2
Step 4 Remove motherboard and small parts
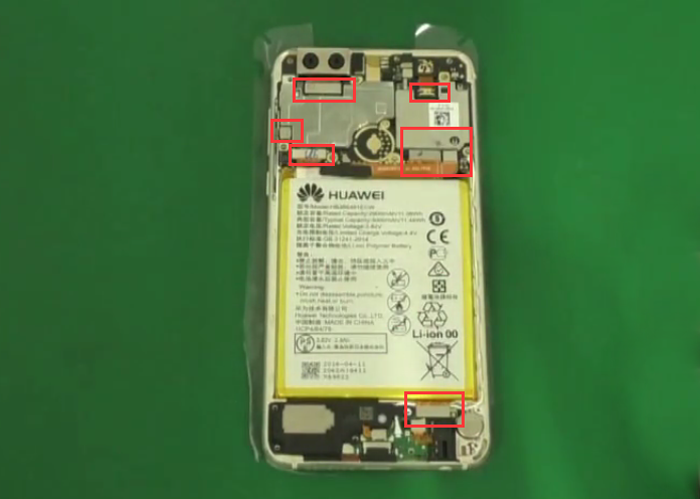
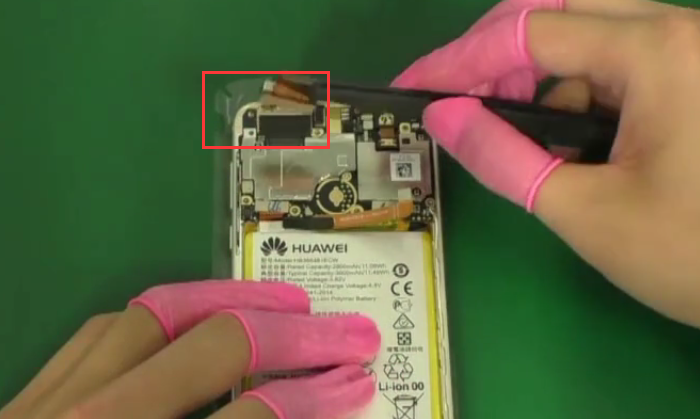
After removing the back frame, disconnect the rear facing camera connector, front facing camera connector, PCB board connector, LCD screen connector, side keys connector by the spudger.
release connectors
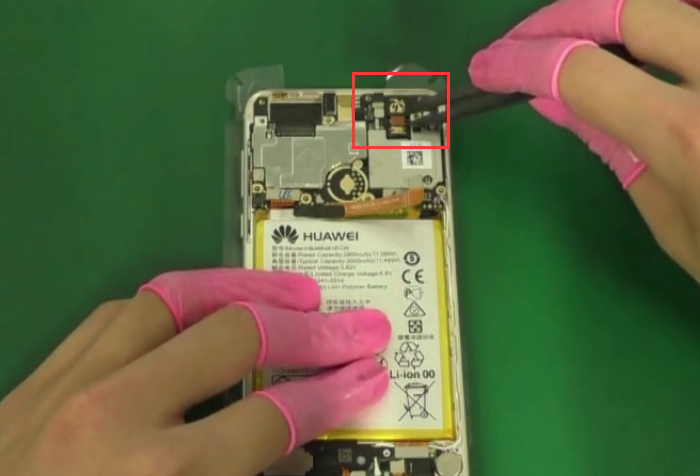
Now you can remove the rear facing camera and front facing camera.
remove rear camera
remove front camera
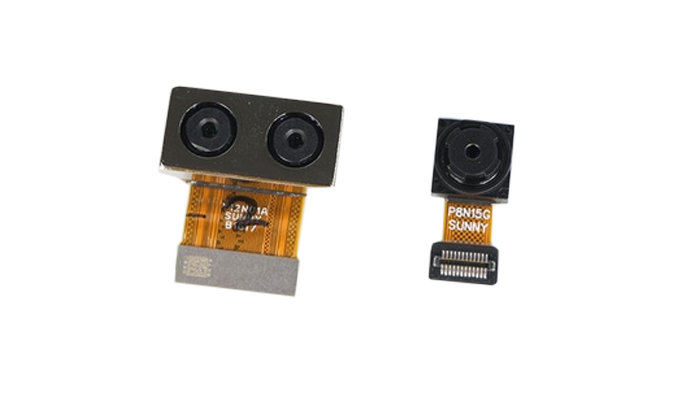
Dual rear camera with 12MP.
cameras 1
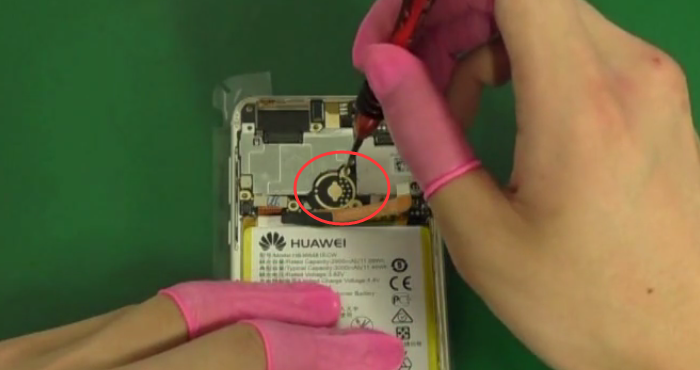
Don’t forget one Phillips screw here before removing the motherboard.undo screw1
Now you can remove the motherboard. (Pry up the motherboard from the rear camera area will be easier)
remove motherboard
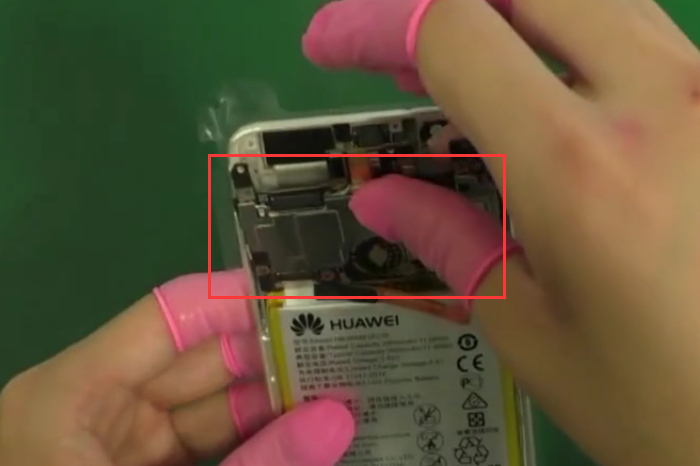
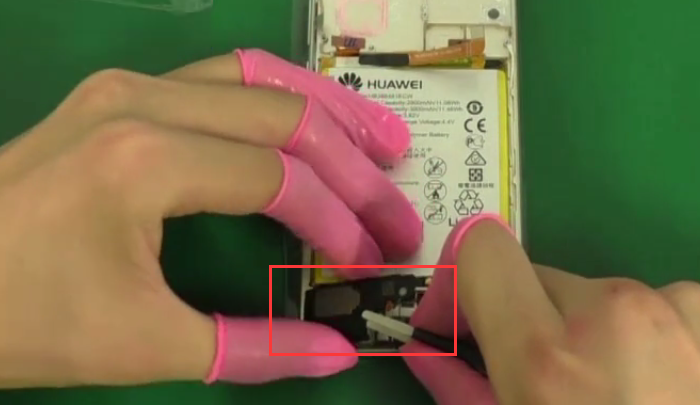
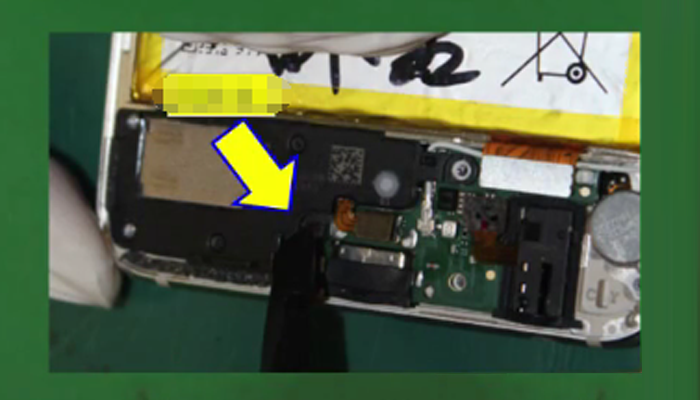
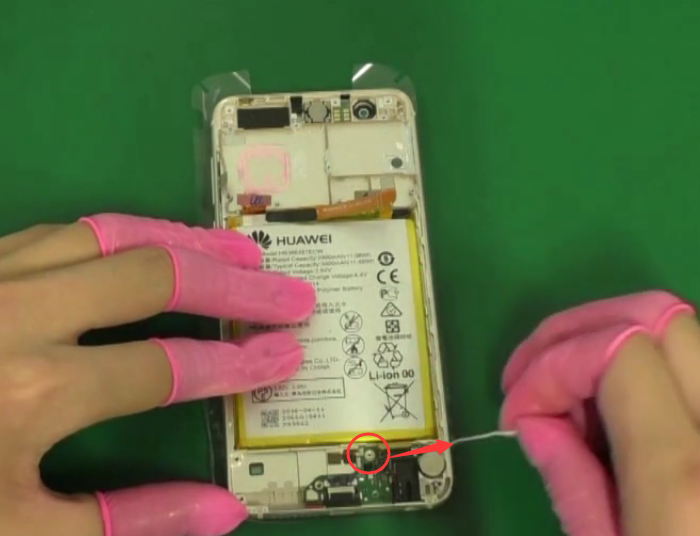
Move to the bottom side, you can pry out the loudspeaker with no effort.
remove loudspeaker
easily removing part1
Next to the loudspeaker, disconnect the signal cable now.
remove signal cable
Then you can remove the headphone jack. Use a plastic tweezers to loosen the headphone jack and pick it out.
remove headphone jack
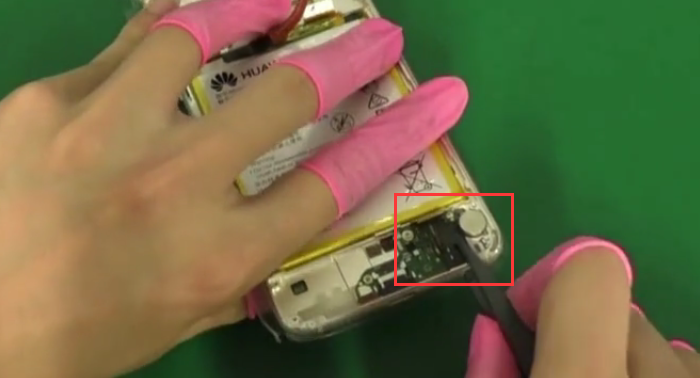
After removing the earphone jack, it’s time to remove the daughter board now.
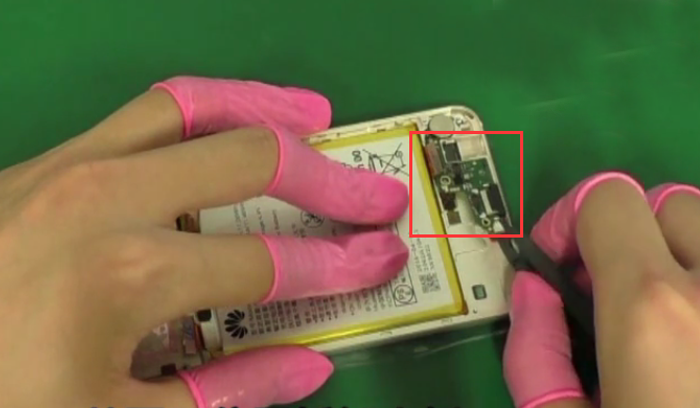
remove daugter board
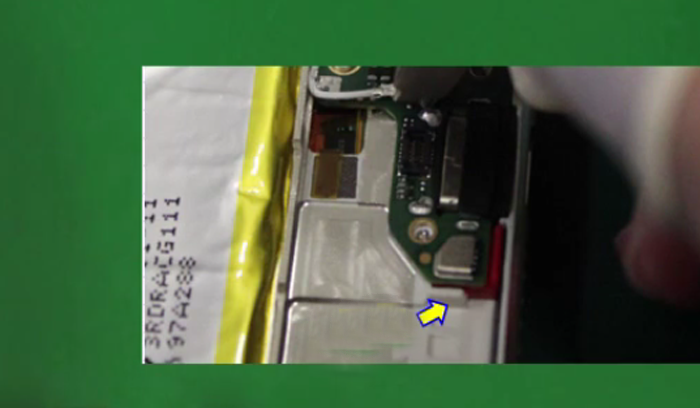
From this position you can remove the daughter board easily.
easily removing position
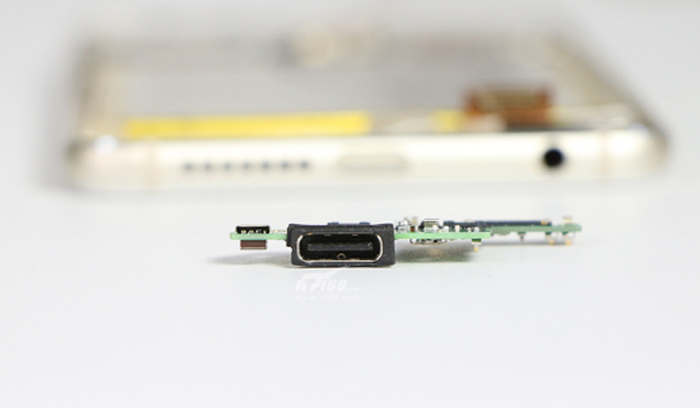
This is the daughter board with USB-Type C connector.usb type-c charger
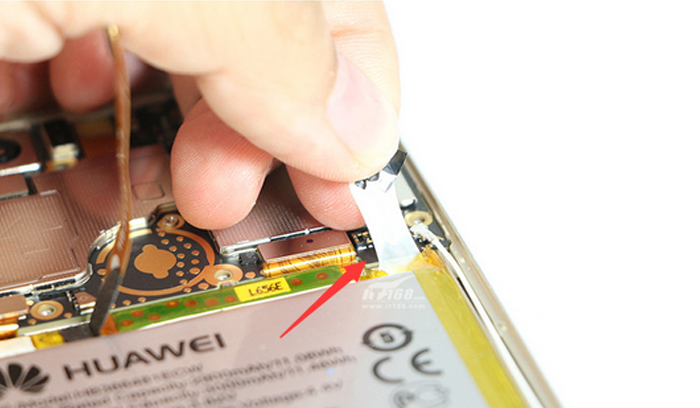
As to the big 3000mAh battery, it is fixed to the middle housing by the soft adhesive sticker. Pull the sticker out then it’s easy to remove the battery.battery tape
(Note:Pull out the battery tape along the direction of the battery or it is easily to broken.)
In order to protect the battery tape, here we’re not going to take off the battery.
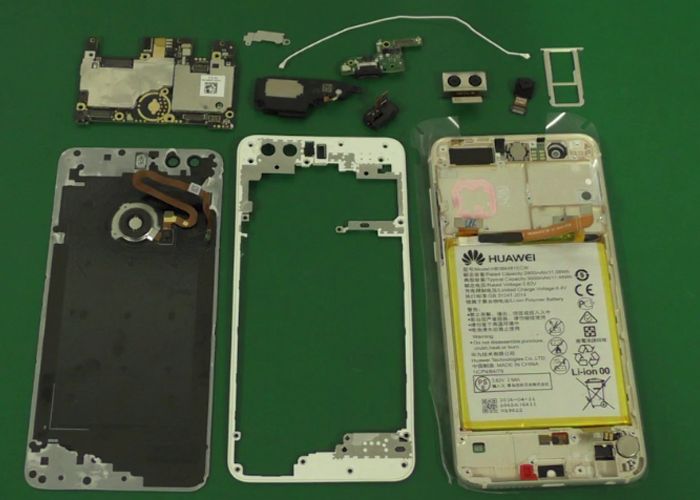
So, this is how the Honor 8 looks like inside. Welcome any comments to share with us!
huawei honor 8 teardown

2016年7月12日星期二

Did your iPhone 6S rear housing paint peel off?

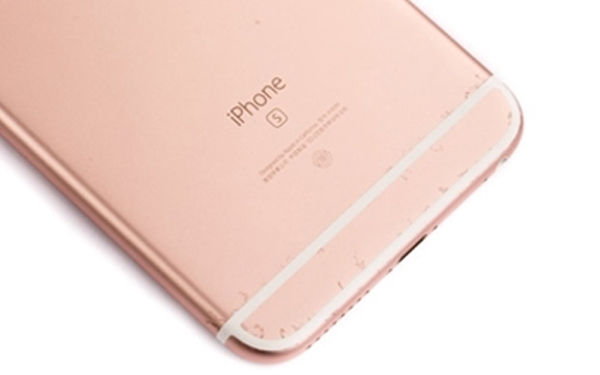
Recently, there are more and more iPhone 6S pictures users with the rear housing getting rusty and the surface paint falling off complaining in many forums, how this happened? Here we have some speculations.
Why this happened?
The reasons are from 2 aspects:
First, as we know that Apple uses the softer full aluminum material since iPhone 5 series in order to pursue a lighter and thinner phone body, which unfortunately causes the phone tending to bend. To solve this problem, Apple adopt the stronger 7000 series aluminum in iPhone 6S and 6S Plus, which makes the 6S features higher hardness. However, here comes the problem, the 7000 series aluminum alloy contains higher percent of Zinc and Magnesium than 6000 series which has been used in 5 and 6 series, which makes its inoxidizability and corrosion resistance weaker than the 6000 series.
Then you may wonder why there still are some iPhone 6S not affected by this phenomenon while lots of others are suffering badly.

The other reason is, we all know that Apple owns lots of contract manufacturers to produce the iPhone/iPad/iMac parts they need, There are absolutely some differences in technological level or treatment process between different contract manufacturers. Speaking of the treatment process, most cellphones including iPhone, use the anodizing treatment to produce the rear housing and we can’t deny the possibility that somehow the there’s a little misoperations in production process or something is wrong with the quality inspections, which can bring the results that metal oxide film (or called oxidized tinct membrane) painted on the rear housing surface is not well-proportioned or strong enough, and then makes it easier to falling off from the surface. In other words, we speculate that there may be something related to the treatment process.
Where’s the most susceptible place
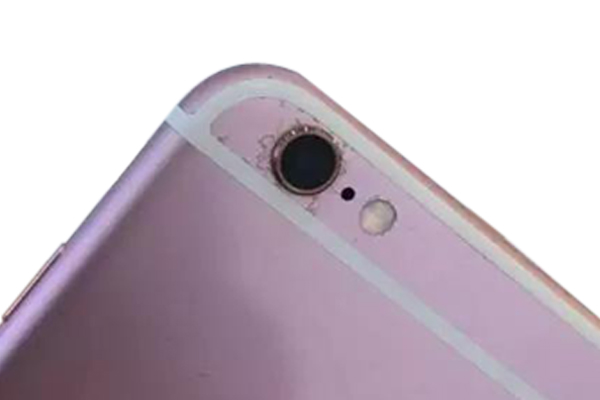
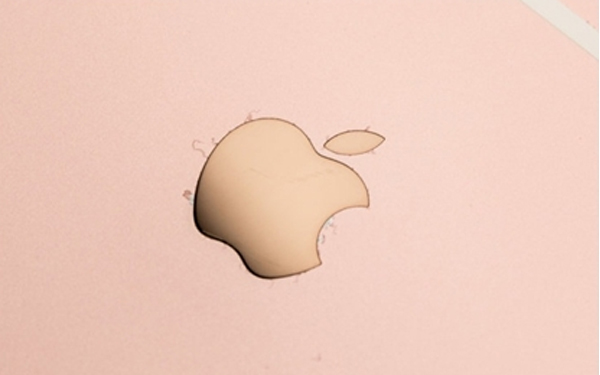
If you’ve encountered this, you may find that happened mostly near the camera, Apple logo, the joint area of the white fringe and metal cover, even with the joint of metal frame and glass edges. These corrosion parts are just like small bugs. What’s worse is that it will not stop till it getting more serious and starting fall off.apple-camera-rusty
apple-logo-rusty
apple-rear-housing-falling-off
How to avoid this problem
The corrosion of the rear housing is not included in the warranty so don’t expect you can get it replaced by Apple.
And according to the above analysis, there is hardly an effective solution to prevent these phenomena, still we need to pay more attention to our 6S, trying to make it away from this tragedy.
1.Try not to use your iPhone 6S under high temperature and moist environment.
2.Better wear a back protective glass film or back cover case to protect your iPhone.
3.Try your best to keep your iPhone clean and dry, do not touch your phone while your hands are wet.
On the other hand, we hope that Apple can strengthen the control of product quality and no more problems like this appears.

2016年7月5日星期二

Did you pick the right screwdriver to repair iPhone?

Have you ever repaired an iPhone? If you have done this before, you may find that there are so many different size of the iPhone screws. Put all these screws back in the right place should be important when you reassembling the iPhone, cause if you don’t, there will be a big risk damaging your phone. Now we’re going to reveal all the iPhone screws to figure out what exact screwdriver you really need when repairing the iPhone.
1.     Pentalobe screws
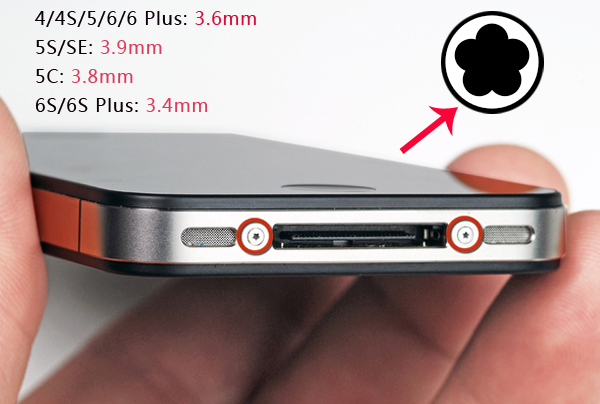
First we’ll start from the 2 outer screws at the bottom near the lightning dock connector, these 2 are Pentalobe screws, which is 5-point tamper-resistant screw used first by Apple to secure the battery in the MacBook Pro, there you’ll need a P2 Pentalobe screwdriver, which is 0.8mm size, to undo these 2 screws. Although different iPhone features different length of the Pentalobe screws, still they can share the same P2 Pentalobe screwdriver.pentalobe screw
pentalobe-screwdriver-etradesupply.jpg
Tips: Many people complained that the Pentalobe screws are prone to stripping even with the right screwdriver, use smaller Phillips screwdriver to put those back will be more convenient compared with using Pentalobe screwdriver.
2.     Standoff screws
What’s more complicated are the inside screws, you may think that all the screws inside are Phillips screws, well, that may not corrected. There are still many special screws inside.
For iPhone 4, except for the Phillips screws, there is a 4.8mm standoff screw inside, near the headphone jack.
iPhone-4-standoff-screw.jpg
While for 4S, there is one more 3.6mm standoff screw along beside the logic board near the battery connector.
iPhone-4s-3.6mm-standoff-screw.jpg
For iPhone 5, you can see that there are 3 standoff screws size 2.7mm which securing the logic board to the rear housing, the top one is non-magnetic and the other 2 are on the bottom side near the battery. 
iPhone-5-standoff-screw.jpg

Also the iPhone 5C features 3 standoff screws size 2.7mm. As showed in the following picture
iPhone-5c-standoff-screw.jpg
For 5S, there are four 2.8mm standoff screws when you disassemble the logic board.
iphone-5s-2.8mm-standoff-screw.jpg
As for iPhone 6, there is a 2.3mm standoff screw on top right of the battery, while 6 Plus has 2.
iphone-6-2.3mm-screwdriver.jpg
iPhone-6-plus-standoff-screw.jpg
Look at new iPhone 6S Plus, unsurprisingly there is still a 2.2mm Phillips standoff screw securing the logic board.
Even with the small size iPhone SE, which also features four 2.8mm standoff screws like 5S did.

Here we can see it clearer from this picture below about the differences between normal Phillips screw and standoff screw.
differences-between-normal-Phillips-screw-and-standoff-screw.jpg
The standoff screw looks like Phillips screw in some way, however there is a sunken hole within the screw and four flutes on the edges are also different from the normal Phillips screw.
So there you should get a special screwdriver like this one to undo the standoff screw.
standoff-screw.jpg

Tips: you can undo the standoff screw with a 2.5mm flathead screwdriver if you don’t own a special standoff screwdriver.
And for the iPhone 6S, it is a little bit different, the special screw is located on the top right of the battery, which is 2.5mm Hex standoff screw.
iphone-6s-standoff-screw.jpg
iphone-6s-hex-screw.jpg
So when you disassemble the iPhone 6S, you’d better prepare the special M2.5 Hex socket screwdriver, otherwise it’s so hard to take out this unique screw.
3.   Phillips screws
Except the special Pentalobe screws and standoff screws, the left are all normal Phillips screws. Though these screws are in different length, luckily they can share the same Phillips screwdriver when you disassemble your iPhone.
However, we’d like to mention that from iPhone 4 series to the 6 generations, the Phillips screws are changed a little bit.
For iPhone 4/4s/5/5C/5SE, you’ll need the Phillips#000 screwdriver while the iPhone 6/6 Plus/6S/6S Plus requiring the Phillips#00screwdriver.
Warm Tips:
When disassemble the screws, keep all of them organized (we suggest to use the magnetic screwmat), cause if you mixed them up, like if the screws get swapped and one of the longer screws is placed in the hole for the shorter it will damage the logic board, causing the phone boot loop, display a blue screen or showing error 14 or error 9 etc. Also over-tighten the screw will damage the phone either.
So if you have any questions or any ideas about how to deal with iPhone screws easier, do not hesitate to share with us!