2016年3月3日星期四

How to Disassemble the iPad Mini 4 for Screen Replacement

The iPad Mini 4 was released in September, 2015, along with the iPad Pro. Compared with the 12.9-inch iPad Pro, this iPad Mini 4 features a 7.9-inch LED-backlit IPS LCD and capacitive touchscreen. In the previous post How to Disassemble iPad Pro For Screen Replacement, we mentioned that the iPad Pro screen replacement is not an individual capable work, how about replacing an iPad Mini 4 screen? Well, let’s have a closer look.

Tools Needed:
Heat Gun/Hot Plate MachineAnti-static Wrist Strap

1. Soften the iPad Mini 4 digitizer adhesive.
Adjust the hot plate temperature to 110°C ~ 120°C, place the iPad Mini 4 facedown on the hot plate for less than 10 seconds. If you're using a heat gun instead of the hot plate, set the heat gun at the same temperature, heat up around the edges of iPad Mini 4 in circles also for less than 10 seconds.

2. Release the iPad Mini 4 digitizer adhesive.
Gently pull up the screen, insert a guitar pick in between and run it around to separate the iPad Mini 4 LCD assemblyfrom the rear housing assembly. It's not that easy as it sounds, pay your effort and patience to it.

Undo the 4 screws and remove the metal cover, then pry up the two screen flex cable connectors to release the iPad Mini 4 LCD and digitizer assembly

4. Release the iPad Mini 4 home button.
Gently pry up the 3 connectors and pry up to release the home button bracket. Then poke from the front side to release the iPad Mini 4 home button with flex cable ribbon.

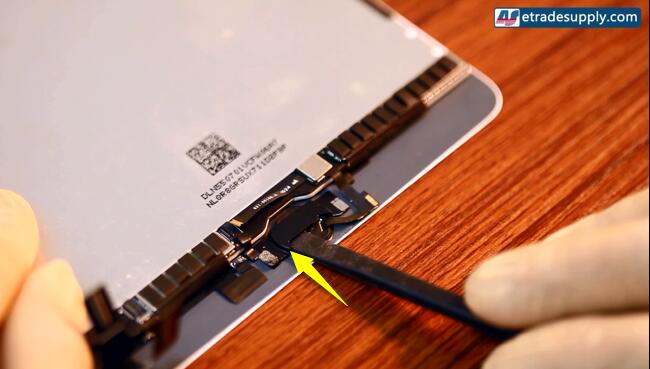
Now the iPad Mini 4 LCD and digitizer assembly was disassembled, watch below tutorial video for more details as well as the whole teardown process.
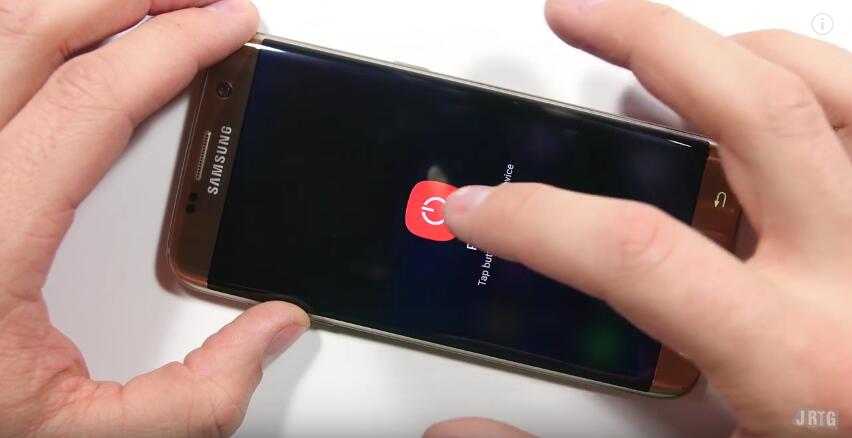
What You Can Do When Your Samsung Galaxy S7 Edge’s Screen Is Cracked

No doubt that the Samsung Galaxy S7 Edge is a beast in 2016’s flagship phones. The curved edges, makes it stands out among other phones. Samsung has opened the restriction for other developers to build more apps to fully make use of the curved display. However, this fantastic design makes the repair work extremely difficult. Let’s find out how to replace the Samsung Galaxy S7 Edge’s screen step by step.
Tools Needed:
Heat Gun
Business Cards/Playing Cards
Thin Metal Spudger

Step 1.
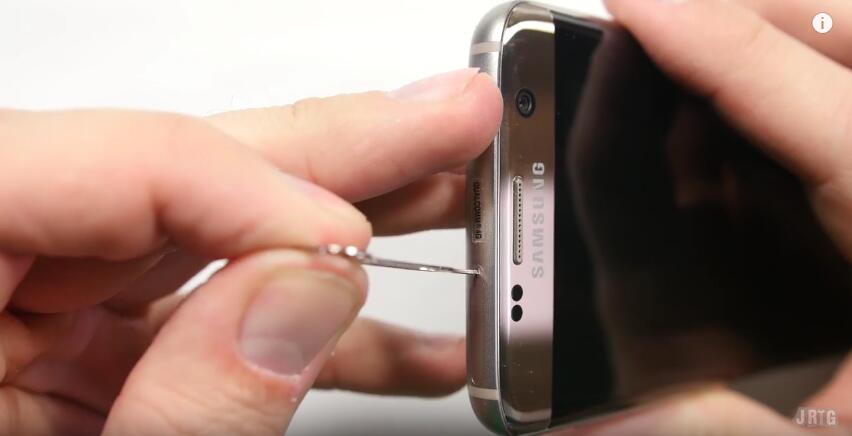
Shut down the Samsung Galaxy S7 Edge then remove the SIM card tray.
 
Step 2.
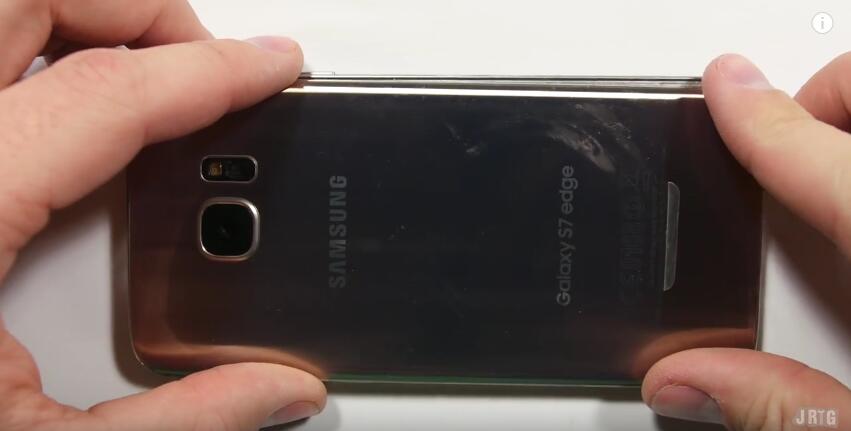
Heat up the back the S7 edge(until it’s too hot to touch).

Step 3.
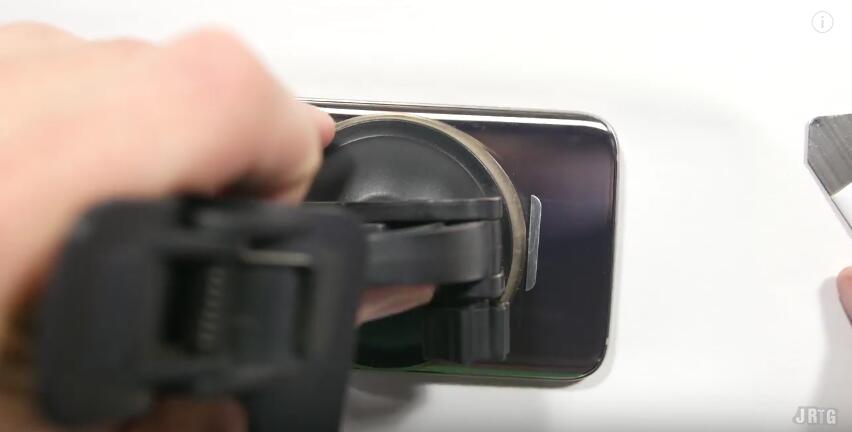
Apply the suction cup to the back cover of the S7 edge.
 
Step 4.
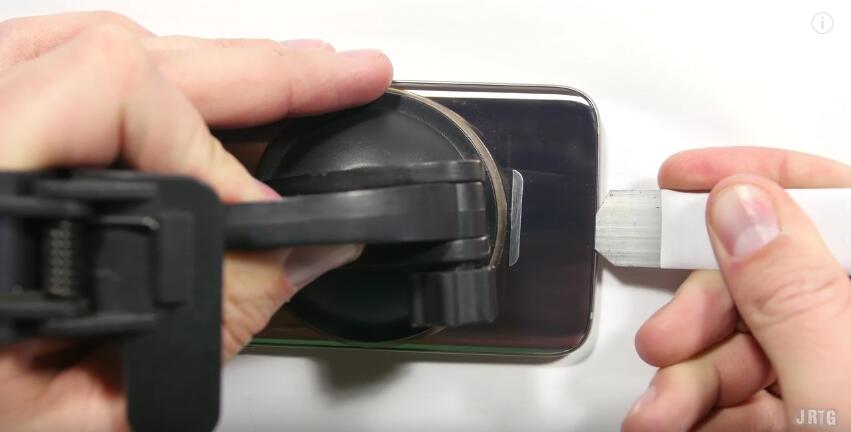
Pry the edge of the S7 edge back cover a little bit to insert the thin metal spudger.
 
Step 5.
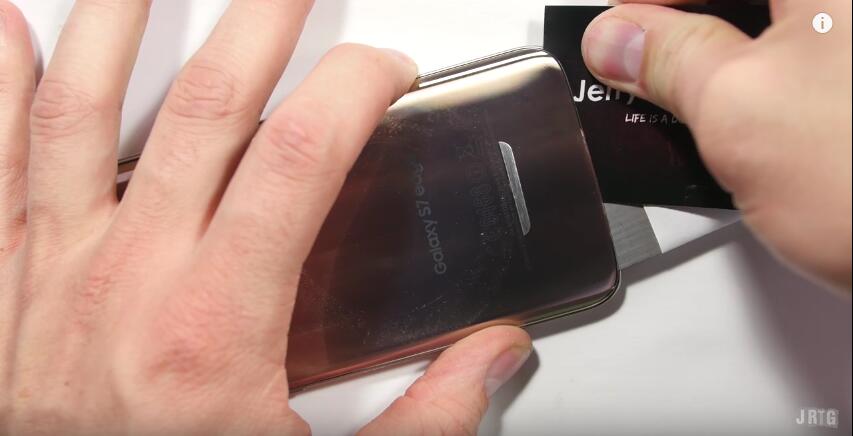
Slide away the metal spudger a little bit then insert some business cards/playing cards to do the rest.
 
Step 6.
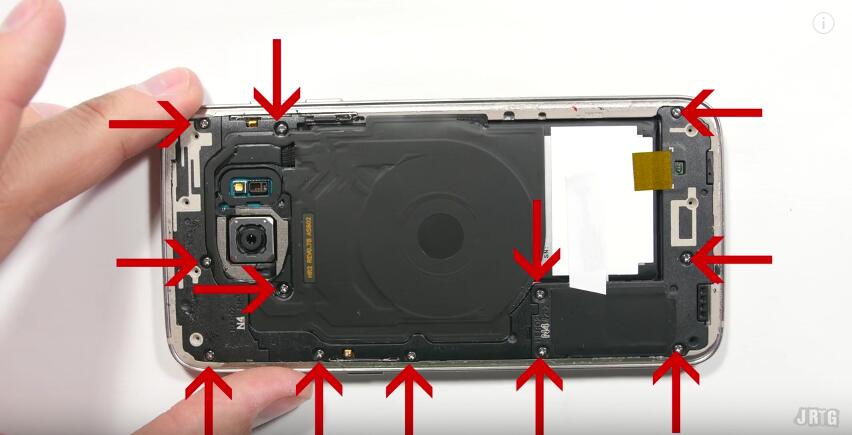
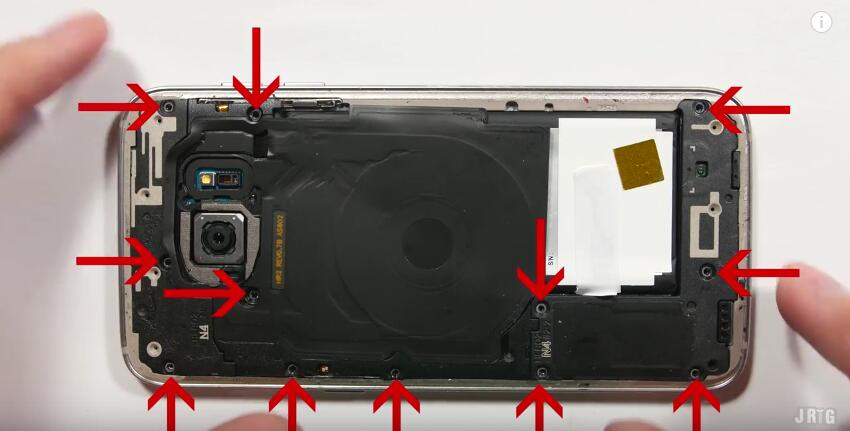
Once the back cover has been released, undo the 12 Phillips screws holding the rear housing.
 
Step 7.
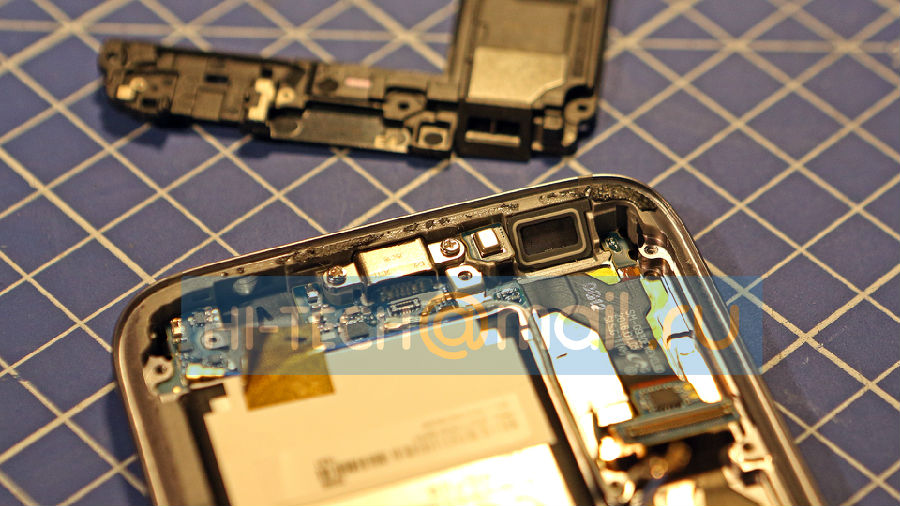
Use the plastic separation tool to separate the top plastic bracket then remove the wireless charging pad.
 
Step 8.
Disconnect the battery cable, power cable, display cable and the volume button cable.
 
Step 9.
Use a pair of tweezers to remove the loud speaker module.
 
Step 10.
Pop off all the antenna cables and the fingerprint scanner cable.
 
Step 11.
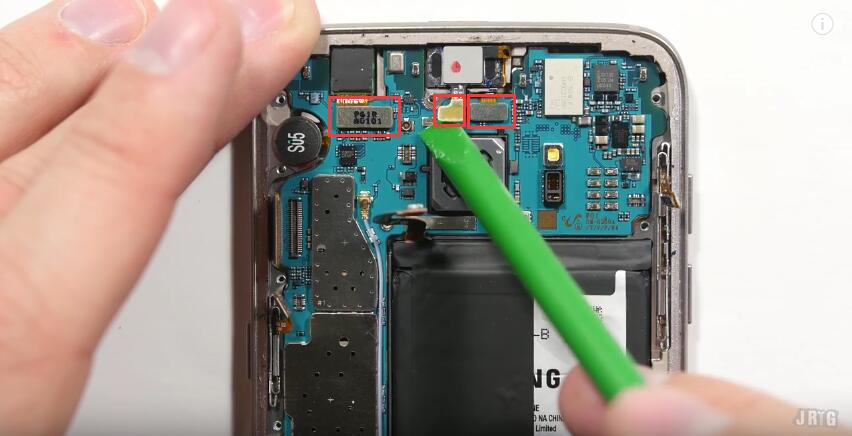
Disconnect the earphone connector, front facing camera connector and the proximity and light sensor connector.
 
Step 12.
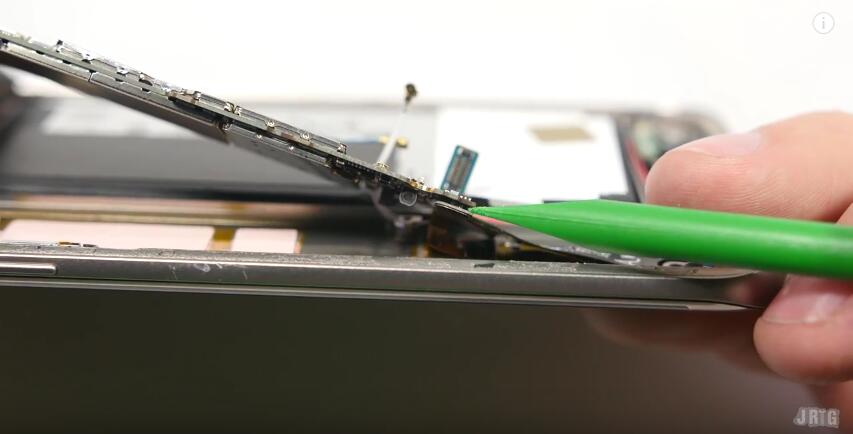
Lift up the motherboard then disconnect the charging port connector.
 
Step 13.
Disconnect and remove the rear facing camera.
 
Step 14.
Heat up to the adhesive underneath the battery, then use the metal spudger to lift it up (slowly and carefully).
 
Step 15.
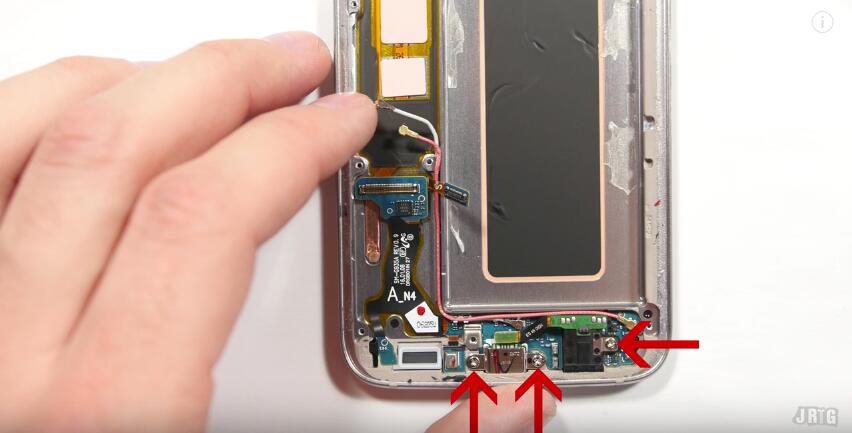
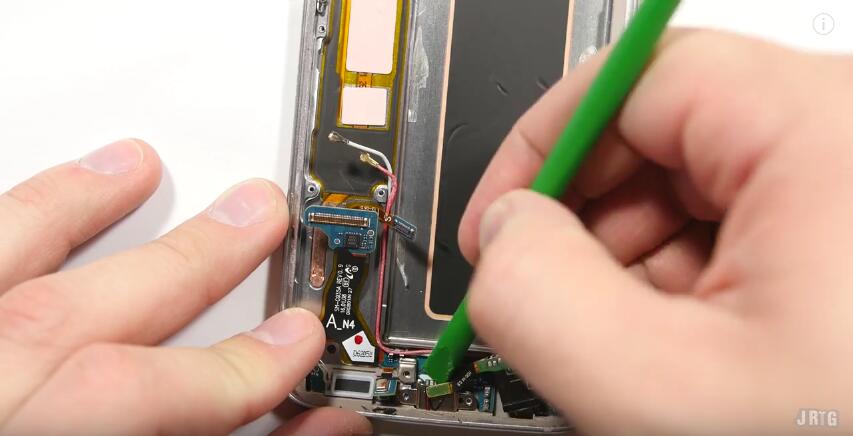
Undo 3 screws holding the charging port then take out the headphone jack.
 
As for the charging port of the Galaxy S7 edge, it has been combined with the navigation board, which you need to separate the screen assembly first. However, for a curved display like S7 edge, separate the display from the front housing is Mission Impossible without damaging the Super AMOLED display. If you want to save more money, you could just buy a replacement display and follow the steps which separate the back cover to replace it.

Step 16.
Put the head phone jack back again.
 
Step 17.
Reconnect the motherboard with the charging port then put it back into the position (avoid those cables and connectors).
 
Step 18.
Reconnect the power cable, display cable, earphone connector, proximity and light sensor connector and the volume button cable.
 
Step 19.
Reconnect the fingerprint scanner connector and all 3 antenna connectors.
 
Step 20.
Reassemble 3 screws.
 
Step 21.
Reassemble the loud speaker module.
 
Step 22.
Reconnect the front facing camera and the battery.
 
Step 23.
Re-put the wireless charging pad and the top plastic bracket.
 
Step 24.
Re-assemble all the screws holding the rear housing.
 
Step 25.
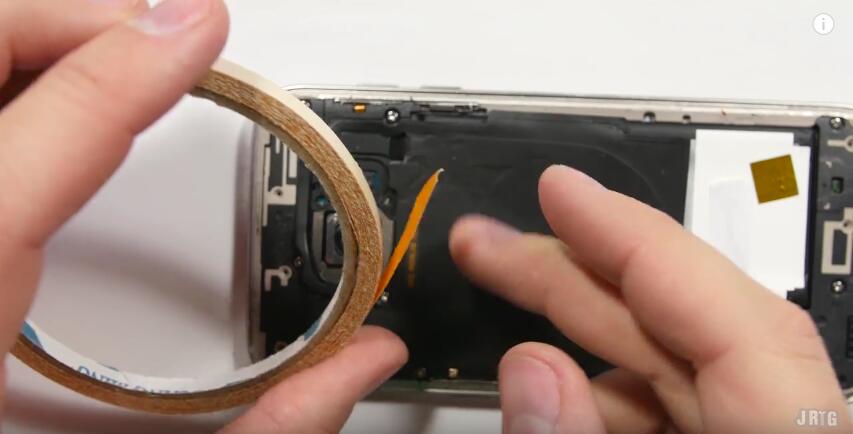
Put some 3M double adhesive around the edges then reassemble the back cover.

2016年2月28日星期日

How to Tear Down/Disassemble the Galaxy S7 for Screen Replacement

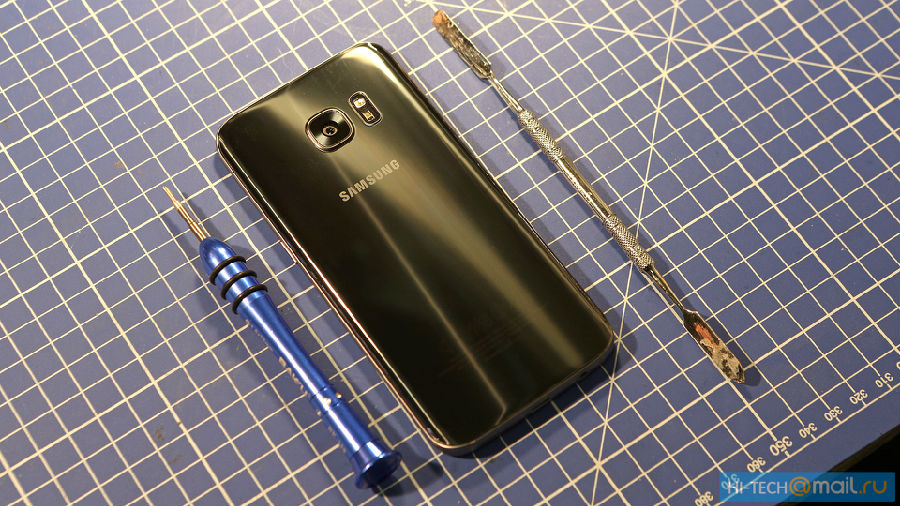
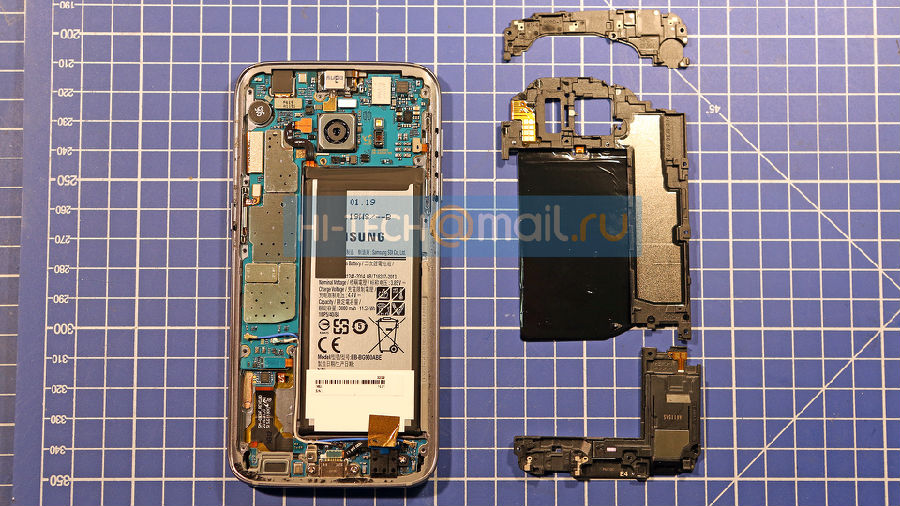
The Samsung Galaxy S7 and Galaxy S7 Edge were annouced days ago in the MWC 2016, which are about to come to meet the public soon. However, before it's officially released, a Russian tech site namedHi-Tech had got a Galaxy S7 and disassembled it right at the moment. Here we followed his steps and watched how this IP68 rate Samsunng flagship was torn down.

Tools Needed:
• Heat Gun/Hair Dryer
• Spudger

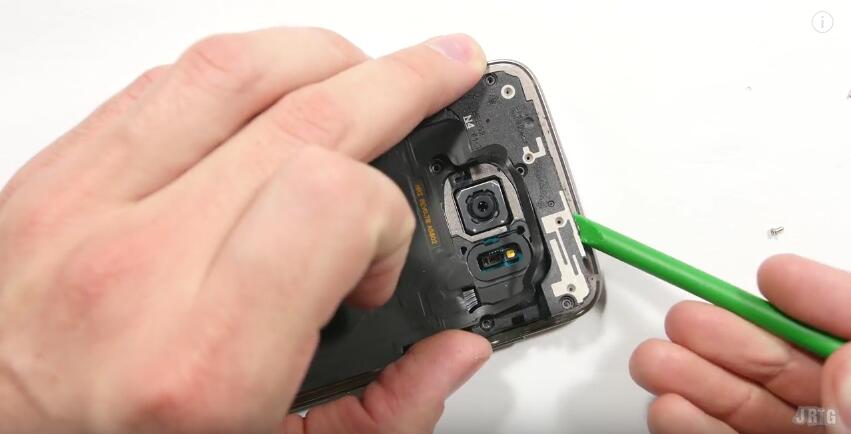
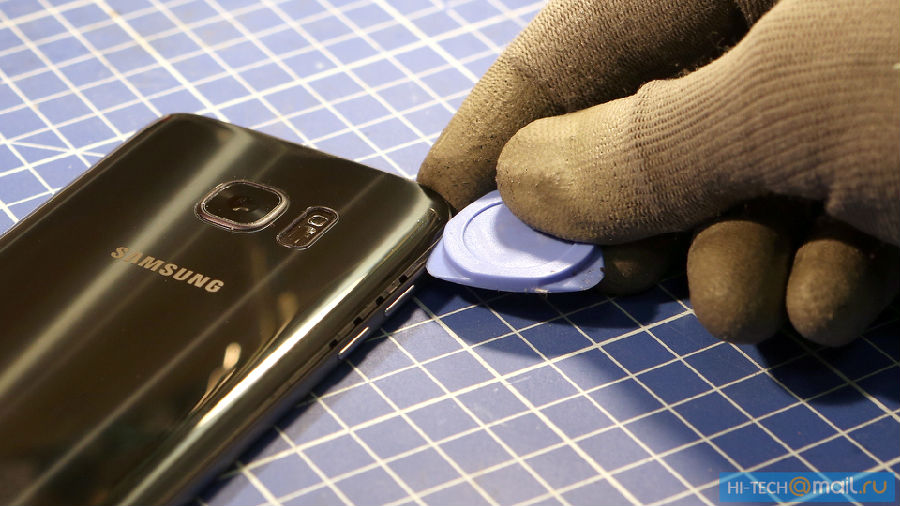
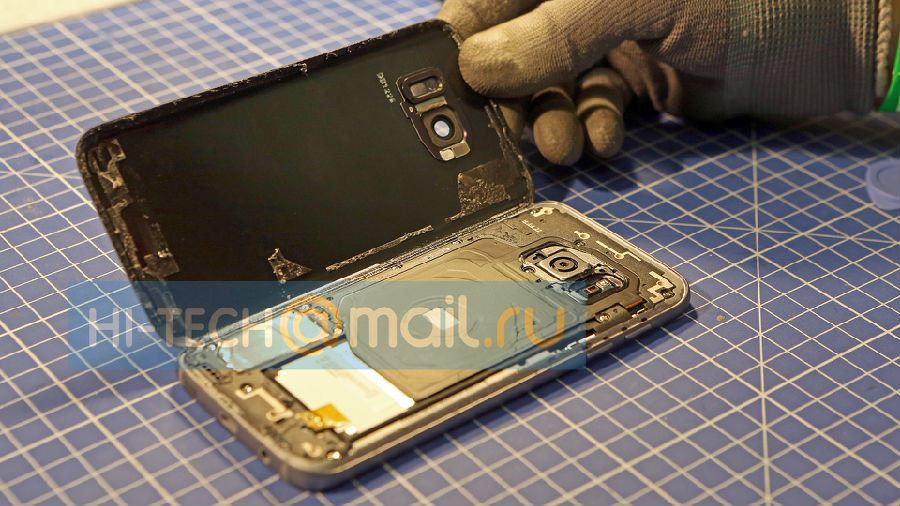
1. Power off the device, heat up around the edges to soften the back cover adhesive underneath. Gently pry or pull it up until a gap shows up, then insert a guitar pick in between and running it around to separate the Galaxy S7 back cover.
Notice: the back cover is tightly sealed to the frame by waterprof adhesive in order to keep the device waterproof. However, if the Galaxy S7 back side was exposed to the sun or high temperature for a long time, the adhesive and gasket will get deformed, making the waterproofness weaken or lost.

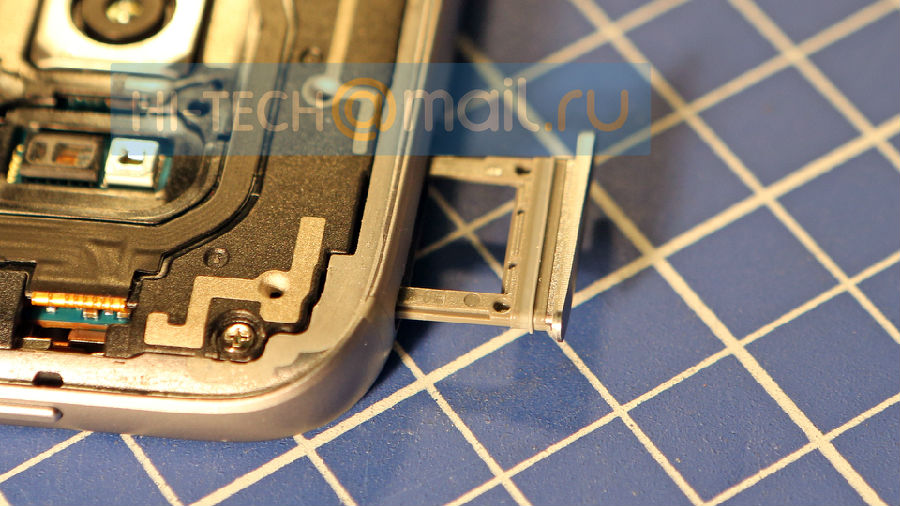
2. Remove the Galaxy S7 SIM card tray.
Notice: as you can see from the below picture, the SIM card tray is also wearing waterproof adhesive so as to protect the device from moisture.

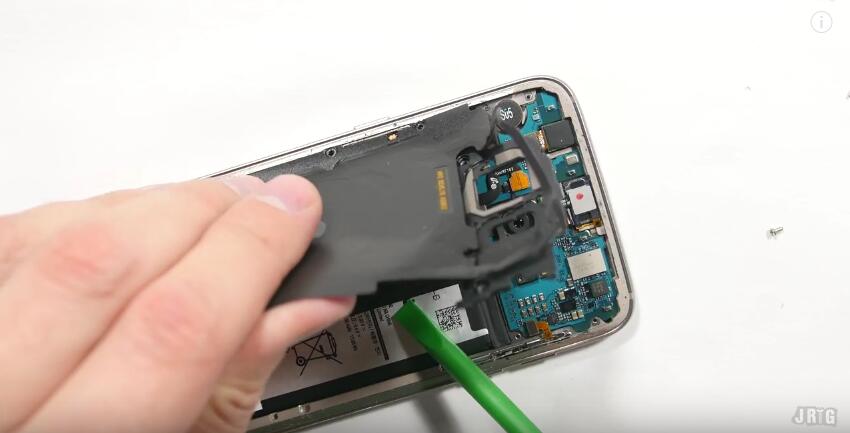
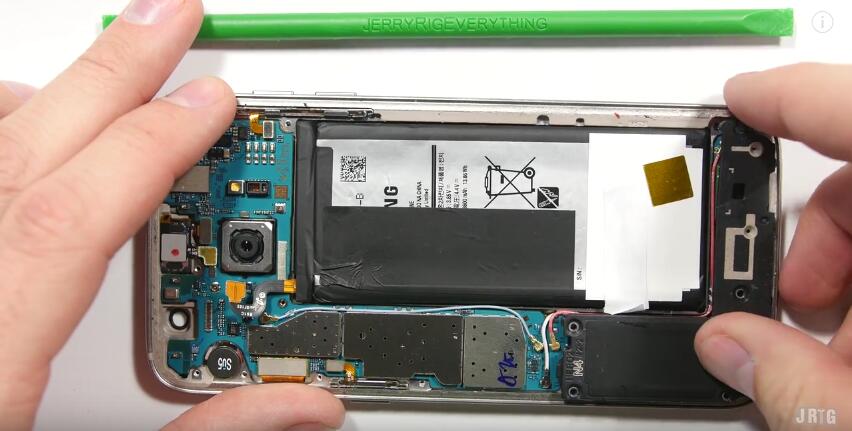
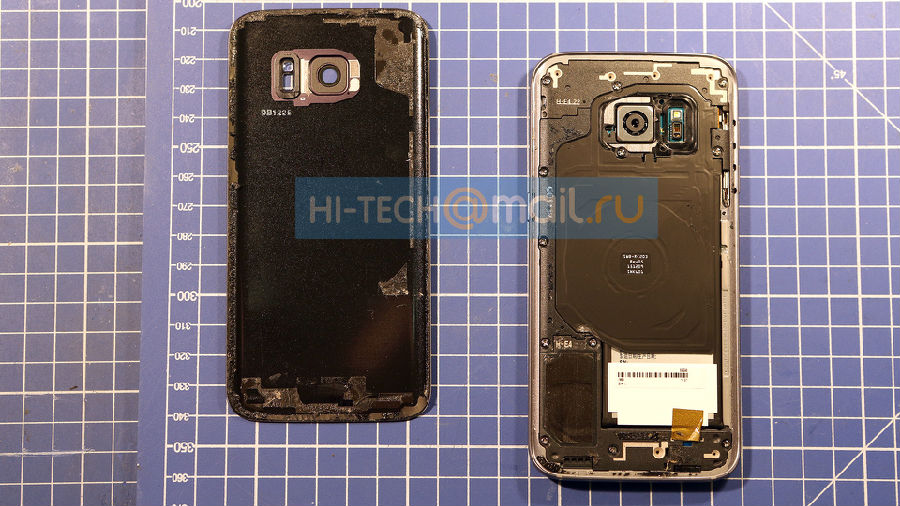
3. Undo the 13 screws in the Galaxy S7 rear housing, gently pry up to release the top cover, rear housing and loudspeaker module.

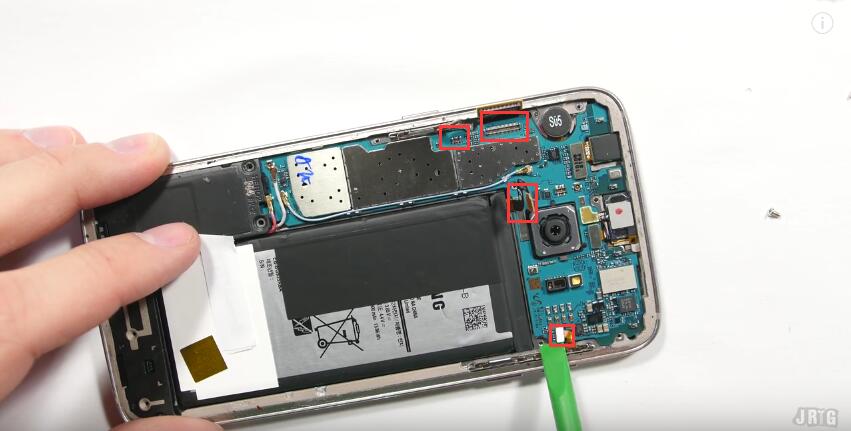
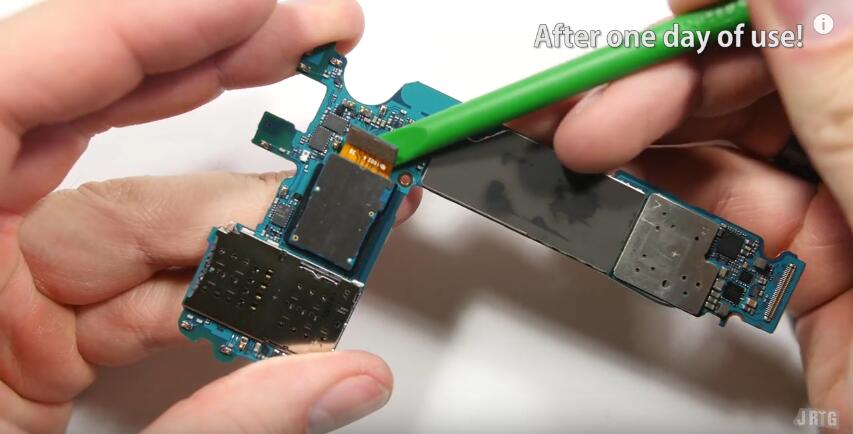
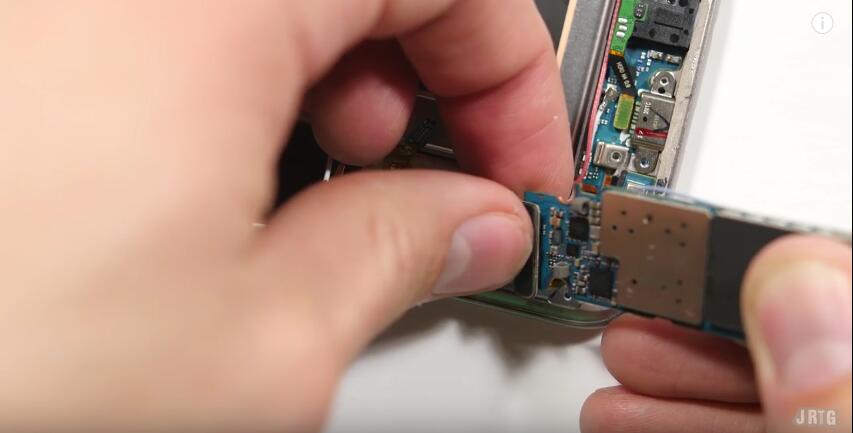
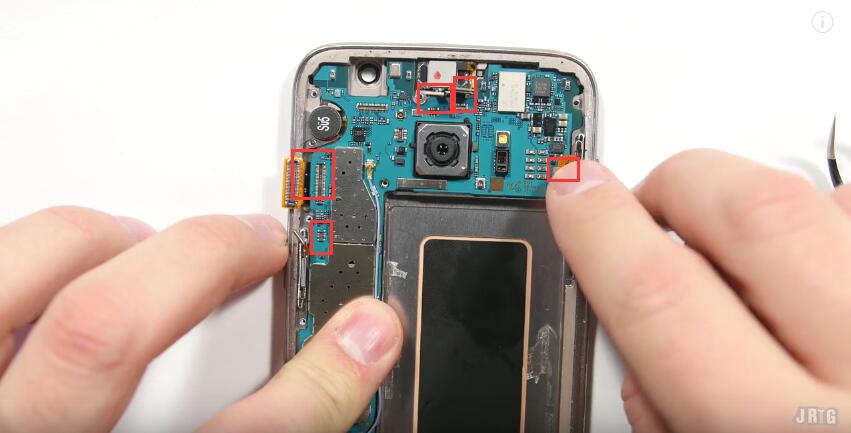
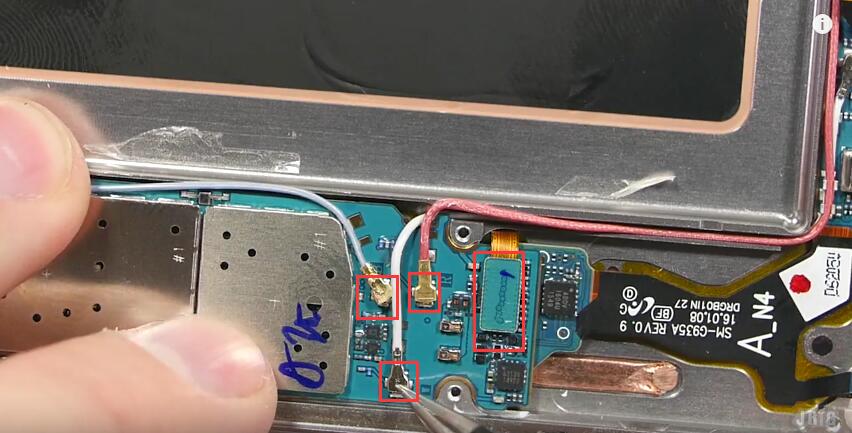
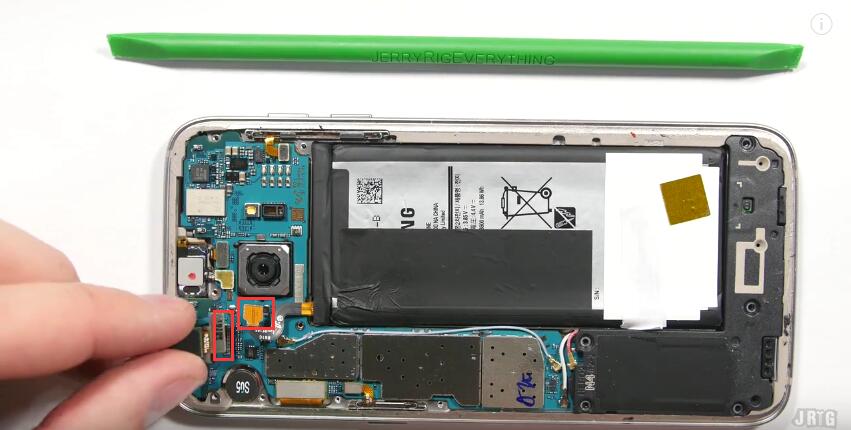
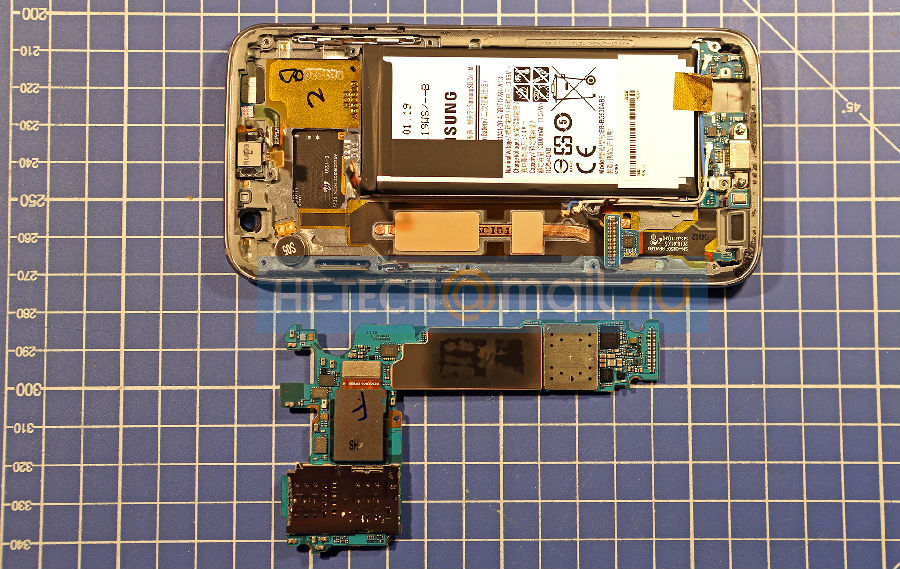
4. Pry up the 10 connectors to release the Galaxy S7 motherboard.
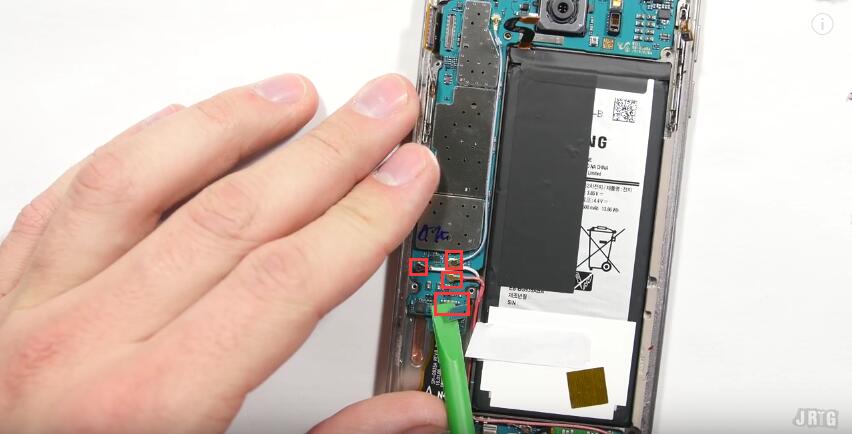
Notice: the 10 connectors are including front camera connector, battery connector, ear speaker connector, 3 screen connectors, 2 RF signal cable connectors, charging port flex connector and a motherboard connector on the back side.

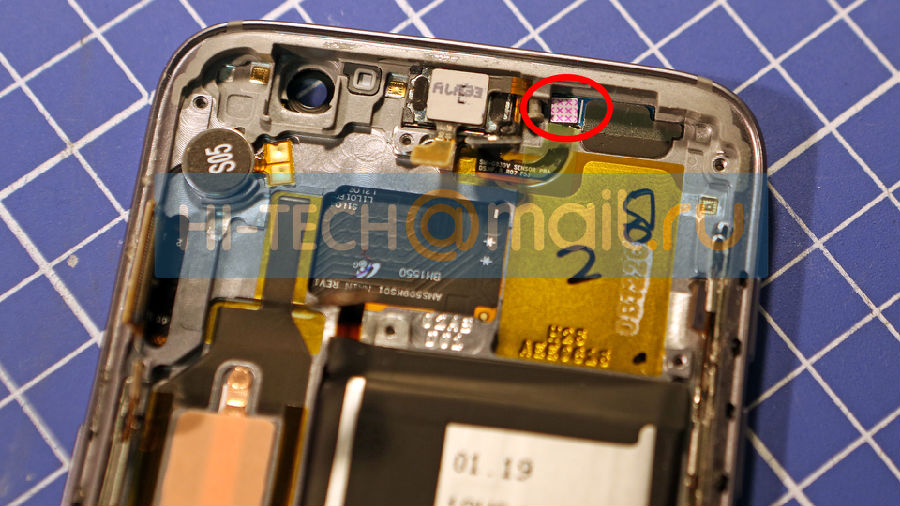
5. The water damage detector sticker is placed between the earphone jack and ear speaker.
Notice: the sticker is a symbol for technicians to examine whether the Galaxy S7 is water damaged or not as it will go red once any liquid permeates in. 

6. Remove the yellow tape covering the Galaxy S7 microphone. 
Notice: the microphone is also covered by a rubber gasket to keep the moisture from seeping in.

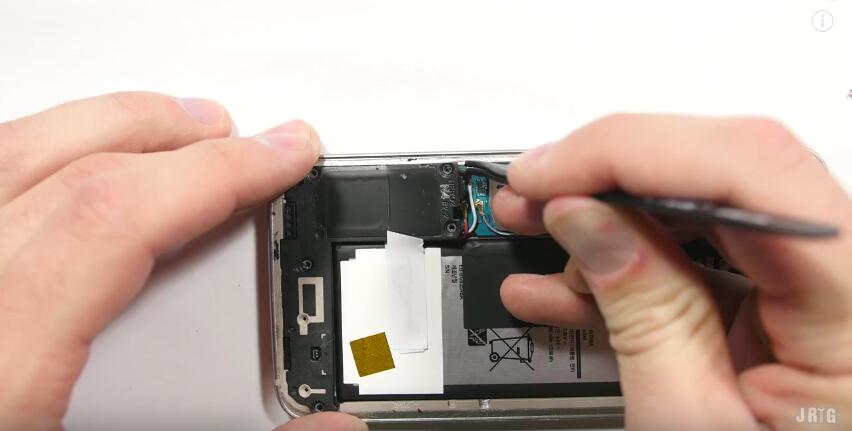
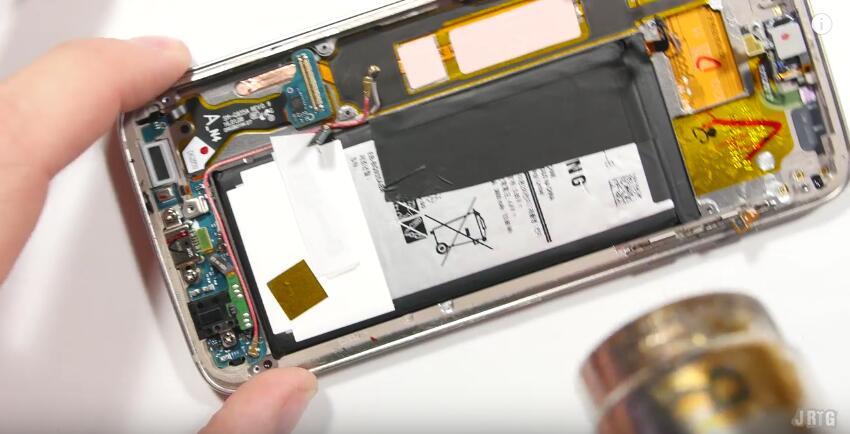
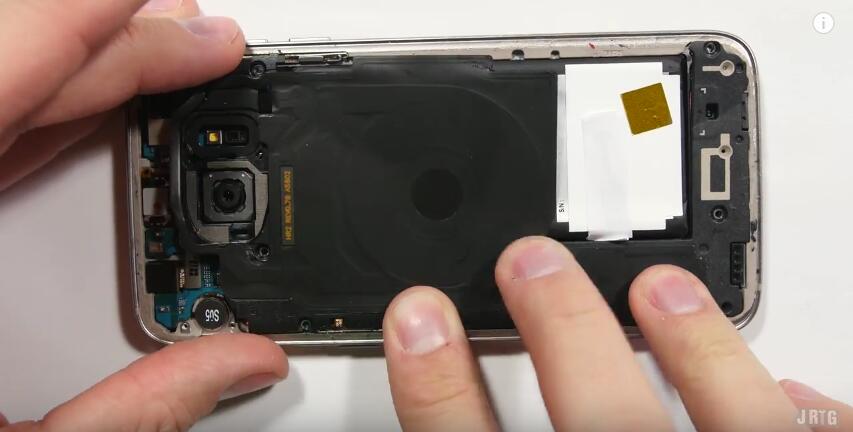
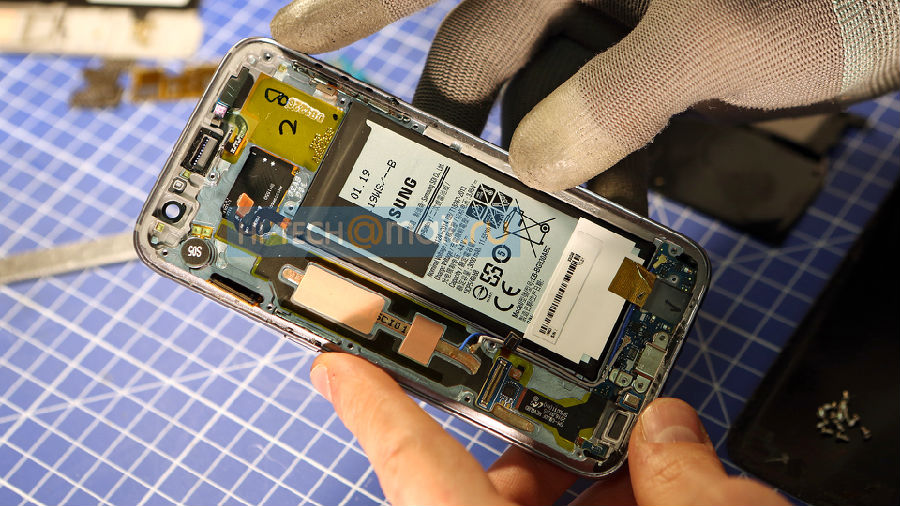
7. Gently pry up to release the Galaxy S7 battery.
Notice: as suggested before, the battery capacity is 3000 mAh. Besides, the battery sticker indicates that the working tempeture should not be higher than 45°C.

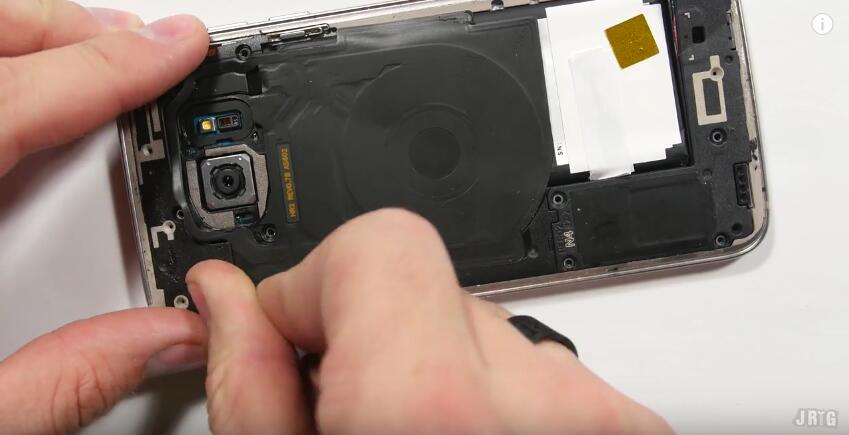
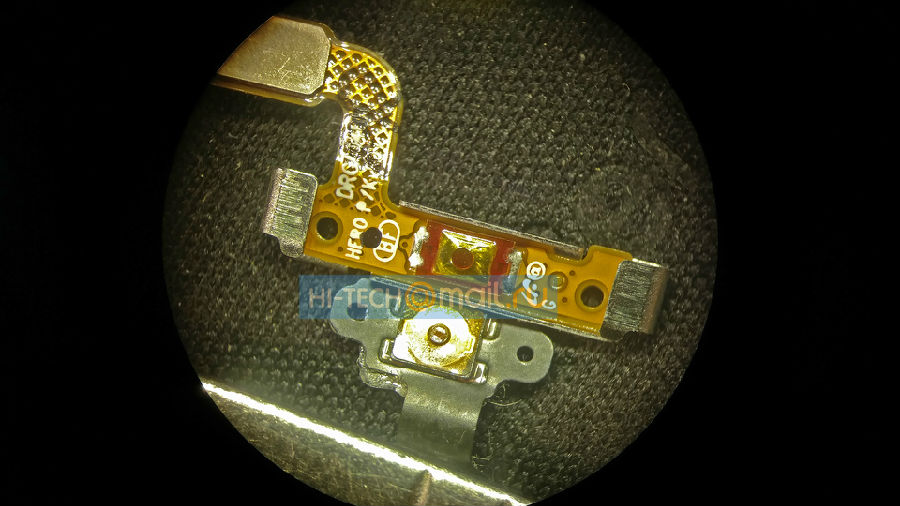
8. Release the Galaxy S7 power button flex cable ribbon.

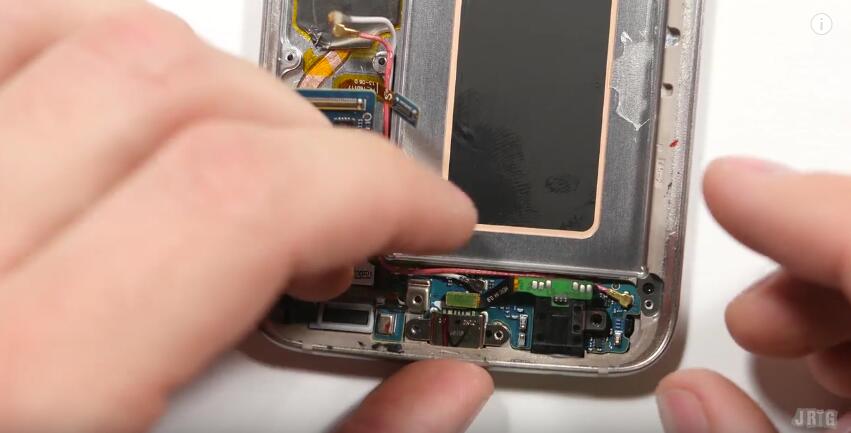
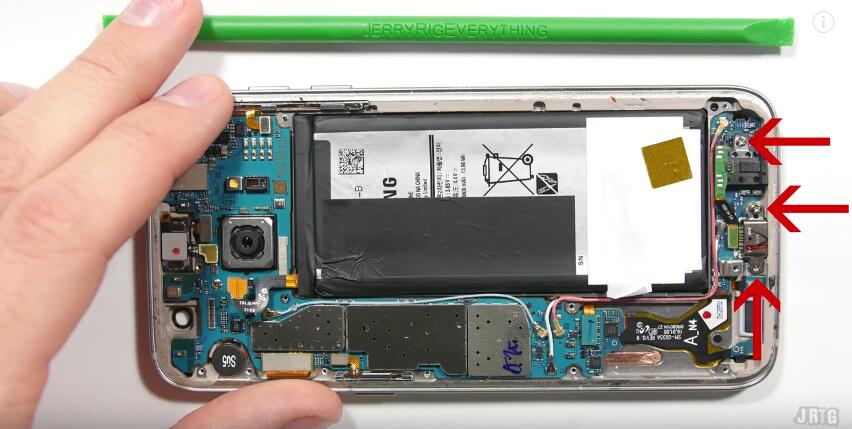
9. Remove the Galaxy S7 earphone jack.
Notice: the Galaxy S7 charging port module was not removed since it is imbedded into the front housing, which cannot be removed until the front housing is separated from the LCD assembly.

10. The Samsung Galaxy S7 teardown was finished.
Notice: if you need to replace a screen, just reassemble it with a new Galaxy S7 LCD and digitizer with frame replacement in the reverse orders.