2015年12月27日星期日

How To Fix Cracked Xperia Z5 For Screen Replacement

As the successor to Xperia Z3+ (aka Xperia Z4), the Xperia Z5 was unveiled in September, 2015, along with the Xperia Z5 Premium and Xperia Z5 Compact. Similar to its predecessor though, Xperia Z5 is Sony’s first device featuring with fingerprint sensor. What about the repairability? Here is a tutorial guide showing how to disassemble Xperia Z5 for screen replacement.

Tools Needed:
Hair drier/Heat gun
Case opening tool
Suction cup tool
Spudger
Tweezers

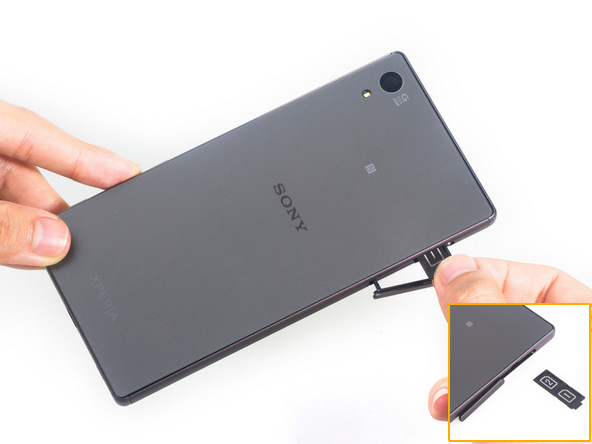
1. Power off the Xperia Z5, open the 
card cap and then remove the card tray.

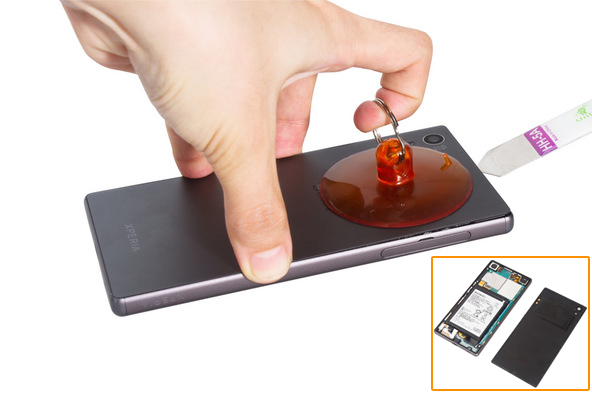
2. Heat up around the edges of back cover to soften the battery door adhesive underneath, gently pull up the back cover until a gap then insert the opening tool and guitar picks in between, running around the edges to release theXperia Z5 back cover.


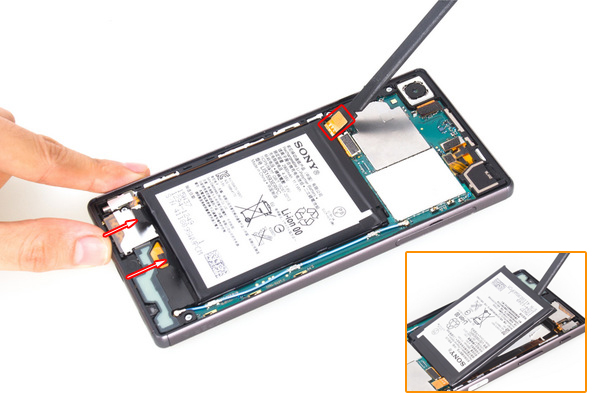
3. Pry up the battery flex ribbon connector, pull up the 2 battery adhesive and then gently up to release the Xperia Z5 battery.


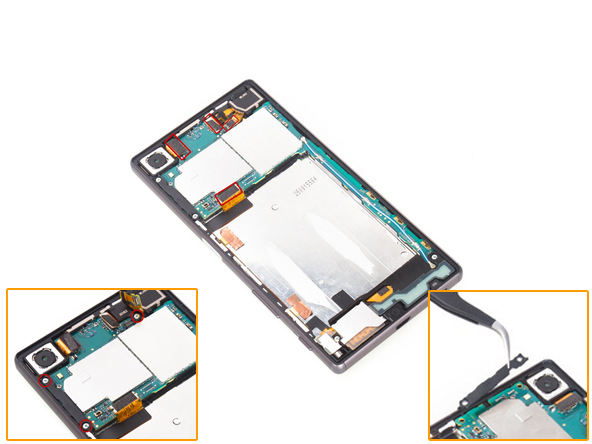
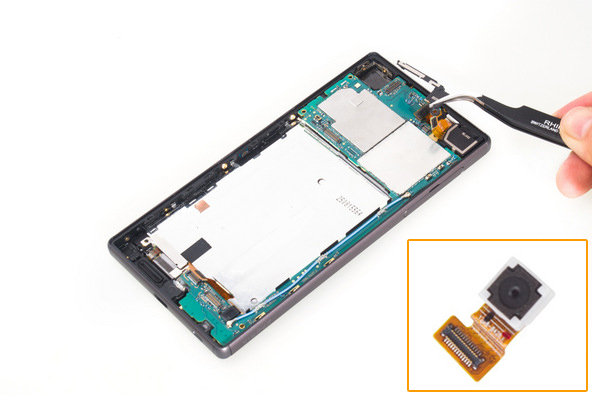
4. Pry up the 4 flex ribbon connectors, undo the 3 screws and then remove the plastic bracket.


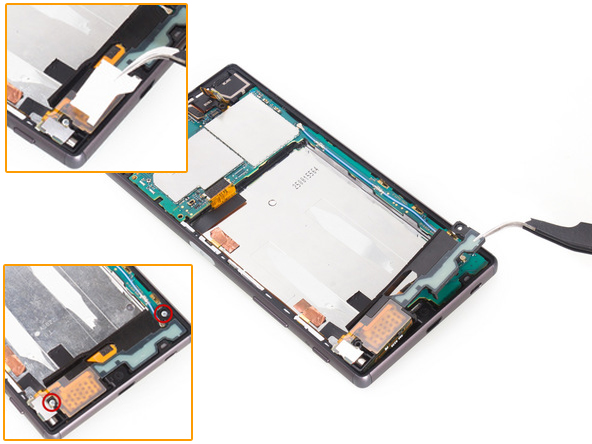
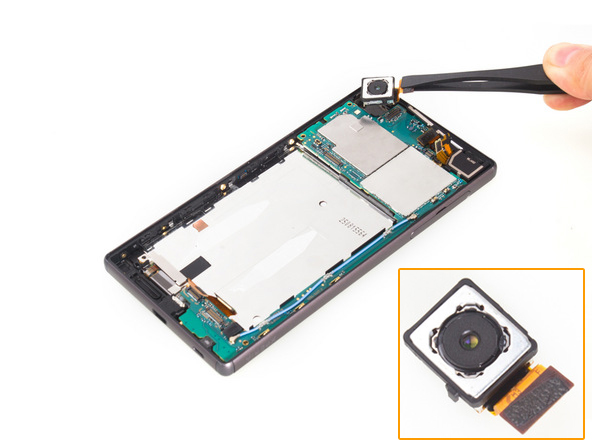
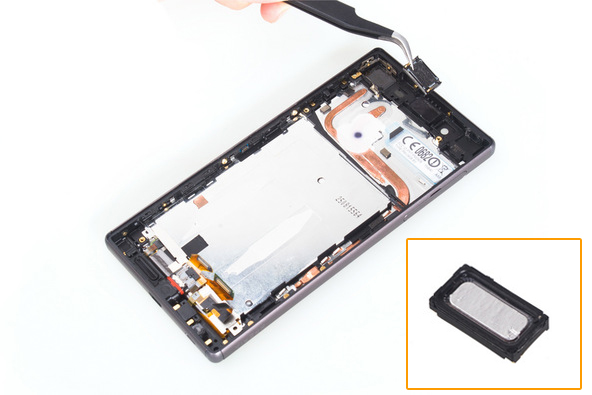
5. Remove the metal bracket covering the loudspeaker, undo the 2 screws then gently remove the loudspeaker module. Be careful not to damage the fragile flex cable ribbon.


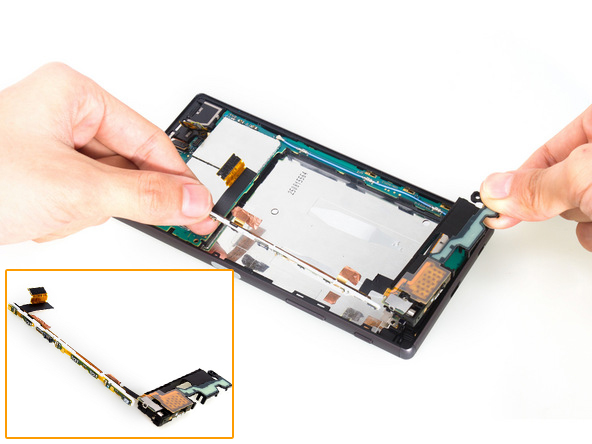
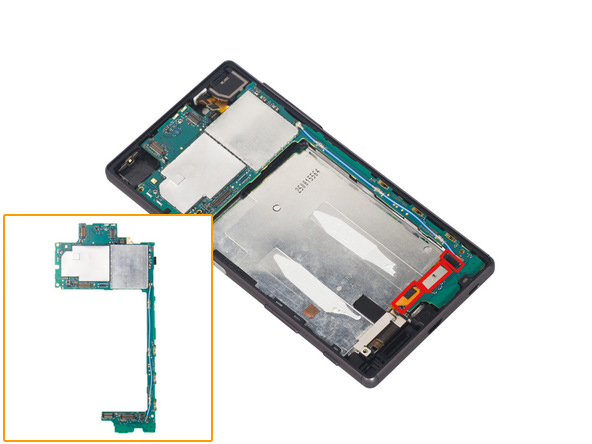
8. Pry up the 3 flex ribbon connectors to release the Xperia Z5 logic board.

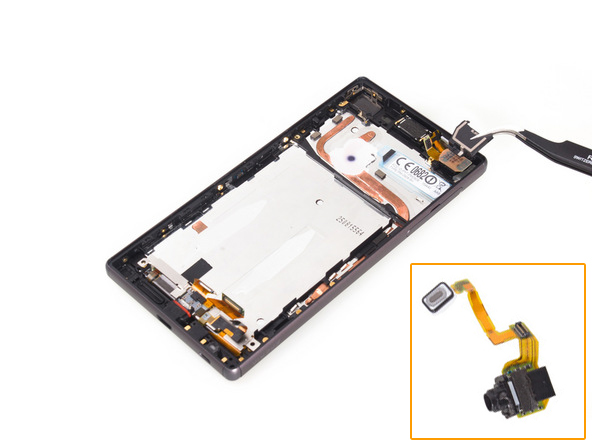
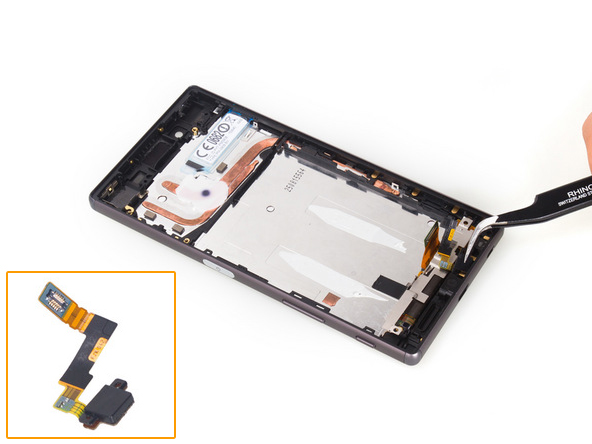
9. Remove the bracket cover and then remove the Xperia Z5 earphone jack with flex cable ribbon.

10. Remove the Xperia Z5 ear speaker.

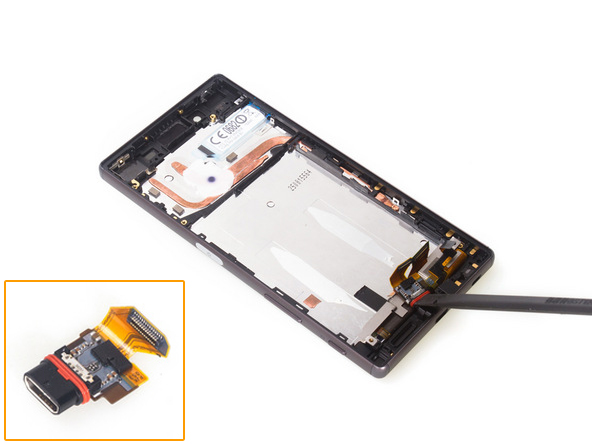
11. Remove the Xperia Z5 charging port module.

12. Remove the Xperia Z5 microphone.

(Picture source: iFixit
Now, the Xperia Z5 was disassembled, replace it with a new Xperia Z5 LCD and digitizer with frame replacement in reverse orders.

How to set 2-step verification on iDevices

How to set 2-step verification on iDevices


Step 2: Scroll down to the section of “Get help with Apple ID

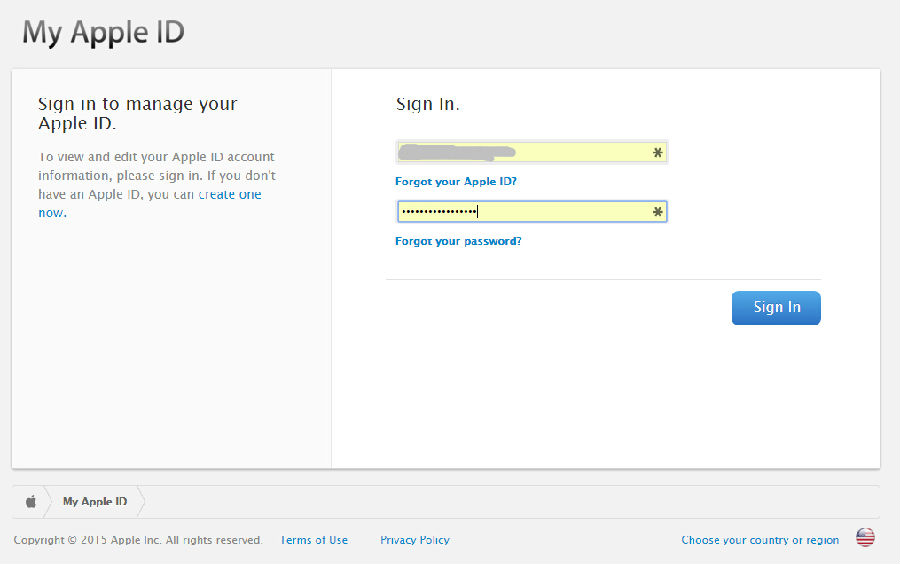
Step 3: Sign in to manage your account.

Step 4: Manage your Apple ID.

Step 5: Log in. 

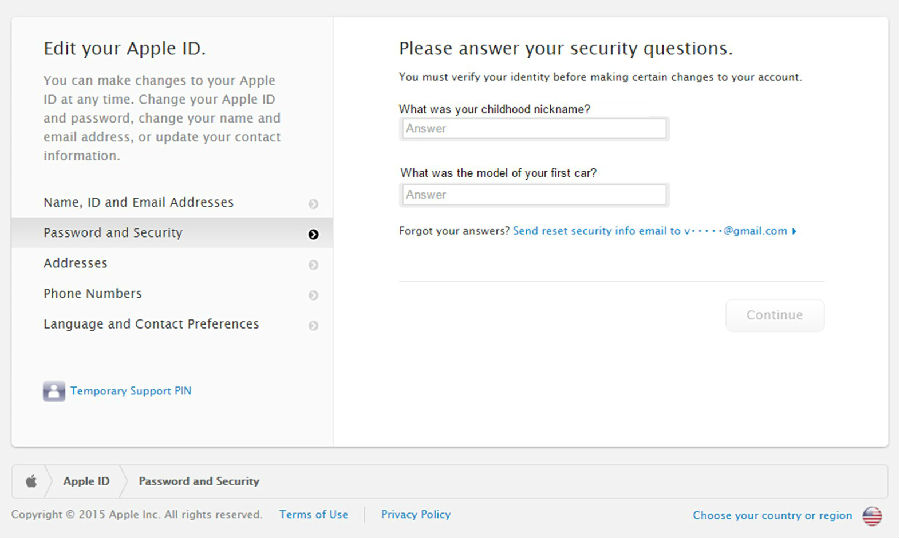
Step 6Choose the “Password and Security”, and answer the security questions.
 

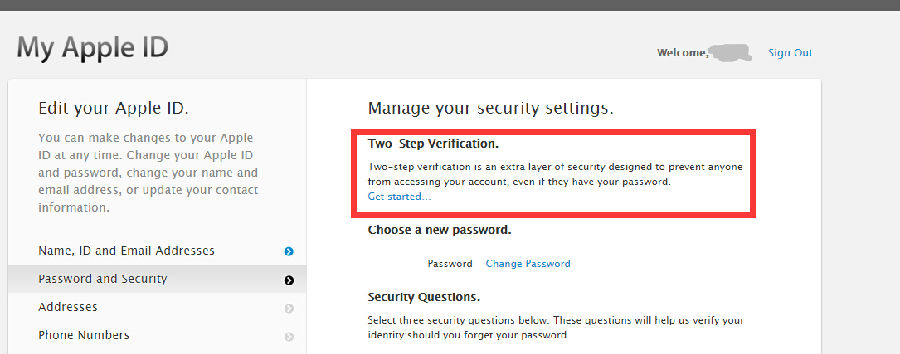
Step 7: Manage your security settings and try the two-step verification.

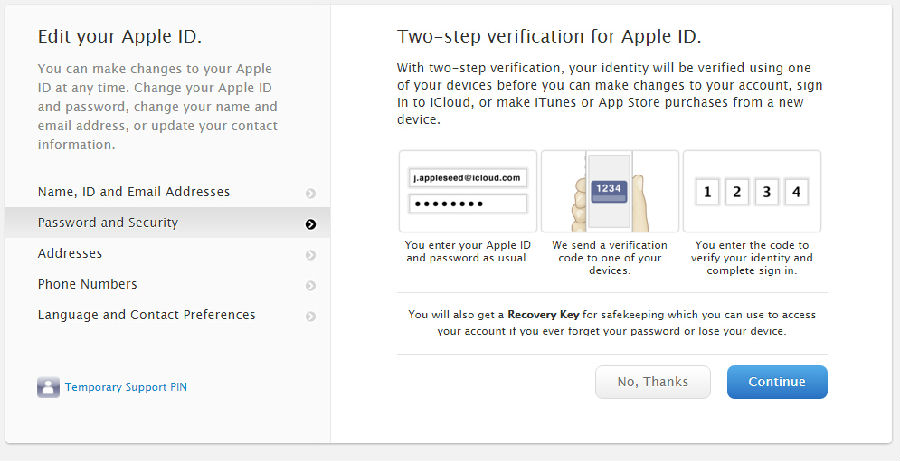
Step 8: To complete the setting, please click the Continue.

Step 9: Move on.

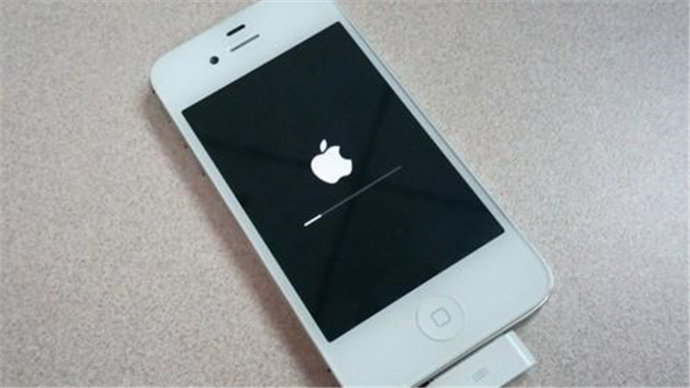
Step 10: Complete the setting. However, it will takes 3 days for the next operation for safety reason.

3 days later, when you login into the site, you will need to verify your phone number first and input a reset key that something like safety key. It is very easy so just follow the steps and you will make it effortlessly.

Don’t miss our practical tips and repair tutorials in our blog. Please subscribe our weekly newsletter. Latest market info and product info in cellphone repair industry. Any questions, please feel free to contact us at service@etradesupply.com or comment below. We will reply you ASAP. Thanks.

Make Sure You know The Meaning of Error Codes of iPhone

Error codes come out sometimes during repair work. Do you guys really understand what the meaning of the error warnings and the causes are? To make sure fellows in repair community stay in the know and prevent loss, below are what we know about the error codes.

Error Code -1, 1, 2, 3, 6, 16, 27, 1669
Generally, these error codes are caused by a defective chip in the baseband power or bad baseband CPU. If the device doesn’t show any signals on the screen, which is displaying “Searching” and the modulator section in the setting is blank, that is most likely the issue. Please note that if you do jailbreak in this situation, the iPhone will go crap and get damaged on motherboard.

Error Code 4005, 4013, 4014
Error 4013 and 4014 are caused by defective CPU in most cases, but error 4005 may be resulted by bad CPU or drive failure.

Error Code 9, 14, 40
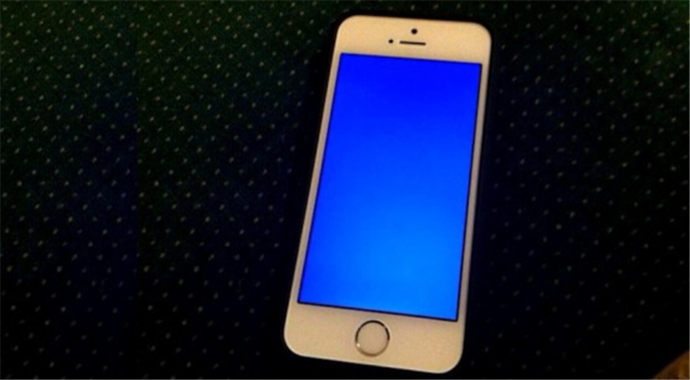
As far as we know, when the drive of iPhone can’t response normally, you will come across these error codes. For example, in some cases, error code 14 shows up in iPhone 5S blue display. The situation is most likely resulted by iPhone user himself. When the iPhone enthusiast do DIY repair on his phone, it is very common that wrong screws are twisted in the slots, which will lead the damages on the FCB (Flexible Circuit Board). If the I2C data wire on iPhone 5S motherboard is damaged, the screen will be in blue display and restart randomly.

Error Code 29
Usually, it is caused by battery. Try to replace the battery first to fix it. Please note to make sure the contacts on battery connector and motherboard are in good connection.

Error Code 53
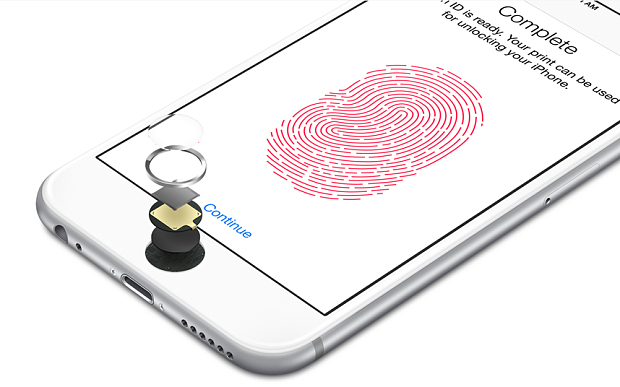
Usually, it comes out after home button replacement. The Touch ID will turn gray when the fingerprint identification is not available. However, If you update or restore your phone at this time, the error 53 will show up.

Error Code 56
When the camera get damaged on iPhone 6 and later generations, the issue will come out. In some cases, the damaged power data circuits on motherboard can also result in the issue after jailbreak.

Error Code 10
It can be caused by damaged Wi-Fi module, faulty soldering on CPU, damaged camera module. 

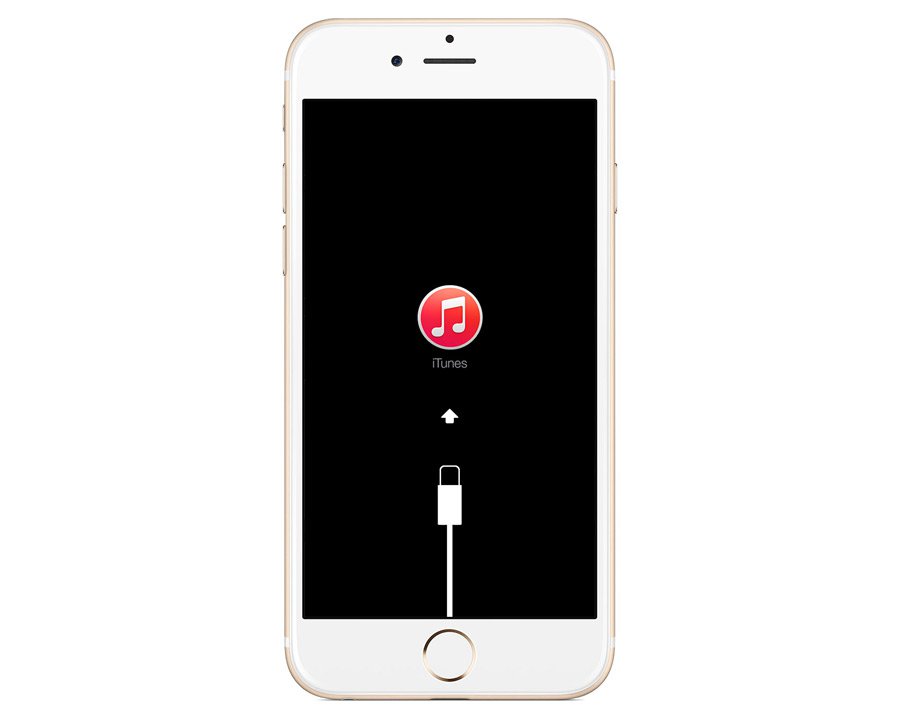
When these issues come out, people are always trying to reconnect to iTunes to restore heir phone. However, this is wrong. The best way to fix the issues is to turn to professional technicians, otherwise, wrong operations may result in secondary damage.

What’s Need to Be Prepared As a Startup Cell Phone Repair Shop

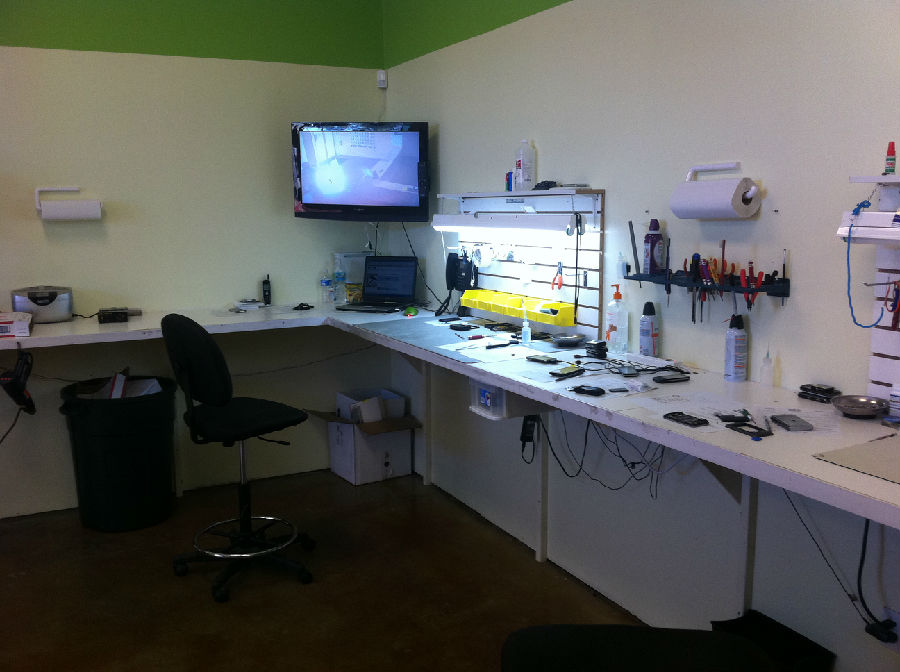
Make a living by repairing people’s phone are becoming a choice for more and more people. No certain degrees are required except your love and passion for learning and practice. This is quite a local business and no heavy investment you need for opening such a shop. But for beginners, every penny should be used in exactly the right way. Here we will walk you through what equipment you’ll need to be a professional repair shop.
 
First of all, you should decide what kinds of repairs you are going to do for your customers. This is the key factor for what tools you will need.

Basically, we can divide all kinds of cell phone repairs into three levels:
Level 1. Common broken screen/battery/small components repair/data recovery
Level 2. Water damage/glass only (refurbishing) repair
Level 3. Motherboard/components soldering repair

Level 1.
For most start-up repair shops, these are the most common repairs they do for their customers. 70%-80% of people come to third party repair shops because of a cracked screen which as a shop owner, you need to get ready for it.
Equipment for Level 1 repair:
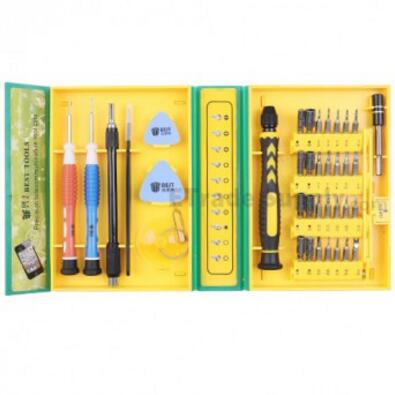
1.    A wide range of different screwdrivers (at least including Pentalobe screwdriver, Torx 2-6 screwdriver, PH0, PH00, PH000 and small flat head screwdriver).
2.    A bunch of separation tools, such as triangle plastic separation tool (or guitar picks) used for separating the frame, screen, front or back housing.
3.    Spudgers: plastic spudger & metal spudger, the plastic one can be used to disconnect connectors, the metal one can be used for some separation works.
4.    Sharp thin metal pry tool (also known as iSesamo Tool) for separation purposes.
5.    Suction cup: dragging out the iPhone screen from the rest of the phone.
6.    Heat gun: Most of the parts in a phone are glued by adhesive, some of the adhesive are really sticky. A good heat gun will definitely make your life easier.
7.    Thermometer: the LCD screen/OLED is quite an expensive part, and improper heat will cause irreversible damage to the screen itself, so a thermometer with laser target could save you some potential damage (and it’s quite cheap, why not have one).
8.    A pair of heat resistant glove: Protect yourself from burn when grabbing the heated up screen or any inner components.
9.    Microfiber cleaning cloth & isopropyl alcohol: these could be used to clear the fingerprints and body oil on the screen and the adhesive residue.
10. Tweezers: separate some tiny and fragile components such as vibrating motor, power button, volume button and flex cables.
11. 3M adhesive: replace the old adhesive on the phone, better be pre-cut in different sizes.
12. A big roll of transparent tape: if the screens you are going to replace are badly shattered, place some transparent tape on it to protect yourself.
13. Magnetic screw mat: there are many tiny screws in an iPhone, which could be easily messed up. This could help you, better keep one.
14. A computer: use for data recovery or restoring the device.
15. A pair of earphone: testing the headphone jack.
16. Anti-static Electricity Strip: protect the devices & parts from static electricity.
17. USB/Lighting cable & charger: testing the charging port.

Level 2.
Water damage takes up to 15% of the total repairs for an independent repair shop. In most circumstance, this repair is not that complicated if the phone was treated correctly. At the same time, water damage is also more lucrative than the cracked screen repairs. So does the glass only repair/screen refurbishing. If you are skillful enough, and want to be more competitive in the local competition, these repairs wound beof help.
Equipment for level 2 repairs:
1.    Ultrasonic Cleaner: this machine is used to wash any possible corrosions on the motherboard (IC chips & connectors).
2.    Soft toothbrush: manually brush the lightly water damaged motherboard with isopropyl alcohol sometime may solve the problem. However, this can also make the situation even worse. We recommend you to use more specific equipment to solve the problem.
3.    LCD Separation Machine: a machine which can be used to fasten the broken screen on it and heat the adhesive in between the glass and the digitizer.
4.    Molybdenum string: a very thin but a strong string which can be used to separate the broken glass.
5.    LOCA/OCA: these are two different adhesives used to bond the new glass and the digitizer. The main difference between this two adhesives is, OCA is much more strong and expensive, while LOCA is cheaper and less sticky. If you use OCA for refurbishing screens, sometimes you’ll find it’s difficult to reuse the display, when someone break the screen for the second time.
6.    UV light: this is for drying the LOCA/OCA.
7.    Vacuum Bubble Remove Autoclave: this machine is used to remove the left air bubbles in between the glass and the digitizer (recommended for professional refurbishes).

Level 3.
Sometimes, things may get worse for your customers’ phone. Some chips may get electric short circuit and need to be replaced, or the corrosions on chips of motherboard cannot be cleaned and need to be changed. Sometimes it is the charging port sealed to the mainboard need to be replaced. These are the most complicated situations you may face during the repair.
Equipment for Level 3 repairs:
1.    Soldering SMD Rework Station: soldering iron together with heat gun, best tools for soldering work.
2.    Soldering Paste: Essential equipment for soldering work.
3.    Magnifying Glass Station: IC chips are quite tiny, this tool will definitely make the work easier to be handled.

Above are the essential tools we recommended for startup cell phone repair shops according to different service they may provide. If you have any questions or ideas, do not hesitate to comment below!
Shortcut Tips You Should Know about iPad Pro Smart Keyboard

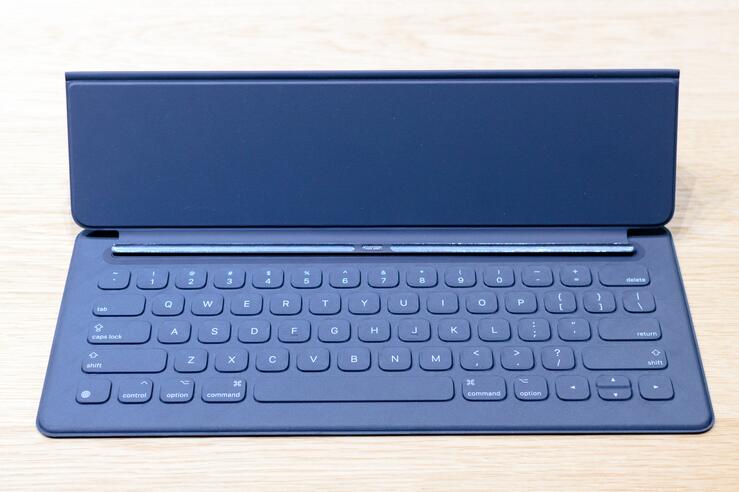
The Smart Keyboard as well as Apple Pencil were released as the accessories to get work done more conveniently with an iPad Pro. Is this Smart Keyboard really that smart for work? Well, it depends how you use it. Here are some shortcut keys tips for you to use this keyboard even more smartly.


In General TypingOption +  or : Move the cursor a word backward or forward.
Command + 
 or Move the cursor to the beginning or end of a sentence.
Command + 
 or : Move to the start or end of all text in a field.
Shift + Command + 
 or Move a sentence to the left or right of the cursor.
Shift + 
 or Place the selected letter on the left or right of the cursor.
Command + C: 
Copy
Command + V: Paste


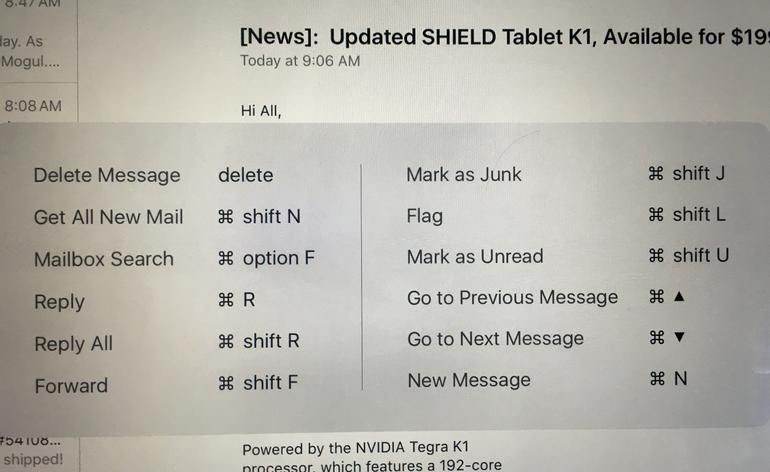
Command + R: Reply to an email.
Command + Shift + R: Reply to all.
Command + Shift + J: Mark as Spam.
Command + Shift + U: Mark as Unread.
Command +  or : Move upwards or downwards among messages.
Command + N: Send a new message.


In Safari Browser
Command + R: Reload a page.
Command + [: Return to the previous page.
Command + Shift + R: Open current page in Reader Mode.
Command + T: Open a new tab.
Command + W: Close the current tab.
Control + Tab: Show the next tab.
Control + Shift + Tab: Show the previous tab.